Command Strips for Frames Apartment — Renter’s Guide to Wall-Safe Hanging
Quick Answer
Command strips for frames in apartments are a lower-risk, renter-friendly hanging solution — when used correctly. Choose the right weight rating, clean the wall with isopropyl alcohol, press firmly for 30 seconds, and wait one hour before hanging. Never use on textured walls, fresh paint, wallpaper, or non-drywall surfaces without testing first. Follow removal instructions exactly to avoid peeled paint or residue. Always check your lease before making any wall changes.

On This Page
What Renters Need to Know First About Command Strips for Frames
Using command strips for frames in an apartment is one of the most popular renter-friendly wall-hanging methods — but it’s not as simple as sticking and forgetting. As a renter, every mark you make on the wall is a potential deposit deduction. The good news? With the right prep, technique, and removal, you can enjoy a beautiful gallery wall without leaving a trace.
Before you reach for that package of strips, consider these three renter-specific factors:
- Lease rules: Some leases explicitly restrict adhesives or limit the number of wall hangings. Always read your lease carefully before making changes.
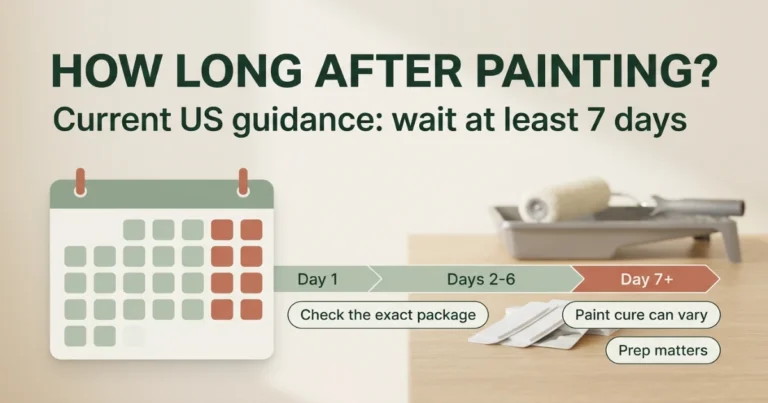
- Wall surface: Command strips are designed for smooth, painted drywall. They may not work well — or at all — on textured walls, wallpaper, glossy tile, or fresh paint (less than 30 days old).
- Weight capacity: Each strip has a specific weight limit. Overloading is the #1 cause of failure — and falling frames can damage walls, floors, or the frame itself.
⚠️ Renter’s Caution
Command strips are not “damage-free” — they are lower-risk when used correctly. Improper removal or use on incompatible surfaces can peel paint, tear drywall paper, or leave sticky residue. Always test an inconspicuous area first and follow the exact product package instructions. Your lease and security deposit are on the line.
Best Low-Risk Approach for Apartment Frames
The safest, most renter-conscious way to use Command strips for frames is to treat them as a temporary, removable mounting system — not a permanent fixture. Here’s the approach that gives you the best chance of a damage-free move-out:
- Choose the right product: Use Command Picture Hanging Strips (the ones with the interlocking teeth) for frames, not general-purpose utility hooks. These are designed specifically for frames and distribute weight more evenly.
- Stay well within weight limits: If your frame weighs 2 lbs, use strips rated for 4 lbs. The extra margin reduces stress on the adhesive and the wall.
- Prep the wall properly: Clean the area with isopropyl alcohol (at least 70%) and let it dry completely. This removes dust, oils, and residues that weaken adhesion.
- Apply with patience: Press each strip firmly against the wall for 30 seconds, then press the frame against the strips for another 30 seconds. Wait one full hour before hanging to let the adhesive bond reach full strength.
- Remove the right way: When it’s time to move out, stretch the removal tab straight down — slowly and steadily — until the strip releases. Never pull outward or yank.
💡 Renter’s Tip
Take a photo of each wall before you hang anything. If a dispute arises about wall damage, you have clear “before” documentation. Also, keep your Command strip packaging — it has the removal instructions printed on it.
Step-by-Step: How to Use Command Strips for Frames in Your Apartment
Follow these steps carefully for the best results — and the lowest risk to your walls and deposit.
Step 1: Gather Your Supplies
You’ll need: Command Picture Hanging Strips (appropriate weight rating), isopropyl alcohol (70% or higher), a clean microfiber cloth, a level, a measuring tape, and your frame with hanging hardware removed.
Step 2: Clean the Wall Surface
Dampen a microfiber cloth with isopropyl alcohol and wipe the area where you’ll place the strips. Do not use soap, water, or all-purpose cleaners — they leave residues that prevent proper adhesion. Let the wall dry completely for 2–3 minutes.
Step 3: Separate and Apply the Strips
Command Picture Hanging Strips come in pairs — one “wall side” and one “frame side.” Separate them carefully. Peel the liner from the wall-side strip and press it firmly onto the wall at your marked position. Press for 30 seconds with steady, even pressure.
Step 4: Attach the Frame-Side Strips
Peel the liner from the frame-side strip and press it onto the back of your frame, positioning it to align with the wall-side strip. Press for 30 seconds. Wait one hour before proceeding to the next step — this allows the adhesive to bond fully.
Step 5: Engage the Strips
After the hour has passed, align the frame-side strips with the wall-side strips and press the frame firmly against the wall. Press the entire frame surface for 30 seconds, paying extra attention to the areas with strips.
Step 6: Level and Adjust
Use a level to check that your frame is straight. If you need to adjust, gently lift and reposition within the first minute. After that, the bond strengthens and repositioning becomes more difficult.
Step 7: Wait Before Adding Weight
For the strongest hold, wait at least one hour before hanging anything on the frame (if you’re using it for storage) or before adding additional items. The adhesive continues to cure over 24 hours.

Surface Compatibility & Renter Risk
Not all apartment walls are created equal. Here’s how different surfaces respond to Command strips — and what to watch for.
| Surface | Works Better When | Risk Level | Renter Tip |
|---|---|---|---|
| Smooth painted drywall | Clean, dry, paint cured >30 days | Low | Ideal surface — follow prep and removal carefully |
| Textured drywall | Light texture only; heavy texture reduces adhesion | Medium | Test first; may not hold well or may damage texture |
| Fresh paint (<30 days) | Not recommended; paint may peel | High | Wait at least 30 days after painting before using |
| Wallpaper | Not recommended; can tear paper | High | Avoid entirely — use a freestanding easel or lean art |
| Glossy tile / glass | Clean, dry, smooth surface | Low | Clean with alcohol; holds well but removal requires care |
| Wood / paneling | Clean, sealed, smooth | Medium | May leave residue; test in a hidden area first |
Product & Method Comparison for Apartment Frames
Here’s how Command strips compare to other renter-friendly hanging methods for frames.
| Method | Best For | Weight Capacity | Removal Ease | Deposit Risk |
|---|---|---|---|---|
| Command Picture Strips | Light to medium frames (up to ~16 lbs per set) | 4–16 lbs per set | Easy when done correctly | Lower-risk with proper removal |
| Command Utility Hooks | Keys, towels, lightweight decor | 3–5 lbs per hook | Easy when done correctly | Lower-risk but not designed for frames |
| Peel-and-stick picture hangers | Very lightweight frames (<3 lbs) | Up to 3 lbs | Moderate; may leave residue | Medium risk |
| Nails / picture hooks | Heavier frames, permanent displays | 10–50 lbs | Not removable; leaves holes | High risk — hole patching required |
| Leaning / shelf display | No-wall hanging, flexible arrangement | N/A | N/A | No risk |
Recommended Command Strips for Apartment Frames
Command Picture Hanging Strips
Interlocking design holds frames securely. Rated for up to 16 lbs per set. The renter-friendly choice for most apartment art.
Command Small Wire Hooks
Designed for frames with hanging wire. Holds up to 3 lbs per hook. Great for smaller art pieces and photos.
Command Large Utility Hooks
Holds up to 5 lbs per hook. Use two for extra stability. A solid choice for medium-weight frames in rental spaces.


Common Mistakes Renters Make With Command Strips for Frames
Avoid these all-too-common errors that can turn a renter-friendly solution into a deposit disaster.
- Skipping the wall clean: Dust, grease, and residue prevent proper adhesion. Always clean with isopropyl alcohol — not water or household cleaners.
- Not waiting one hour: The adhesive needs time to bond. Hanging immediately reduces holding strength and increases the risk of falling frames.
- Overloading weight limits: Each strip has a specific capacity. Exceeding it is the #1 cause of failure. Always err on the side of lower weight.
- Using the wrong strip type: General-purpose hooks are not designed for frames. Use Command Picture Hanging Strips with the interlocking design.
- Pulling outward for removal: This is the most common removal mistake. Always stretch the tab straight down — never outward or upward.
- Removing too quickly: The removal tab must be stretched slowly (over 2–3 seconds). Quick yanks can tear the adhesive or the wall.
- Using on incompatible surfaces: Textured walls, wallpaper, and fresh paint are high-risk. Test an inconspicuous area first.
- Forgetting to check the lease: Some leases restrict adhesive usage or the number of wall hangings. Always check your lease first.
Safer Alternatives to Command Strips for Frames
If your wall surface is textured, freshly painted, or you’re unsure about using adhesive, consider these lower-risk alternatives:
- Lean your art: Place framed art on a shelf, console table, or the floor (leaning against the wall). This is zero-damage and lets you rearrange freely.
- Use a picture ledge: A shallow ledge that rests on the floor or mounts with minimal contact. Some renter-friendly ledges use removable adhesive or tension.
- Freestanding display easels: Tabletop or floor easels hold frames without any wall contact. Perfect for renters who want to protect every inch of paint.
- Tension rod displays: Use tension rods between walls or in window frames to hang lightweight art or fabric — no adhesive, no nails.
- Magnetic wall systems: Some renter-friendly systems use magnets and a thin metal sheet that attaches with removable adhesive in a single, controlled spot.
⚠️ When to Avoid Command Strips Entirely
If your wall is heavily textured, has fresh paint (less than 30 days), or is wallpapered, avoid Command strips. The risk of damage is too high. Instead, choose a no-contact display method like leaning or freestanding easels. Your security deposit is not worth the gamble.
Move-Out & Removal Guidance for Command Strips
When it’s time to move out, proper removal is just as important as proper installation. Here’s how to protect your deposit.
Step-by-Step Removal
- Grip the removal tab — the clear tab at the bottom of the strip.
- Stretch the tab straight down — slowly and evenly, keeping it flat against the wall.
- Continue stretching — the adhesive will release from the wall. Do not pull outward.
- If the strip breaks — gently work the remaining adhesive loose with your fingers or a plastic scraper. Do not use knives or metal tools.
- Residue cleanup — if any adhesive remains, gently rub it with your finger or use a small amount of isopropyl alcohol on a cloth. Test on a hidden area first.
Documentation
Before you remove anything, take “after” photos of each wall. If you have “before” photos from when you moved in, compare them. This documentation can help resolve any deposit disputes.
When to Call Your Landlord
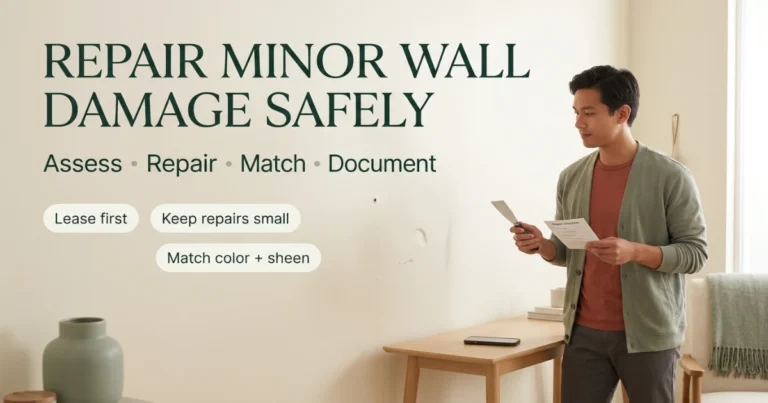
If you notice paint peeling or wall damage during removal, contact your landlord immediately. It’s better to address it proactively than to leave it for the move-out inspection. Small touch-ups may be less expensive than a deposit deduction.
💡 Renter’s Move-Out Checklist
- Remove all strips at least 2 weeks before move-out
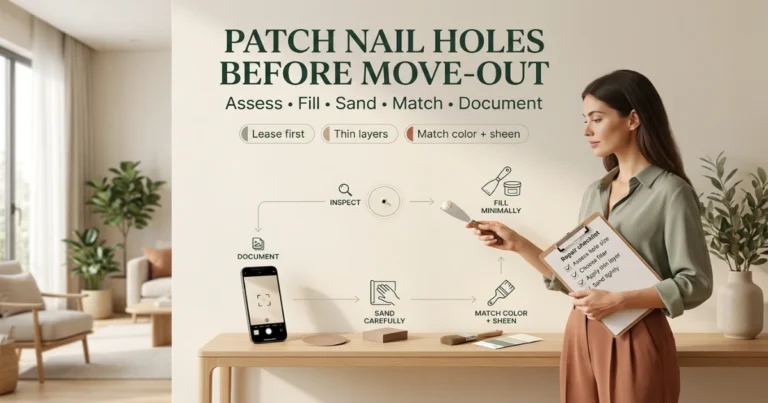
- Document each wall with photos before and after removal
- Clean any residue gently with isopropyl alcohol
- Patch any damage promptly if it occurs
- Do a final walkthrough with your landlord if possible
Renter-Safety Note: This guide is based on manufacturer instructions for Command™ brand products and common renter best practices. Always follow the exact instructions on your product package. Wall conditions, paint age, and surface texture vary widely — what works in one apartment may not work in another. Test an inconspicuous area before applying any adhesive to your walls.
Sources: 3M Command™ product instructions and safety guidelines; general renter best practices for wall hangings; apartment lease common clauses. Always consult your specific lease and local rental laws.
Frequently Asked Questions About Command Strips for Frames in Apartments
How much weight can Command strips hold for frames?
Command Picture Hanging Strips come in different sizes: small strips hold up to 4 lbs per set, medium holds up to 8 lbs, and large holds up to 16 lbs per set. Always check the package for the exact rating. We recommend staying at least 20% below the maximum for an extra margin of safety — especially on rental walls.
Can Command strips be used on textured walls?
It depends on the texture. Lightly textured walls may work, but heavily textured walls reduce the surface area for adhesion and increase the risk of failure or damage. Always test an inconspicuous area first. If the strip doesn’t adhere firmly, do not use it on that wall — choose a different hanging method.
Will Command strips peel paint off my apartment walls?
They can peel paint if removed incorrectly or used on incompatible surfaces. To minimize the risk: clean the wall with isopropyl alcohol before applying, wait one hour before hanging, and stretch the removal tab straight down when removing. Paint that is old, poorly adhered, or recently applied is more likely to peel.
How long should I wait before hanging a frame with Command strips?
After pressing the strips onto the wall and frame, wait a full 60 minutes before engaging the strips and hanging your frame. This allows the adhesive to bond properly. For maximum strength, wait 24 hours before adding any additional weight to the frame.
Can I reuse Command strips?
No. Command strips are designed for one-time use. Once removed, the adhesive loses its bonding strength. Attempting to reuse them increases the risk of your frame falling and damaging the wall. Always use fresh strips.
Are Command strips allowed in apartments?
Most apartments allow them, but you must check your lease. Some leases restrict any adhesive on walls, while others allow it with the understanding that you’ll repair any damage. When used and removed correctly, Command strips are generally considered a renter-friendly solution.
What’s the difference between Command strips and regular double-sided tape?
Command strips use a stretch-release adhesive that releases when you stretch the tab, allowing for clean removal. Regular double-sided tape bonds permanently and typically peels paint or leaves residue when removed. Always use Command-brand strips for renter-friendly hanging.
How do I remove Command strips without damaging the wall?
Grip the clear tab and stretch it straight down — slowly and steadily, keeping it flat against the wall. The adhesive will release without damaging the surface. Never pull outward, upward, or yank — this is the most common cause of paint peeling. If the strip breaks, gently work the remaining adhesive loose with your fingers.
Renter-Safety Verdict: Command Strips for Frames
✅ Safe when
Used on clean, smooth painted drywall with paint cured over 30 days, weight limits respected, 1-hour wait observed, and removal done with the stretch-down method. Lower-risk when you follow every instruction.
🚫 Avoid when
Your walls are textured, wallpapered, freshly painted, or you haven’t tested an inconspicuous area first. Also avoid if your lease strictly prohibits adhesives. Choose a no-contact method instead.
Best next step: Check your lease, test a hidden area, choose the right Command strips for your frame weight, and follow the step-by-step guide above. Your deposit will thank you.
Explore more renter-friendly wall decor ideas — no nails, no damage, no deposit stress.
Browse No-Damage Wall Decor Ideas →