
How to Remove Command Strips Without Damage
A step-by-step guide to taking down Command strips safely — so your walls, paint, and security deposit stay intact.
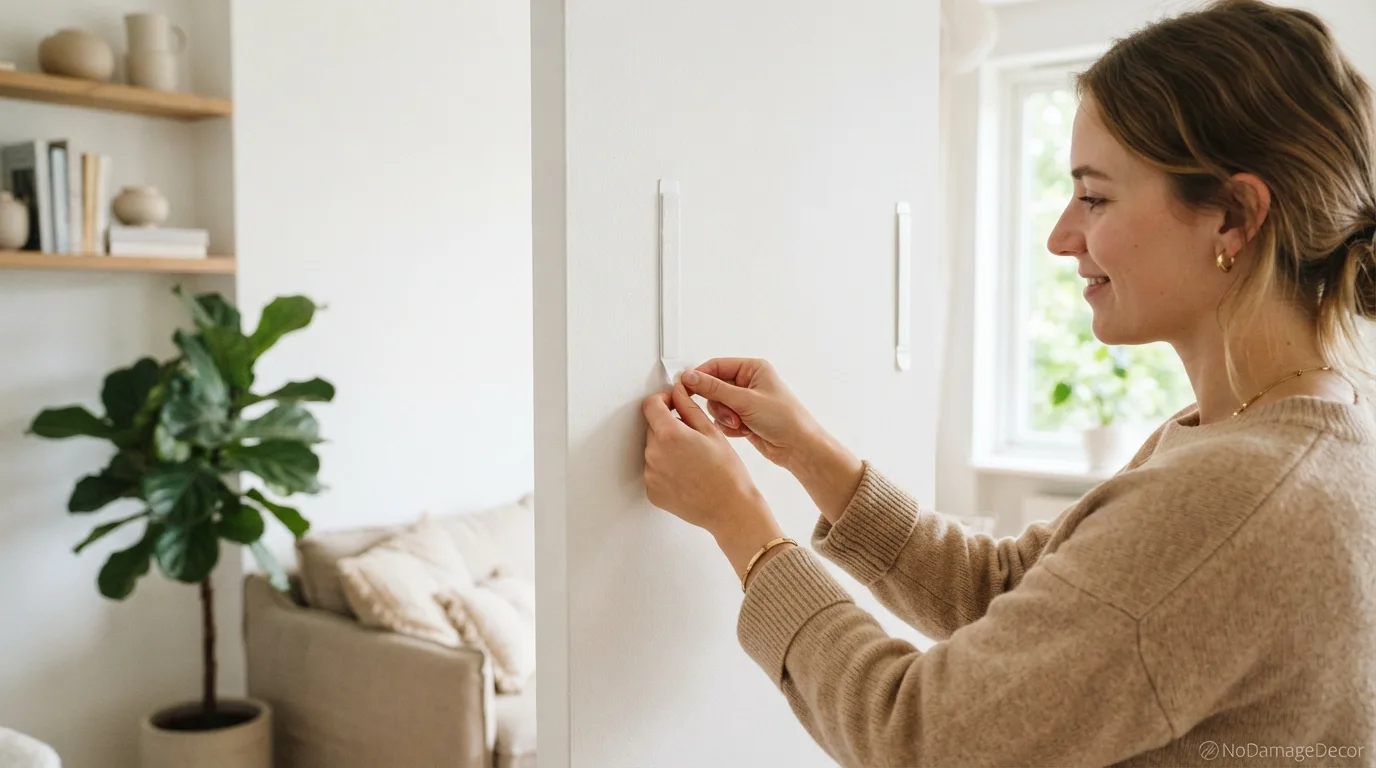
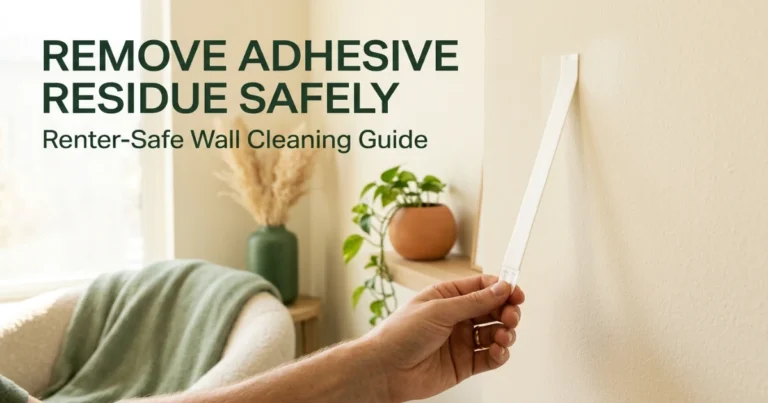
To remove Command strips without damage: Grip the exposed tab at the base of the strip and pull straight down slowly and steadily — not outward or at an angle. The adhesive will stretch and release cleanly from the wall. If the tab breaks off, use a hair dryer on low heat to soften the adhesive, then gently roll the residue off with your fingertip or a soft eraser. Never use a knife, scraper, or chemical solvents.
At a Glance
What Renters Need to Know First
Command strips are a renter-favorite for hanging picture frames, lightweight shelves, and wall art without nails. They’re marketed as damage-free — and when used exactly as directed, they often are. But removal is where things can go wrong.
If you’ve ever peeled a Command strip off the wall and taken a chunk of paint with it, you’re not alone. The good news: that outcome is almost always avoidable. The key is understanding how the adhesive works and following a few careful steps.
⚠️ Lease & Deposit Caution
Before you start, check your lease. Some landlords prohibit any adhesive wall mounts. Even if Command strips are allowed, improper removal that damages paint or drywall can be charged against your security deposit. Document your walls with photos before and after — it’s a simple habit that protects you.
The adhesive in Command strips is designed to stretch and release. When you pull the tab straight down (parallel to the wall), the adhesive elongates and loses its grip. Pull outward, and you risk tearing the adhesive, the paint, or the drywall paper.
Best Low-Risk Approach
For most painted drywall surfaces, the lowest-risk removal method is this:
- Locate the pull tab at the base of the strip (it’s usually visible underneath the hook or frame).
- Grip the tab firmly between your thumb and forefinger.
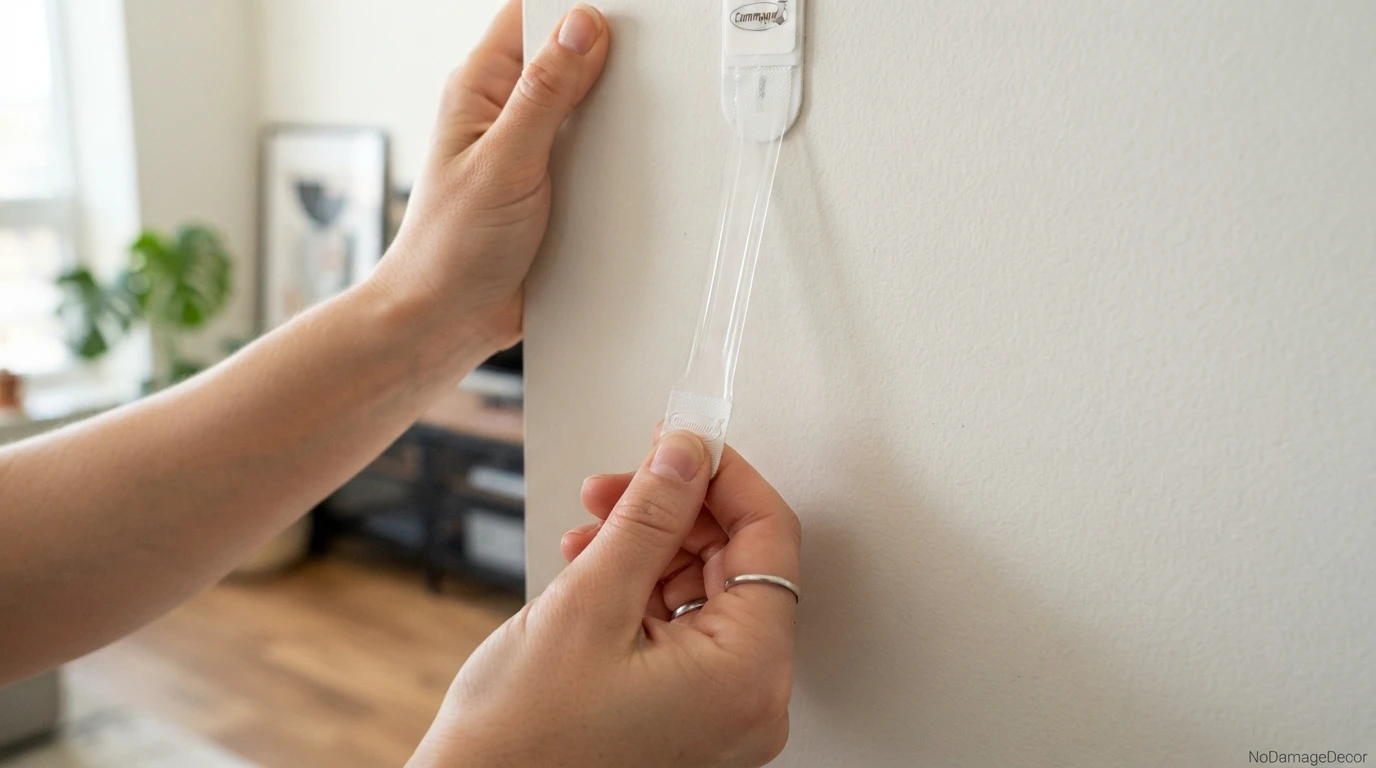
- Pull straight down — slowly and steadily — until the adhesive releases.
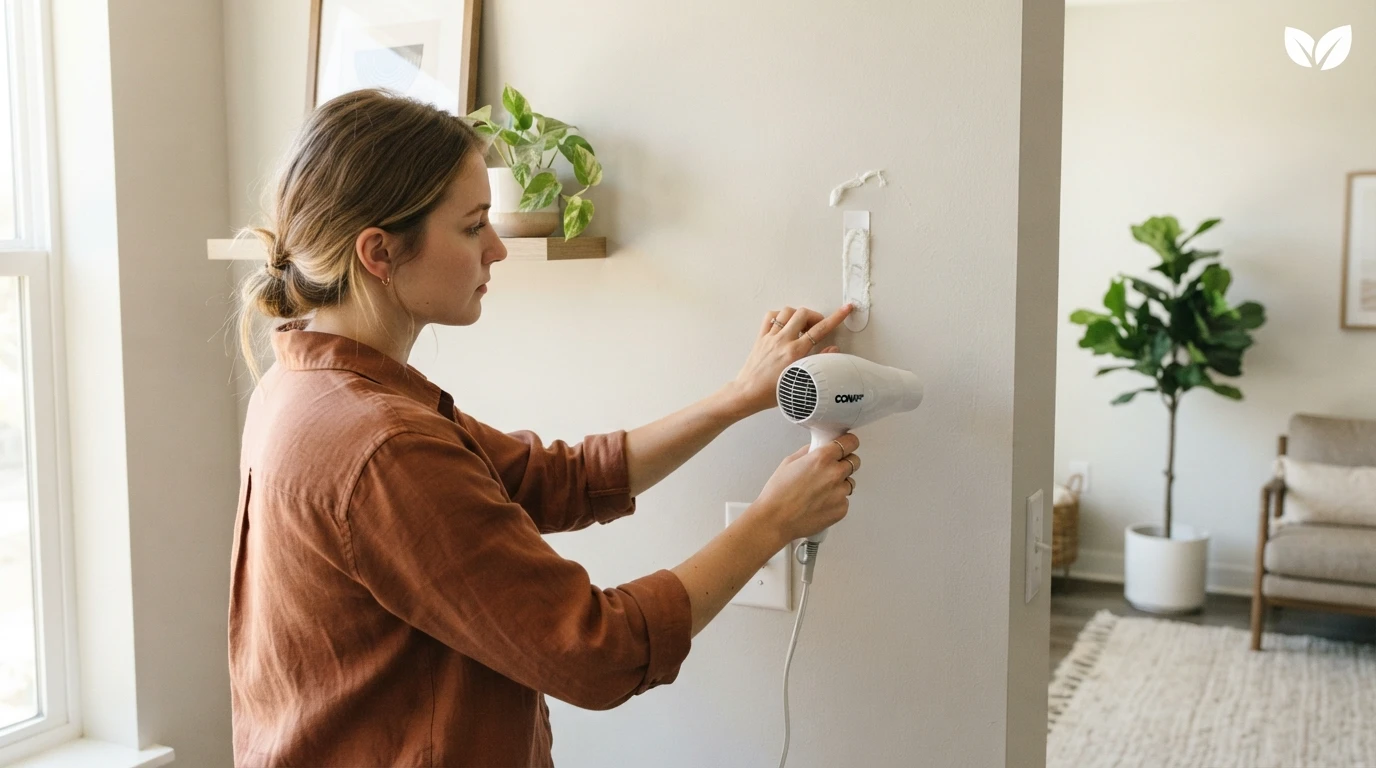
- If the tab breaks off, use a hair dryer on low heat for 10–15 seconds to soften the adhesive, then gently roll the residue off.
💡 Renter Tip
Before removing, run your finger along the edge of the Command strip to feel for the tab. If you can’t find it, the strip may be installed upside down — in which case, the tab is at the top. Pull straight up instead.
Step-by-Step: How to Remove Command Strips Without Damage
Follow these steps carefully. Each one is designed to minimize risk to your walls and paint.
Step 1: Identify the Pull Tab
Look at the bottom of the Command strip (or the top, depending on installation). There should be a small, visible tab. If the strip has been painted over, gently score the edge with a fingernail to expose it.
Step 2: Grip the Tab Firmly
Use your thumb and forefinger to get a solid grip on the tab. If it’s very small, you can use a pair of needle-nose pliers — but be gentle to avoid tearing.
Step 3: Pull Straight Down — Slowly
This is the most important step. Pull the tab straight down, keeping it flush against the wall. Do not pull outward or at an angle. The adhesive will stretch and release. It may take 5–10 seconds of steady pressure.
Step 4: If the Tab Breaks — Use Heat
If the tab tears off and you can’t get a grip, don’t panic. Use a hair dryer on low heat for about 10–15 seconds to warm the adhesive. Then, gently roll the remaining adhesive off with your fingertip or a soft eraser.
Step 5: Remove Residual Adhesive
After the strip is off, you may see a faint sticky residue. Use your fingertip to roll it off — the adhesive will ball up and come away cleanly. Avoid rubbing alcohol, acetone, or commercial removers unless you’ve tested them in an inconspicuous area.
Step 6: Inspect the Wall
Check the surface for any paint lifting, discoloration, or texture change. If you see damage, document it with a photo and consider a small touch-up with matching paint (most landlords will provide a sample if you ask).
Surface Compatibility & Renter Risk
Not all walls are equally forgiving. Here’s how different surfaces respond to Command strip removal.
| Surface | Works Better When | Risk Level | Renter Tip |
|---|---|---|---|
| Painted drywall (flat paint) | Flat paint is more fragile. Remove slowly. | Moderate | Use heat if the tab breaks — flat paint lifts easily. |
| Painted drywall (eggshell/satin) | More durable than flat paint. | Lower | Still pull straight down; avoid twisting. |
| Textured walls | Texture creates gaps — adhesive may not bond as firmly. | Lower | Removal is often easier, but residue may cling to texture. |
| Glossy tile / glass | Smooth, non-porous surface releases cleanly. | Lower | Wipe with a damp cloth after removal. |
| Wallpaper | Adhesive can pull at seams or edges. | Higher | Avoid Command strips on wallpaper unless fully removable. |
Product & Method Comparison
Different Command strip products have different removal characteristics. Here’s how they compare.
| Product Type | Best For | Removal Ease | Renter Caution |
|---|---|---|---|
| Picture Hanging Strips | Frames, wall art | Easy — large tab, clear pull direction | Align strips correctly; removal is smooth if installed right. |
| Hooks (utility / decorative) | Keys, towels, lightweight items | Moderate — tab can be harder to access | Check tab location; some have top-pull tabs. |
| Wire Hooks | Cords, cables, small accessories | Easy — clear tab | Adhesive is smaller, so less residue. |
| Outdoor Strips (weather-resistant) | Outdoor decor, solar lights | Harder — adhesive is stronger | Use heat and patience; not ideal for indoor painted walls. |
Renter-Friendly Product Recommendations
If you’re looking for low-risk adhesive mounting options, these products are consistently reliable when used according to instructions.
Command Picture Hanging Strips
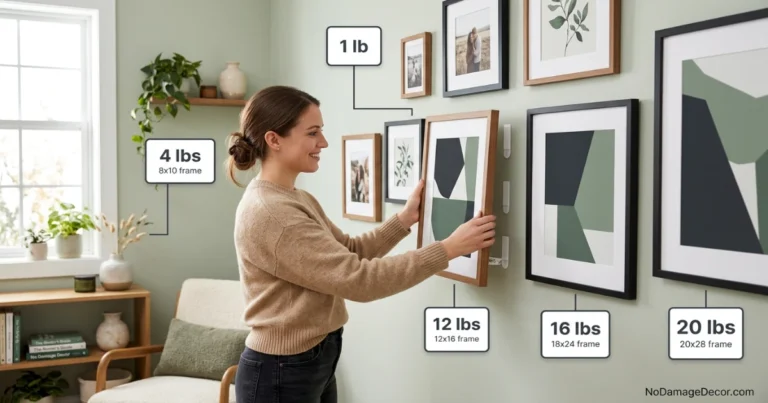
Large, easy-to-grip tabs and clear pull-down removal. Ideal for frames up to 12 lbs.
Caution: Use on painted drywall only. Avoid wallpaper.
Replace With Amazon LinkCommand Utility Hooks
Versatile hooks for keys, towels, and small decor. Multiple sizes available.
Caution: Check weight limits. Overloading increases removal risk.
Replace With Amazon LinkAdhesive Remover Eraser & Microfiber Cloth
Gently removes leftover adhesive without damaging paint. Works best on smooth surfaces.
Caution: Test on an inconspicuous area first.
Replace With Amazon LinkCommon Mistakes When Removing Command Strips
Avoid these pitfalls to keep your walls in move-out condition.
- Pulling outward — This tears the adhesive and can lift paint.
- Yanking quickly — Fast pulling doesn’t allow the adhesive to stretch and release.
- Using a scraper or knife — This almost always damages the wall.
- Applying solvent without testing — Rubbing alcohol or Goo Gone can soften or discolor paint.
- Removing when cold — Adhesive is stiffer in cold temperatures; warm the room or use a hair dryer.
- Forcing a broken tab — If the tab breaks, use heat — don’t dig at it with tools.
- Ignoring the installation direction — Some strips pull up, some pull down. Check the package.
- Removing too soon — Command strips need 1 hour of cure time before use, but removal is easier after they’ve been up for at least 24 hours.
Safer Alternatives
If you’re concerned about wall damage, or if your walls are particularly delicate, consider these lower-risk alternatives.
🪞 Renter-Friendly Alternatives
- Museum putty / poster tack — For lightweight items and posters. Removes cleanly with gentle rolling.
- Magnetic hooks — If you have metal surfaces or a metal door, magnetic hooks are zero-risk.
- Over-the-door hooks — No adhesive, no wall contact. Perfect for towels, robes, and bags.
- Freestanding display racks — For photos and art, consider leaning frames on a shelf or mantel.
- No-drill shelving systems — Tension-mounted or freestanding shelves avoid walls entirely.
For more renter-friendly decorating ideas, explore our no-damage wall decor ideas or learn about hang art without nails for even more wall-safe approaches.
Move-Out & Removal Guidance
When it’s time to move out, removing Command strips correctly is part of protecting your security deposit. Here’s a checklist:
- Start early — Don’t wait until the last day. Give yourself time to remove everything carefully.
- Document before removal — Take photos of the walls with the strips still in place, so you have a record.
- Follow the pull-down technique — Be patient and steady.
- Inspect after removal — Check for any residue or paint damage. Roll off residue gently.
- Touch up if needed — If you have matching paint (many landlords provide it), spot-touch any minor marks.
- Take final photos — Document the walls after removal as evidence of your careful work.
If you’re concerned about nail holes or other wall damage, read our guide on can your landlord charge for nail holes to understand your rights.
Sources & Safety Note: This guidance is based on manufacturer removal instructions for Command™ brand products and general renter best practices. Always follow the specific instructions on your product’s packaging. Surface compatibility varies; test an inconspicuous area before removing any adhesive. If you are unsure about your wall type or lease restrictions, consult your landlord or property manager.
Frequently Asked Questions
What is the best way to remove Command strips without damage?
The best method is to pull the exposed tab straight down slowly and steadily. The adhesive stretches and releases cleanly from the wall. Avoid pulling outward or at an angle.
Do Command strips always peel paint off?
No. When removed correctly — straight down, slowly — Command strips typically leave no damage. Damage usually occurs when the tab is pulled outward, yanked quickly, or when the strip is removed from fragile surfaces like flat paint or wallpaper.
What do I do if the Command strip tab breaks off?
If the tab breaks, use a hair dryer on low heat for 10–15 seconds to soften the adhesive. Then gently roll the residue off with your fingertip or a soft eraser. Do not use a scraper or knife.
Can I use rubbing alcohol to remove Command strip residue?
It’s best to avoid solvents like rubbing alcohol or Goo Gone unless you’ve tested them in an inconspicuous area. These can soften or discolor paint. For most surfaces, rolling the residue off with your fingertip works just as well.
How long should I wait before removing a Command strip?
Command strips are easier to remove after they’ve been up for at least 24 hours. The adhesive needs time to cure fully. Removing too soon can leave more residue.
Are Command strips safe for all wall types?
No. Command strips work best on smooth, painted drywall. They are not recommended for wallpaper, textured surfaces, or unpainted drywall. Always check the product packaging for surface compatibility.
Can I reuse Command strips after removal?
Command strips are not reusable. Once removed, the adhesive has stretched and won’t bond again. Always use fresh strips for new installations.
What should I do if my landlord charges me for Command strip damage?
If you followed proper removal and still had damage, document your process and photos. Some landlords may be willing to waive charges if you show you took reasonable care. For more guidance, read can your landlord charge for nail holes.
Renter-Safety Verdict
✅ Safe when
You pull straight down, slowly, and the strip is on painted drywall with a satin/eggshell finish. You’ve tested the removal method on an inconspicuous spot first.
⛔ Avoid when
Your walls are flat paint, wallpaper, textured, or unpainted drywall. Also avoid if your lease specifically prohibits adhesive wall mounts.
🔄 Best next step
If you’re planning a gallery wall, explore our DIY gallery wall without nails guide for renter-friendly ideas.
More Renter-Friendly Decor Guidance
Learn how to decorate your rental with confidence — without risking your deposit.
Read the Deposit-Costing Mistakes Guide →


14 Comments