No-Drill Spice Rack Ideas for Rental Kitchens
Keep your spices organized and within reach without putting a single hole in your rental cabinets, walls, or backsplash.
Quick Answer
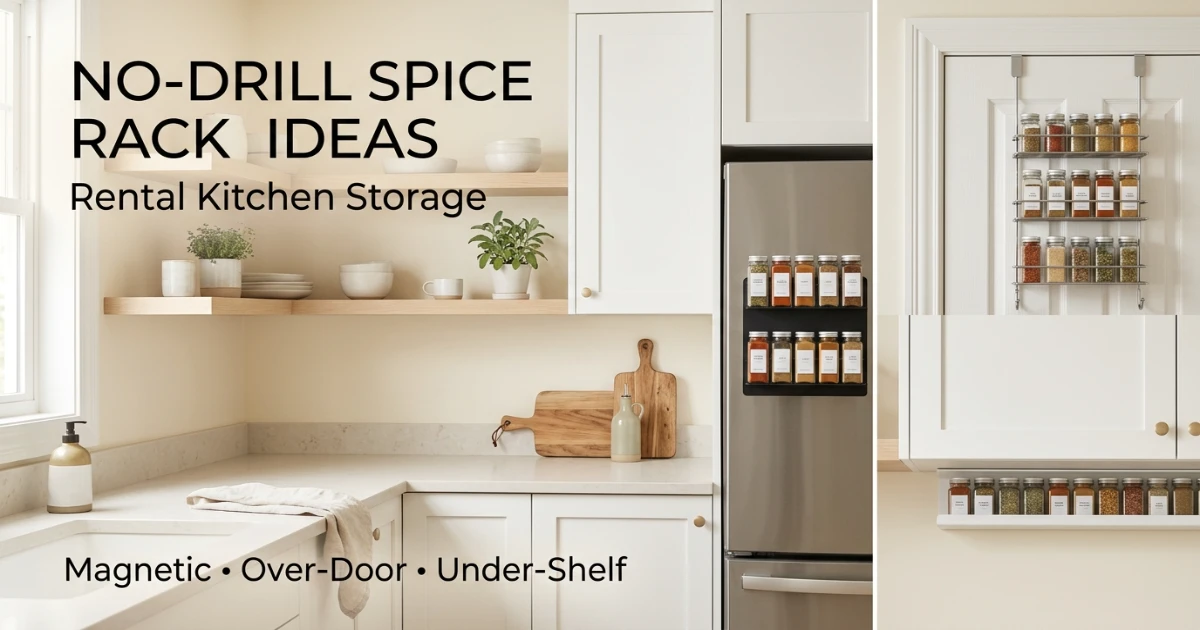
For most renters, the lowest surface-alteration options are over-door organizers and magnetic racks used on a surface with a genuinely strong magnet grip. Under-shelf organizers can also avoid drilling, but some designs—including the Joseph Joseph option below—use adhesive tape as part of the mounting system. Match the method to the exact surface, check your lease, follow the product instructions, and never exceed the current rated load.
Over-door organizers
Hook over a compatible pantry or cabinet door without drilling. Check top clearance and protect contact points from scuffing.
Magnetic racks
Attach to a refrigerator side or metal appliance. No adhesive touches the wall or cabinet. Test the exact appliance surface with a magnet before loading the rack.
Under-shelf racks
Use existing shelf space without drilling. Designs vary: some clip on, while others—including the Joseph Joseph pick below—also use adhesive tape.
Adhesive racks
Stick to smooth, clean surfaces. Require careful surface prep and strict weight management. Test first.
Why No-Drill Matters in a Rental Kitchen
Kitchens are one of the hardest rooms to organize without hardware. If you are choosing a no drill spice rack, the real question is not just where the jars fit—it is which mounting method suits the surface you actually have. The obvious wall-mounted solution usually means drilling into a cabinet door, painted wall, or tile backsplash. If your backsplash is also part of the makeover, see our peel and stick backsplash guide for the same surface-first approach.
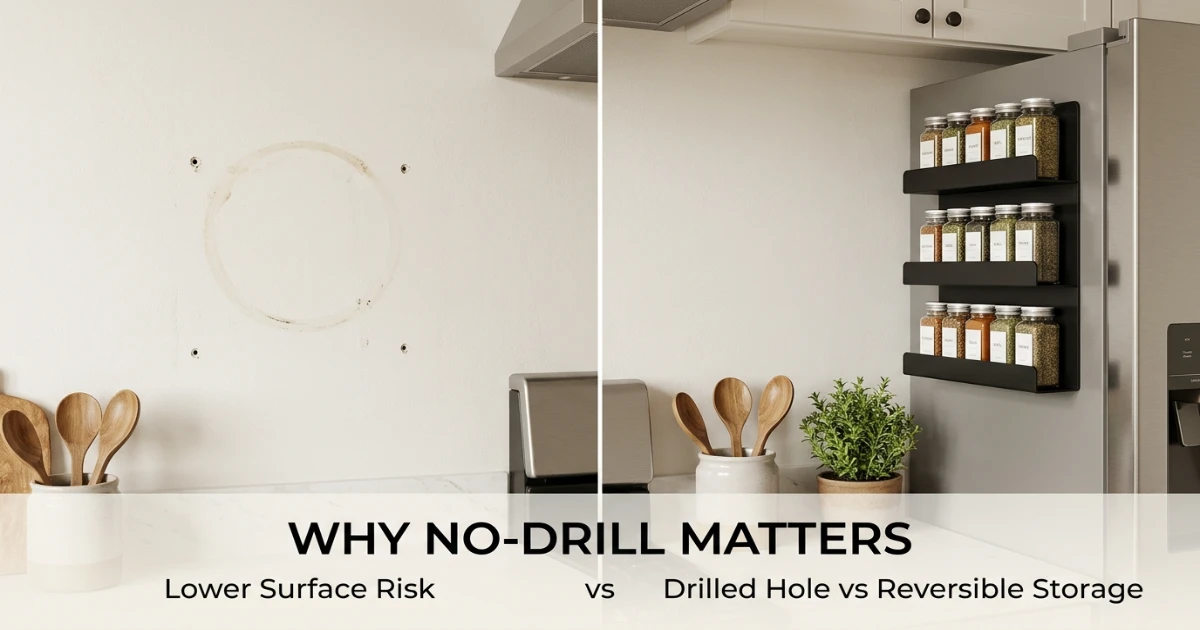
For renters, every hole carries a question. Will the landlord call it normal wear? Will it be patched properly? Will it come out of the security deposit? The rules vary by state, city, lease, and property, so the safest approach is to avoid unnecessary holes in the first place.
That does not mean living with a chaotic spice cabinet. It means choosing storage methods that rely on tension, magnets, over-door hooks, or carefully applied adhesive — and understanding exactly where each method is likely to succeed and where it may fail.
The real cost of a small hole
A single screw hole in drywall is usually easy to patch. But kitchens introduce complications: cabinet doors are often painted or laminated, backsplash tile can crack, and some landlords treat any hole in a cabinet as damage rather than normal wear. Patching a hole is inexpensive; matching a discontinued cabinet finish or replacing a cracked tile is not.
No-drill storage is not about avoiding all risk. It is about reducing avoidable risk by choosing methods that leave the original surface as close to untouched as possible.
No Drill Spice Rack Methods Compared
Not every no-drill method works the same way. Some rely on physical tension, some on magnetic force, and some on adhesive. Each has a different risk profile.
| Method | How it holds | Best surface | Main risk | Best for |
|---|---|---|---|---|
| Over-door organizer | Hooks over the top of a door | Standard interior doors | Door may not close if the hooks are thick; scuffing on door top | Pantry doors, cabinet doors with clearance |
| Magnetic rack | Magnets on the back | Refrigerator side, metal appliance, steel door | Weak magnet strength on some stainless steel; sliding under heavy load | Refrigerator sides, metal cabinet faces |
| Under-shelf rack | Hooks, clips or slides onto a shelf; some designs also use adhesive tape | Cabinet shelves of standard thickness | Shelf thickness or clearance mismatch; adhesive-backed designs add surface-prep/removal considerations | Existing cabinets with unused vertical space; verify the exact mounting design |
| Adhesive rack | Pressure-sensitive adhesive strips or tape | Smooth surfaces specifically approved by the exact adhesive product | Hold failure on incompatible or dirty surfaces; finish lifting or residue during removal | Smooth cabinet doors, painted walls with cured paint |
| Tension rod shelf | Spring tension between two surfaces | Inside cabinet between two side walls | May slip if surfaces are smooth or the rod is overloaded | Creating a second tier inside a cabinet |
Important: No method is universally damage-free. “Renter-safe” means the method is designed to reduce risk when the specific surface, weight, and installation instructions are followed. Always check the current rated limit, approved surfaces, and installation instructions for the exact product before use.
Surface Compatibility Check
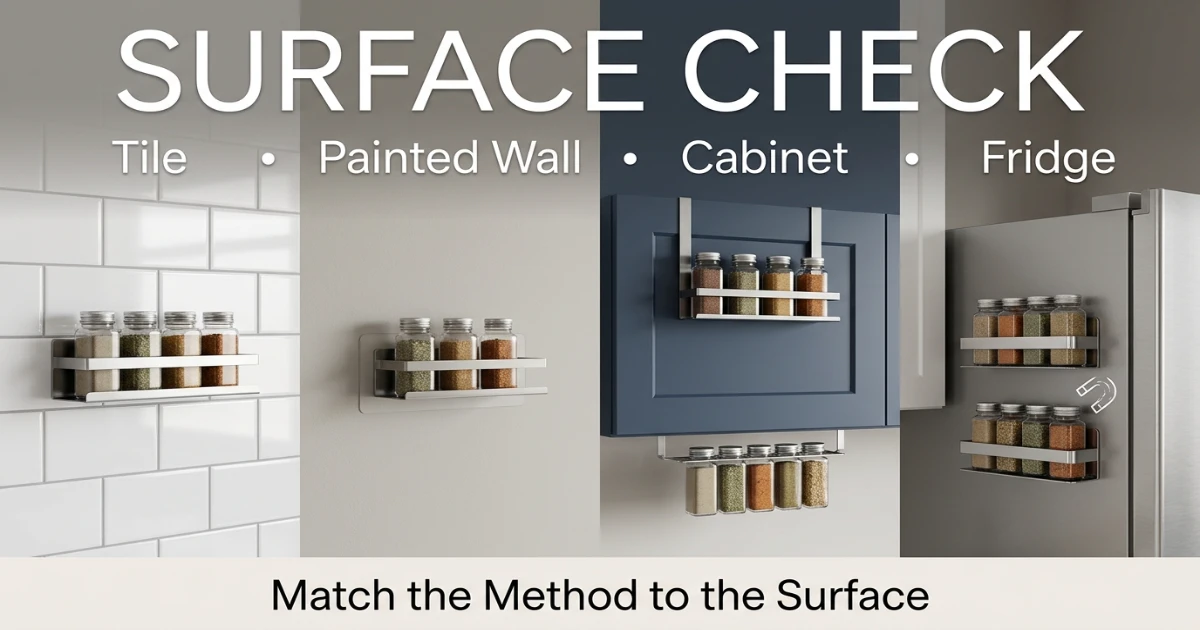
The surface under the rack matters more than the rack itself. A method that works perfectly on a refrigerator side may fail on a textured painted wall.
| Surface | Adhesive method | Magnetic method | Over-door method | Under-shelf method |
|---|---|---|---|---|
| Painted drywall (cured paint) | Only if the exact adhesive lists painted walls; confirm paint cure and test first | No (unless a metal plate is added) | No (door not present) | No |
| Painted wood cabinet door | Only if the exact product lists the cabinet finish; removal risk can be higher | No | Yes (if hooks fit) | No |
| Glossy ceramic tile | Often suitable only when the product lists tile; avoid grout lines | No | No | No |
| Stainless steel refrigerator | Use only if the exact adhesive lists the metal finish; magnetic may be simpler where grip is strong | Check if magnetic; many stainless steels are not | No | No |
| Laminate or melamine cabinet | Only if the exact product lists laminate/melamine; test an inconspicuous area | No | Yes (if hooks fit) | Yes |
Before committing to any adhesive method, follow the exact product instructions for surface prep rather than assuming one cleaner works for every adhesive. Command, for example, recommends a clean, dry, smooth surface, rubbing alcohol for prep, and at least seven days of paint cure before use on painted walls. Keep adhesive racks away from greasy or high-heat zones unless the exact product specifically permits that location.
Renter-Conscious Product Picks
These verified products represent three different no-drill approaches. Each has a specific use case and a realistic limitation. None of them is a universal solution.
As an Amazon Associate I earn from qualifying purchases.
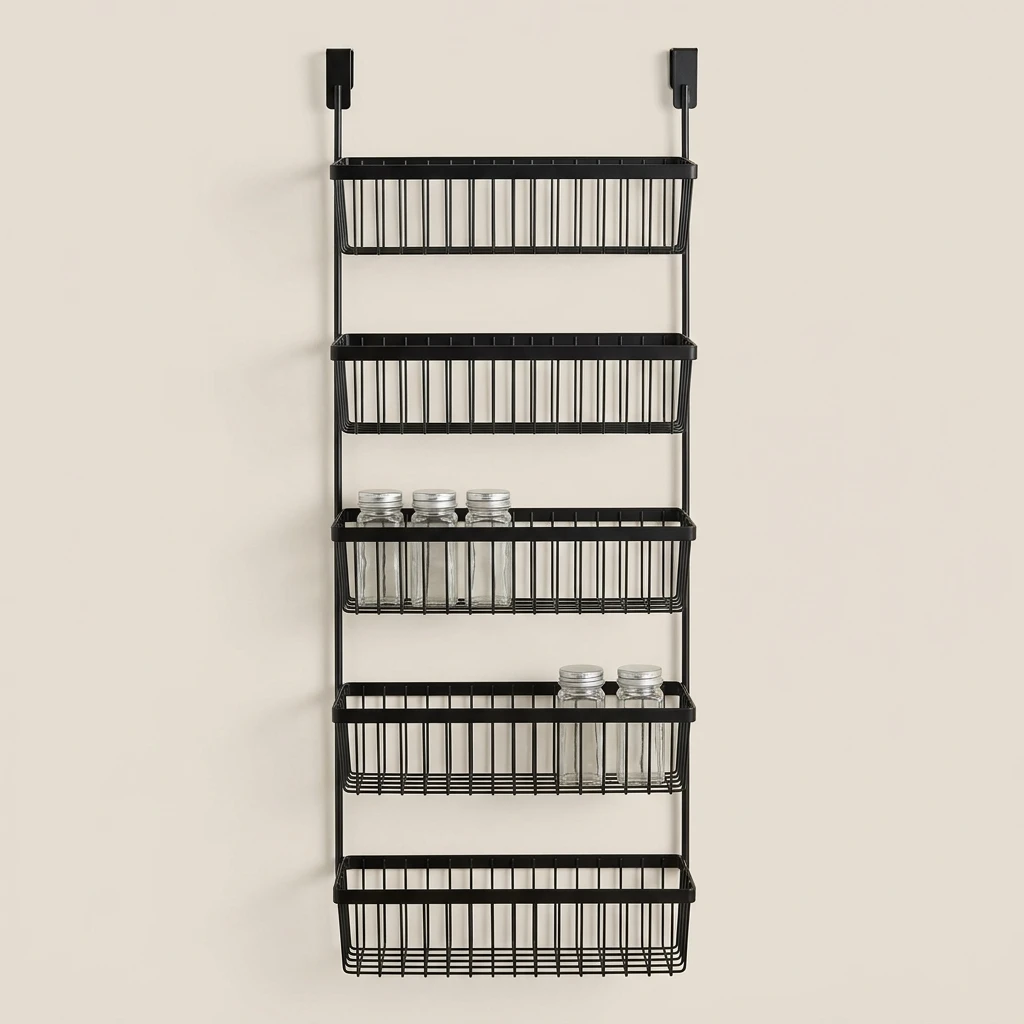
Moforoco 9-Tier Over The Door Pantry Organizer
Best for: Renters with a standard pantry or utility door who need visible, adjustable spice storage without adhesive or hardware.
This organizer hangs over the top of a door and uses adjustable baskets to hold spice jars, packets, and small bottles. Because it does not use adhesive on painted surfaces, it avoids the most common adhesive-related deposit disputes. The baskets are removable and can be repositioned.
Verified specification: Designed for standard interior doors; includes adhesive brackets for additional stability. Check the current product listing for exact dimensions and weight guidance before purchasing.
Caution: The included adhesive brackets are optional, but if you use them, treat them like any adhesive — test on an inconspicuous area first and follow the manufacturer’s removal instructions. Door thickness and top clearance vary; measure before ordering.
Check Price on Amazon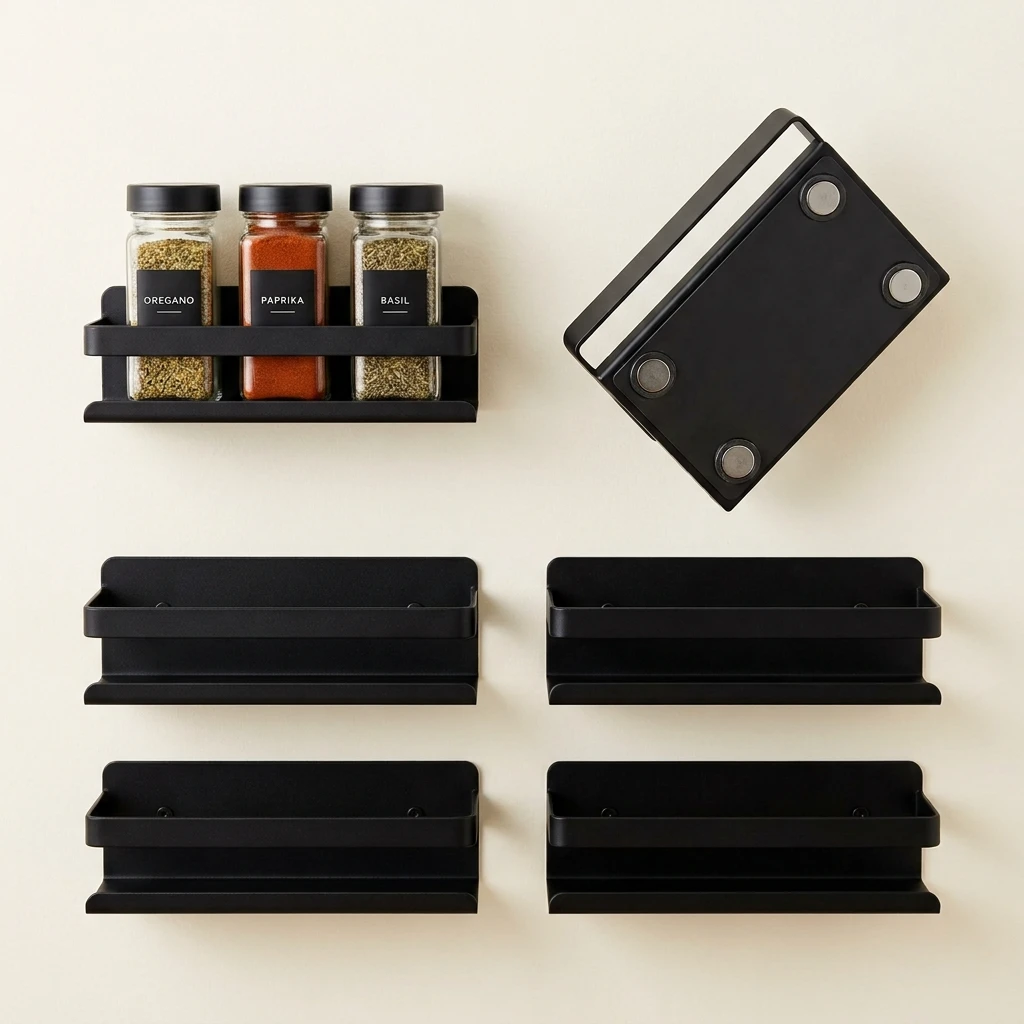
HuggieGems Metal Magnetic Spice Rack for Refrigerator, Black, 4 Pack
Best for: Renters with a refrigerator side, steel cabinet, oven side panel or other flat surface that gives a strong magnet grip.
This four-pack uses magnetic mounting rather than adhesive or drilled hardware, so it is easy to reposition when the surface is genuinely magnetic. The current US listing is traceable to ASIN B0C3H9MJQV.
Compatibility check: “Stainless steel” does not automatically mean a magnet will hold strongly. Test the exact placement area with a simple magnet before loading the rack, and follow the current listing’s load and placement guidance.
Caution: Stop using the rack if it slides, rocks, or shifts when jars are added. Keep glass containers away from locations where a falling jar could hit a cooktop, sink edge, pet, or child.
Check Price on Amazon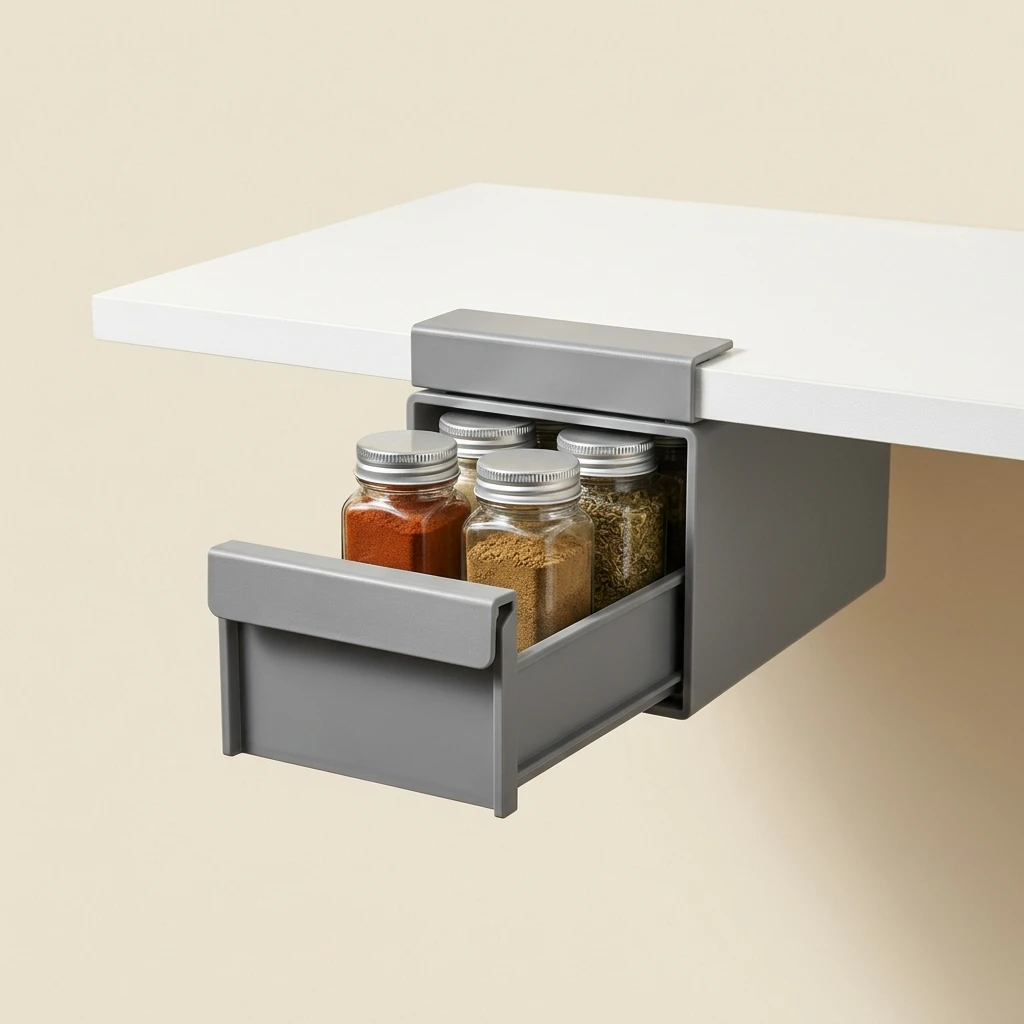
Joseph Joseph CupboardStore Gray Under-Shelf Spice Rack
Best for: Renters who have enough cabinet width and shelf clearance for a compact pull-out spice drawer and are comfortable using the product’s adhesive-assisted mounting system.
Joseph Joseph says the rack holds up to seven standard spice jars and installs beneath an existing shelf using front hooks plus non-marking 3M™ VHB™ tape. The installation is tool-free and does not require drilling, but it is not adhesive-free.
Verified specification: The official US page lists a minimum cabinet width over 12¾ inches, maximum shelf thickness of ¾ inch, and instructions to press the tape area firmly for 30 seconds and wait 24 hours before use. Measure your shelf and jar clearance before buying.
Caution: Because adhesive contacts the underside of the shelf, inspect the cabinet finish and check your lease before installation. Follow Joseph Joseph’s removal/care instructions rather than treating it like a purely clip-on rack.
Check Price on AmazonInstallation and Removal With Deposit Risk in Mind
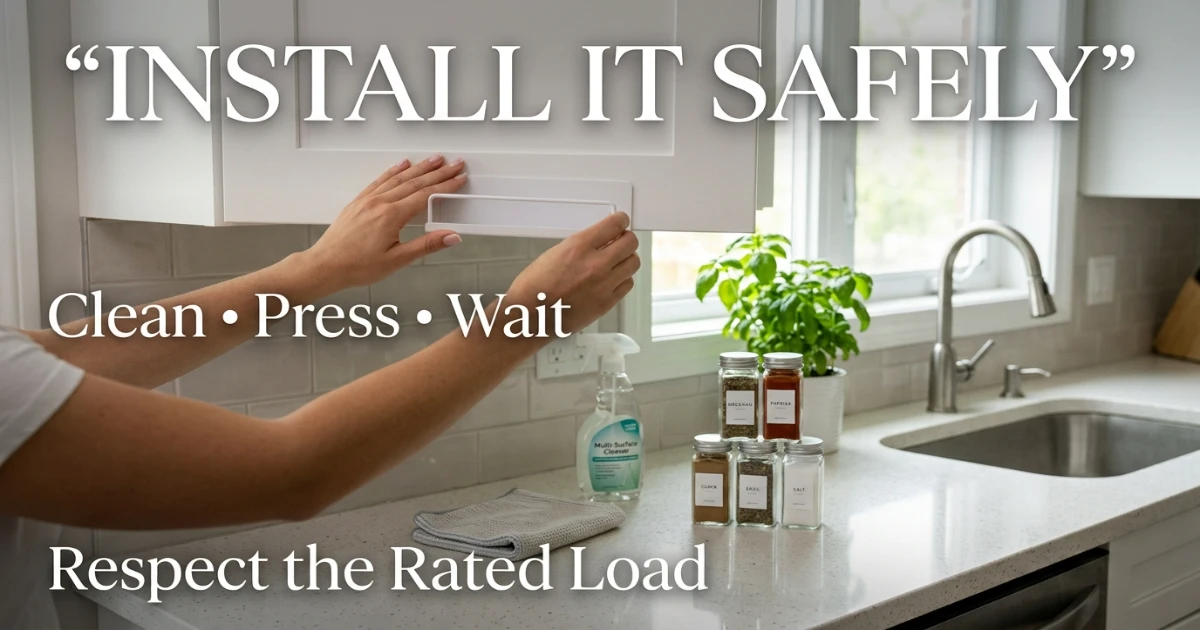
The installation process matters almost as much as the product choice. A rack that is installed correctly on a compatible surface is far less likely to cause damage when it is time to move out.
- Read the lease first. Check what your lease says about adhesives, wall hangings, and cabinet modifications. If the lease is unclear, ask management in writing before installing anything.
- Identify the exact surface. Painted drywall, painted wood, laminate, tile, and metal all behave differently. Do not assume that a method that works on one surface will work on another.
- Prepare the surface exactly as directed. Different adhesive systems have different prep rules. Remove grease and dust, make sure the surface is dry, and use only the cleaner or prep method specified by the manufacturer. Command products, for example, call for rubbing alcohol rather than household cleaners.
- Test an inconspicuous area. If you plan to use adhesive, apply a small strip in a hidden spot first. Wait the full recommended time and then remove it according to the manufacturer’s instructions. Check for paint lifting or residue.
- Respect the weight limit. Do not guess. Look up the current rated limit for the exact product and stay well below it, especially in kitchens where heat and moisture can weaken adhesive over time.
- Respect the product’s application conditions. Adhesive products can have specific temperature, humidity, and surface requirements. Avoid installing beside an active stove or on a hot, damp surface unless the exact product instructions permit it.
- Wait the full bonding time. Do not load the rack immediately. Follow the exact wait time for that product. Some Command products require at least one hour, while the Joseph Joseph under-shelf rack below specifies 24 hours before use.
- Document the installation. Take a photo of the empty surface before installation and a photo of the rack in place. This creates a record in case there is any question at move-out.
Removal: the step most renters rush
Removing an adhesive rack incorrectly can cause more damage than the installation itself. Follow the manufacturer’s removal instructions exactly rather than pulling the rack straight away from the surface. Some stretch-release systems are designed to be pulled slowly downward, but that method is not universal. If a strip breaks or residue remains, avoid knives, scrapers, heat or solvents unless the adhesive maker and the surface manufacturer specifically allow them.
If removal does not proceed as the instructions describe, stop before the finish starts lifting. Photograph the condition and ask management or the product manufacturer for guidance rather than escalating to a more aggressive removal method.
Mistakes That Put Your Deposit at Risk
Most deposit disputes related to spice storage come from a small number of avoidable mistakes.
Using adhesive on a greasy or dusty surface
Kitchen surfaces collect a thin layer of cooking grease that is not always visible. Adhesive applied over residue can lose hold unexpectedly. Clean and prepare the surface exactly as the adhesive manufacturer directs, allow it to dry, and avoid loading the rack until the specified bonding time has passed.
Overloading a rack because it “feels sturdy”
Adhesive and magnetic strength can feel reassuring when you first install a rack. That feeling does not replace the manufacturer’s rated weight limit. In kitchens, heat and moisture can gradually weaken adhesive bonds. Stay well below the limit, and remove heavy items before extended periods of high heat or humidity.
Installing on fresh paint
Fresh paint is a poor place to improvise with adhesive. Follow the adhesive maker’s paint-cure rule and, if known, the paint manufacturer’s guidance. Command currently says painted walls should cure for at least seven days before use; another system may specify something different. When timing or paint condition is uncertain, choose a non-adhesive method.
Ignoring the lease
Some leases prohibit adhesive wall hangings entirely. Others allow them but require removal at move-out. A no-drill method does not automatically mean lease-approved. Read the lease, and if you are unsure, ask management in writing and keep a copy of the response. The same principle applies across the home; our no-damage wall decor ideas guide focuses on low-commitment choices without treating any method as universally risk-free.

Lease and Deposit Considerations
Rules about wall hangings, adhesives, and normal wear vary widely. What is considered normal wear in one state or property may be treated as damage in another. There is no single national rule that covers adhesive residue, cabinet scuffs, or small holes.
Before installing any no-drill spice rack, take these steps:
- Read your lease for any clauses about adhesives, wall hangings, or cabinet modifications.
- Keep dated move-in photos of every kitchen surface, including cabinet interiors and walls.
- If you plan to use adhesive, ask management in writing whether it is permitted and document the response.
- At move-out, photograph every surface after removing your storage. Compare the photos to your move-in documentation.
- If you are unsure whether a surface can handle adhesive, choose a tension-based or over-door method instead.
- Keep a folder of written communication with your landlord or property manager.
For a broader move-out perspective, review our guide to deposit-costing decor mistakes. If you are setting up a new rental, the first apartment decorating checklist can help you document surfaces before adding storage. NoDamageDecor does not provide legal advice; when in doubt, check your lease and your state or local tenant resources.
Renter-Safety Verdict
Lowest deposit risk: Over-door organizers and magnetic racks that require no adhesive and no drilling. These methods leave the original surface untouched when installed and removed correctly.
Moderate deposit risk: Under-shelf systems vary. Pure clip-on designs can avoid adhesive but may scuff shelf edges; the Joseph Joseph product featured here uses hooks plus 3M™ VHB™ tape, so its underside surface prep and removal deserve the same caution as other adhesive-assisted storage.
Highest deposit risk: Adhesive racks on painted surfaces in kitchens. Heat, moisture, and grease increase the chance of adhesive failure or paint lifting on removal. If you choose this method, test an inconspicuous area first, clean thoroughly, respect the weight limit, and follow the manufacturer’s removal instructions exactly.
No method is guaranteed to leave a surface unchanged. The safest approach is to use the least invasive method that meets your storage needs, document the surface before and after, and keep your lease terms in mind at every step.
Frequently Asked Questions
Can I use adhesive spice racks in a rental kitchen without losing my deposit?
It depends on your lease, your landlord, and the surface. Adhesive can be renter-conscious when used on a smooth, clean, compatible surface and removed according to the manufacturer’s instructions. But adhesive failure and paint lifting are real risks, especially in kitchens with heat and moisture. Test an inconspicuous area first, document the surface, and check your lease before installing.
Are magnetic spice racks safe for stainless steel refrigerators?
Not always. Some stainless-look refrigerator panels are only weakly magnetic or not magnetic at all. Test the exact placement area with a small magnet first. If the magnet does not grip firmly and consistently, do not use a loaded magnetic spice rack there.
How much weight can a no-drill spice rack hold?
That depends entirely on the specific product and method. Over-door organizers are generally limited by the door hinge and the rack’s construction. Magnetic racks are limited by magnet strength and surface ferromagnetism. Adhesive racks are limited by the adhesive strip’s rated capacity, which can be reduced by heat, moisture, and surface texture. Always check the current rated limit for the exact product and stay well below it.
What is the safest no-drill spice rack for renters?
The lowest-risk options are those that do not rely on adhesive at all: over-door organizers and magnetic racks on compatible metal surfaces. Under-shelf racks can be low-risk, but they are not always adhesive-free. Some are simple clip-on designs, while others use adhesive-assisted mounting and require the right cabinet dimensions. Adhesive methods can work, but they carry more variables and should be tested carefully.
Will Command strips hold a spice rack in a kitchen?
Command products can be useful for some lightweight organization, but the exact product must be approved for your surface, location and load. Command says to start with a clean, dry, smooth surface, use rubbing alcohol for prep, wait at least seven days after painting, and follow the package-specific weight limit and wait time. Do not assume one strip type can safely support an unrelated spice rack.
Can I install a no-drill spice rack on painted drywall?
Magnetic and over-door methods will not work on drywall alone. Adhesive methods may work on cured, smooth painted drywall, but the risk of paint lifting on removal is higher than on tile or laminate. Test an inconspicuous area first, and consider whether a freestanding or countertop spice organizer would be a safer choice for that wall.
What should I do if adhesive residue is left on the cabinet after removal?
Do not scrape or introduce a solvent just because residue is stubborn. Follow the adhesive manufacturer’s residue-removal guidance and the cabinet or paint manufacturer’s care instructions. If the residue does not release with the approved method, stop, document the condition, and ask for product or property-management guidance before risking the finish.
Sources & Renter-Safety Note
- Command™ Brand application and surface guidance, including cleaning, paint-cure, weight-limit and wait-time instructions. See Command™ Product FAQs.
- Current product listings were used to verify the Moforoco and HuggieGems Amazon product identities/ASINs. Joseph Joseph specifications were cross-checked against the official CupboardStore™ Gray Under-shelf Spice Rack page.
- General renter guidance on security deposits and normal wear varies by state, city, lease, and property. NoDamageDecor does not provide legal advice. Review your lease and local tenant resources for rules that apply to you.
Keep Going
Upgrade Your Rental Kitchen Without Drilling
Spice storage is one piece of the puzzle. If you want more reversible upgrades, start with the kitchen guide below; for whole-home planning, see how to make your rental feel like home without overcommitting to permanent changes.
Explore No-Drill Kitchen Upgrades