Removable Stair Riser Decals: A Renter-Conscious Guide
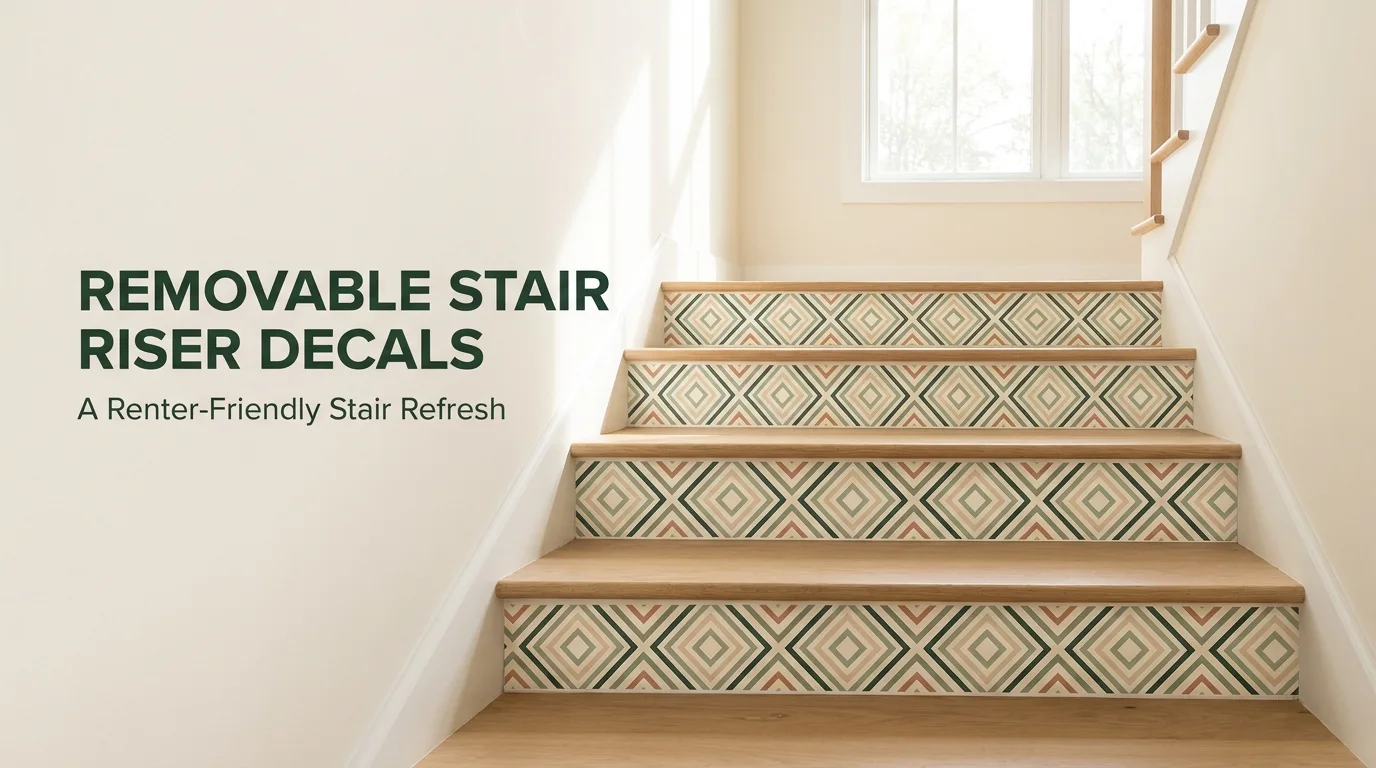
Removable stair riser decals can give a plain rental staircase color and pattern without permanently tiling or painting every riser. The key is choosing a compatible vertical surface, measuring carefully and planning removal before installation.
At a Glance
Are Removable Stair Riser Decals Renter-Friendly?
They can be a lower-commitment way to make a staircase feel intentional because the decorative layer goes on the vertical face rather than requiring tile, permanent paneling or a full paint project. The finished look can range from simple geometric repeats to faux tile, botanical motifs and continuous patterns.
The important distinction is that removable describes the decal’s intended behavior, not the condition of the surface beneath it. Adhesive vinyl can still pull weak paint, expose an old repair or leave residue. A staircase with peeling paint, moisture damage or a rough unstable coating is therefore a poor candidate even if the decal itself is marketed for temporary decor.
Check the lease before installing. Some landlords allow temporary adhesive decor while others restrict alterations to painted or finished surfaces. Written approval is especially useful when a staircase is a prominent fixed feature of the property.
If the stairs are not a good adhesive surface, shift the visual interest nearby using no-damage wall decor ideas or other ways to make a rental feel like home.
Surface Compatibility Matters More Than the Pattern
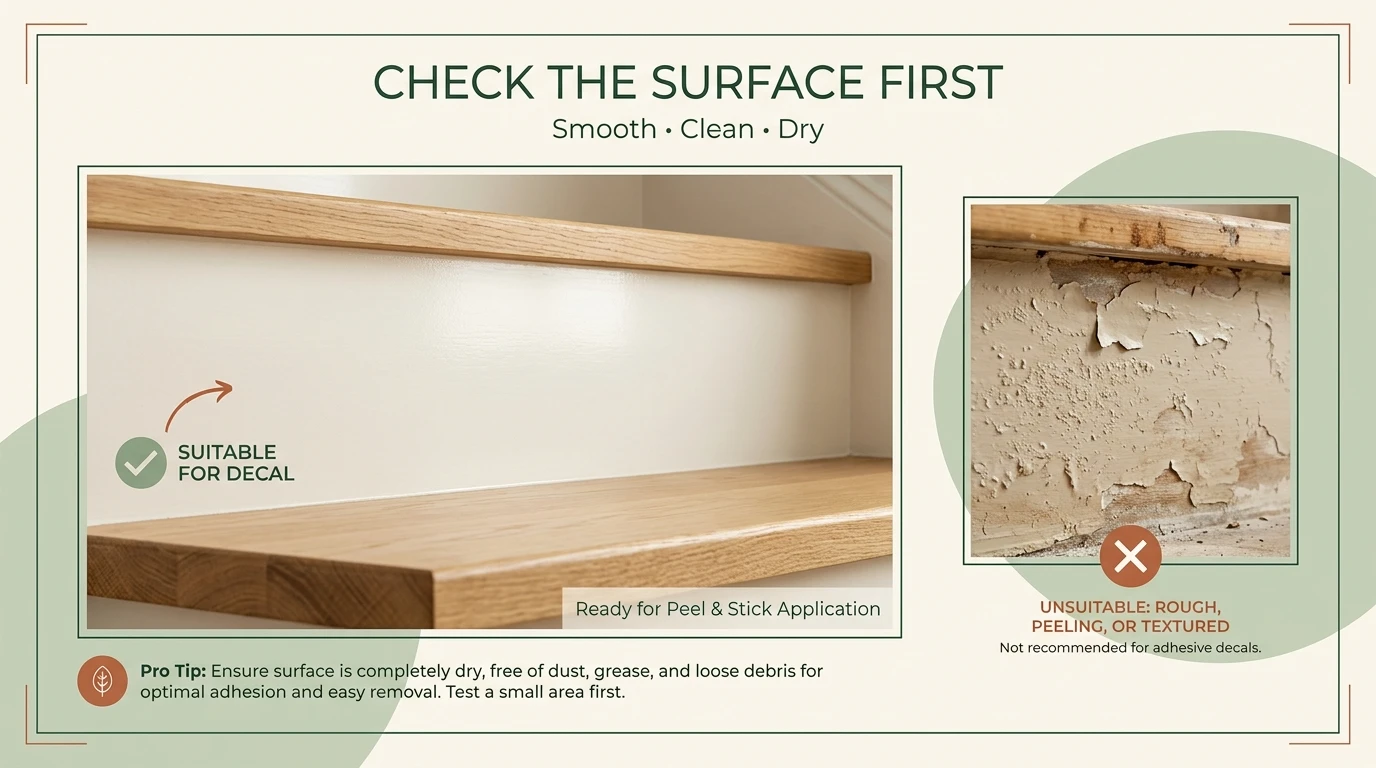
A decal needs consistent contact with the substrate. Smooth, clean and fully dry risers generally provide a more predictable starting point than rough or contaminated surfaces. Texture can leave air gaps beneath the adhesive, while dust and grease can prevent reliable bonding. Weak paint creates the opposite problem: the vinyl may adhere well to a coating that is poorly attached to the stair itself.
| Riser condition | Renter decision | Reason |
|---|---|---|
| Smooth, clean, dry, stable painted riser | Good candidate for a test | Provides consistent adhesive contact, though paint strength still matters. |
| Smooth sealed wood, laminate or tile | Potential candidate | Use only when the exact decal supports the material. |
| Pronounced texture | Usually avoid | Reduced contact can encourage bubbles and lifted edges. |
| Peeling, chalky or damaged paint | Avoid | The adhesive may pull an already weak coating. |
| Damp or moisture-damaged surface | Avoid | Resolve the underlying problem rather than covering it. |
| Horizontal tread or nosing | Avoid ordinary riser decals | Decorative riser vinyl is not automatically engineered as a walking surface. |
Keep ordinary riser decals off the tread
The riser is the vertical face between steps. The tread is the horizontal part your foot lands on. A decorative vinyl product intended for a riser should not automatically be treated as slip-resistant stair-tread material. Unless the manufacturer specifically states that the exact product is designed for the walking surface, keep it on the vertical face.
Measure Each Stair Riser Before Ordering
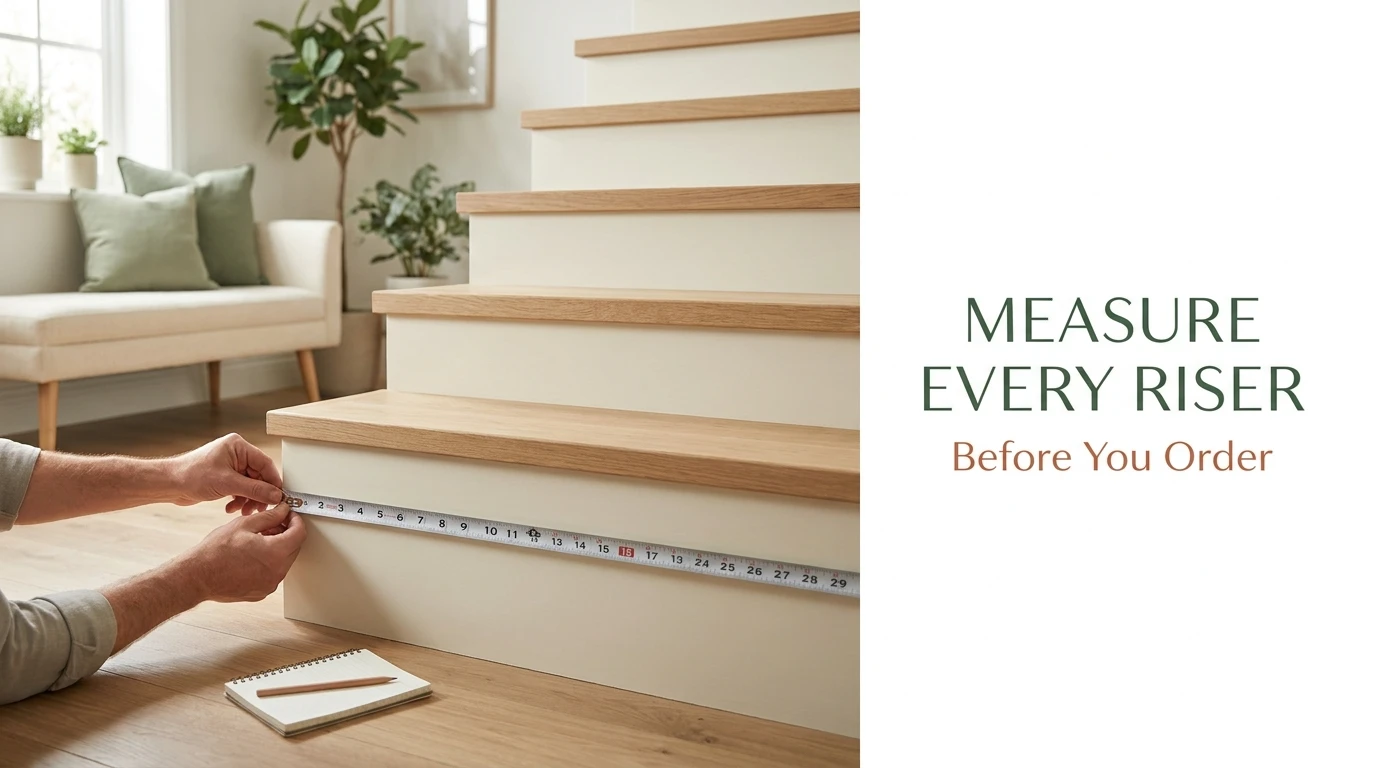
Stairs that appear identical can vary slightly because of trim, wall angles, construction tolerances or previous repairs. Measure the usable flat vertical face instead of relying on one measurement for the entire staircase.
- Count every riser you intend to decorate.
- Measure the usable width from side to side.
- Measure the vertical height below the tread lip.
- Check multiple points where the edges are uneven.
- Record molding, gaps or trim that changes the usable rectangle.
- Confirm whether the chosen design is independent or must align across multiple steps.
Repeating patterns are often easier to fit than a continuous mural because a small trim difference is less obvious. If the design runs from one riser to the next, arrange all panels in sequence before exposing any adhesive.
What to Look For Before Buying Stair Riser Decals
Clear surface guidance
The seller should explain which materials and finishes the adhesive is designed for and identify important exclusions.
Useful dimensions
Compare the strip dimensions with your measured risers and confirm exactly how many pieces are included.
Removal instructions
A temporary rental product should provide a documented removal method. Save those instructions after installation.
Correct placement
Confirm that you are buying decorative riser material rather than assuming it can also cover a horizontal tread.
Trim-friendly design
Patterns with some edge tolerance are easier to fit around minor variations than designs with critical borders.
Sample option
If a sample is available, it can help you assess color, opacity, texture and initial compatibility before covering the staircase.
How to Install Removable Stair Riser Decals
Always prioritize the instructions supplied with the exact decal. The steps below are a practical general framework for adhesive vinyl installed on a suitable vertical riser.
Check the lease and instructions
Confirm that temporary adhesive decor is permitted and that the manufacturer supports the existing riser material and finish.
Test a discreet area
Use a sample where practical. A test can expose poor adhesion or an obviously fragile coating before you cover multiple stairs.
Clean and dry the riser
Remove dust and surface grime using a cleaning method compatible with both the existing finish and the decal instructions. Allow the surface to dry fully.
Lay out the design
Arrange panels in their intended order and confirm the orientation before peeling the backing.
Align the first edge carefully
The first panel establishes the visual reference for the remaining stairs, particularly with geometric or continuous patterns.
Expose adhesive gradually
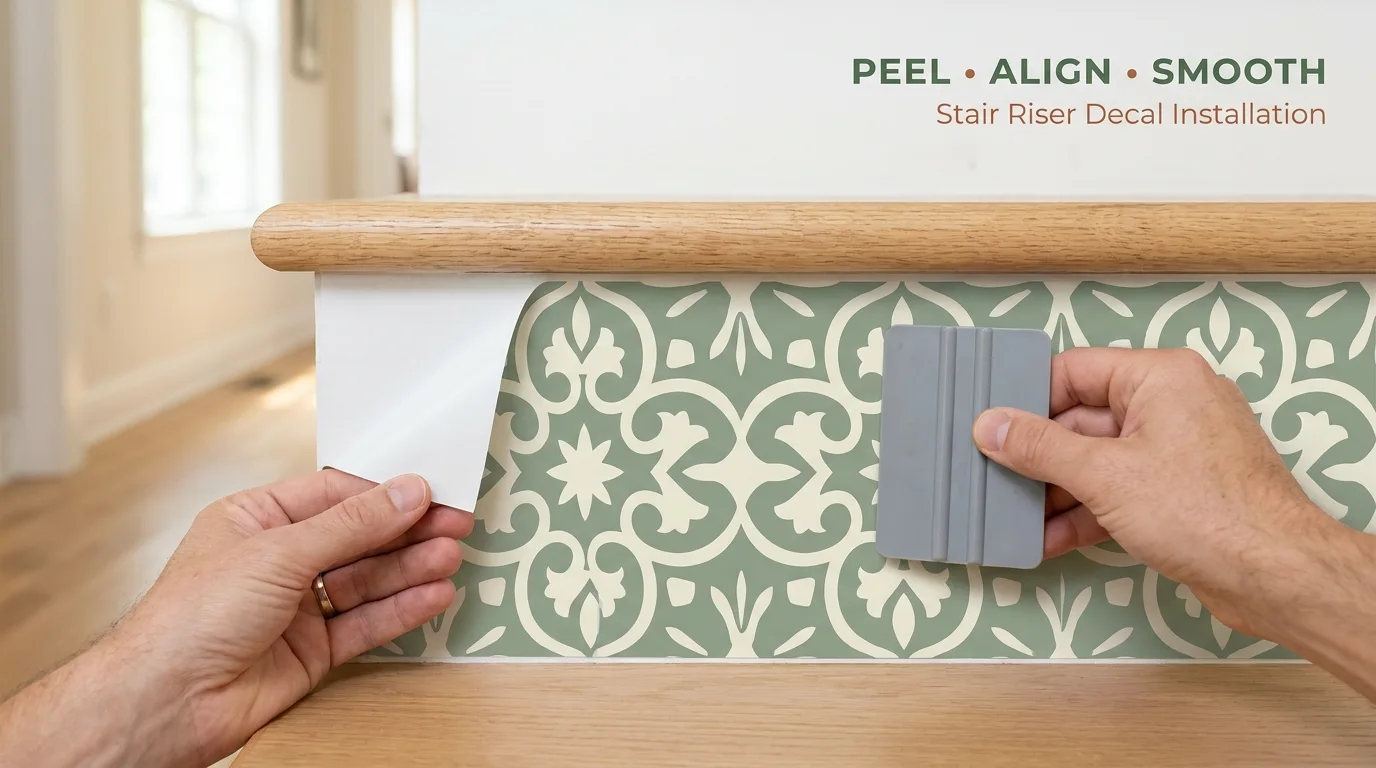
Peel only part of the backing, smooth the decal onto the vertical face, and continue gradually. Avoid stretching flexible vinyl to force alignment.
Smooth and trim carefully
Use the application method recommended by the manufacturer. If trimming is allowed, protect the underlying stair finish from accidental blade marks.
Eight Mistakes to Avoid
- Ordering before measuring. Pack size and riser dimensions can vary.
- Applying over loose paint. Adhesive cannot strengthen a failing coating.
- Covering the tread with ordinary decorative vinyl. A riser decal is not automatically a walking-surface product.
- Skipping the layout. Multi-panel designs can end up out of sequence.
- Stretching flexible vinyl. This can distort patterns and create tension at the edges.
- Cutting carelessly against the stair. A blade can score the finish beneath the decal.
- Assuming removable means damage-free. Paint condition and adhesive behavior still matter.
- Waiting until the last minute to remove it. Controlled removal is easier when you have time to stop and reassess.
The same surface-first thinking applies to removable wallpaper for renters. The attractive pattern is only half the decision; the substrate underneath determines much of the renter risk.
Removal and Move-Out Planning
Before installation, photograph the original staircase and save the product name, instructions and order information. If management approved the project, keep that written approval. These records are useful months later when you need to remember what was installed and what the surface looked like beforehand.
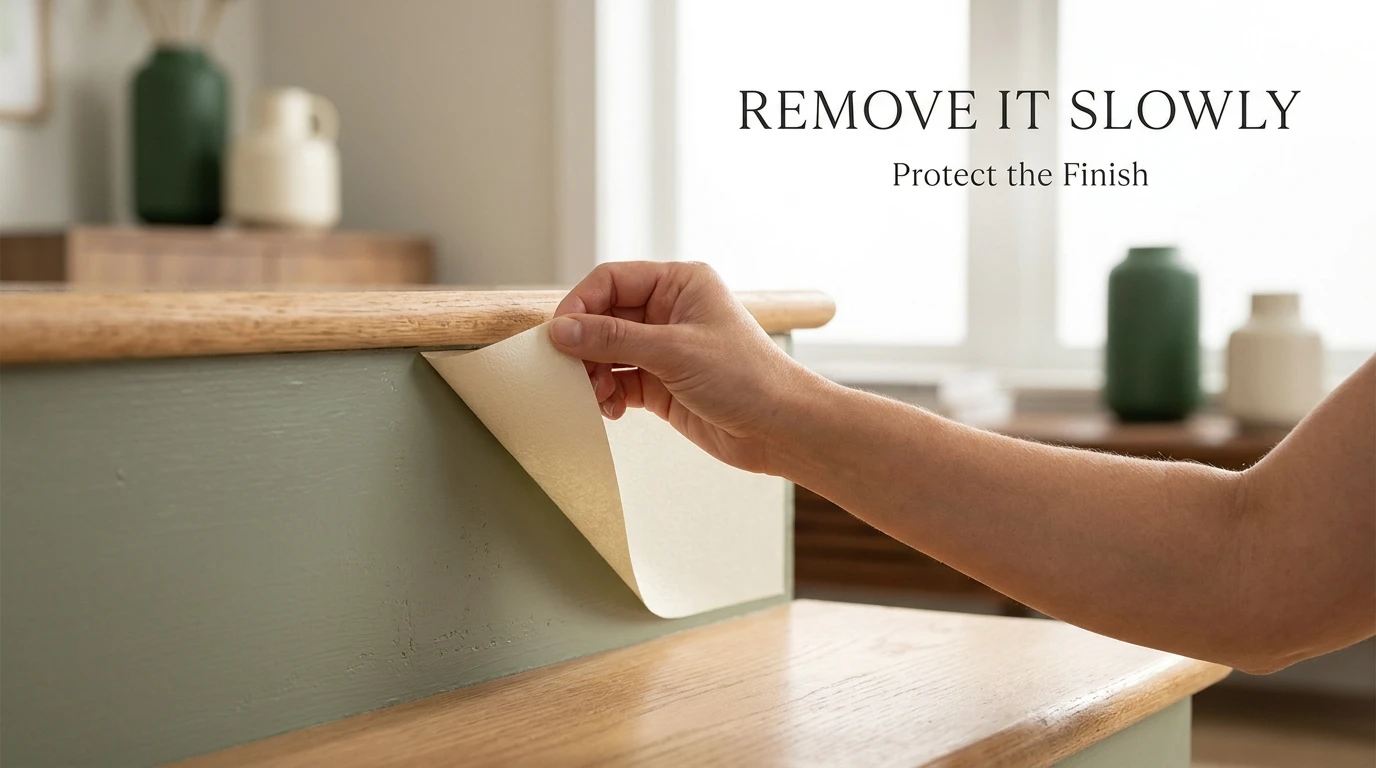
Use the manufacturer’s removal method for the exact vinyl. Do not automatically reach for heat, solvent, adhesive remover or a scraper. A technique that releases one adhesive may soften, stain or scratch another surface.
Start in a less visible location and work slowly. If paint begins to release, stop rather than continuing across the entire staircase. Rules concerning alterations, repairs and security-deposit deductions vary by lease, state, city, property and circumstances, so document the condition instead of assuming every adhesive-related mark is treated the same way.
Take move-out photos after removal. For other common risks, review these deposit-costing decor mistakes.
When Another Decorating Method Is Better
If the riser finish is fragile, rough or already damaged, leaving it uncovered is usually the lower-risk choice. Move the decorative emphasis to the wall beside the staircase, nearby lighting or freestanding elements instead.
Use the stair wall
Create a focal point beside the stairs using lightweight art. Start with our guide to hanging art without nails.
Improve the lighting
A warmer, better-lit stair area can feel dramatically more finished without covering the risers. See these renter-friendly lighting ideas.
Renter-Safety Verdict
Removable stair riser decals are a reasonable renter-conscious decorating option when they stay on smooth, clean, dry and stable vertical risers, the lease permits the change and the exact product supports the surface. They are not universally damage-free. Keep ordinary decorative vinyl off the walking tread, test uncertain finishes, measure carefully and plan removal before covering the full staircase.
Explore No-Damage Wall Decor Ideas
Use the same surface-first approach throughout the apartment and choose decorating methods that make sense both now and at move-out.
Explore Renter-Friendly Wall DecorFrequently Asked Questions
Are removable stair riser decals safe for rentals?
They can be renter-conscious on a suitable surface, but no adhesive decal is universally paint-safe. Check the lease, follow the exact product instructions and test an inconspicuous area when the finish is uncertain.
Where should stair riser decals be installed?
Ordinary decorative stair riser decals belong on the vertical riser face. Do not extend them onto the horizontal tread or nosing unless the exact product is specifically designed and rated for that use.
Do stair riser decals work on textured stairs?
Strong texture is usually a poor candidate because it reduces consistent adhesive contact. Follow the surface requirements for the exact decal.
Can removable stair decals pull off paint?
Yes. Removal behavior depends on the adhesive and the condition and bond of the existing coating. Weak or poorly bonded paint is more vulnerable.
Should I measure every stair riser?
Yes. Measure the usable vertical width and height, particularly when ordering fitted graphics. Small dimensional differences can affect alignment and trimming.
Can I put stair riser decals on painted wood?
Potentially, if the paint is stable and the exact decal supports that surface. A small test is sensible because paint condition affects both adhesion and removal.
How do I remove stair riser decals before moving out?
Follow the manufacturer’s removal directions, begin in a less visible area and peel slowly. Stop if the coating starts lifting, and avoid adding heat, solvents or scraping tools unless they are appropriate for both the decal and underlying finish.
Sources & Renter-Safety Note
Technical guidance for this article was checked against current specialist stair-riser decal information. Product requirements vary, so the instructions for the exact decal should take priority over general installation advice. No Amazon product is included because an exact current ASIN was not verified confidently enough to meet NoDamageDecor’s accuracy standard.