Upcycling Second-Hand Furniture with Removable Wallpaper (Renter-Friendly DIY 2026)
A practical, no-damage guide to transforming thrifted furniture with peel-and-stick wallpaper — no paint, no permanent alterations, and no risk to your security deposit.
If you rent your home, you already know the frustration: you find a gorgeous piece of second-hand furniture at a thrift store or an estate sale, bring it home, and then realise it needs a serious makeover — but you can’t sand, prime, or paint without worrying about ventilating a small apartment or voiding your lease agreement. That’s exactly where removable wallpaper changes everything.
Removable wallpaper — often called peel-and-stick wallpaper — has moved well beyond walls. In 2026, it is one of the most versatile tools in any renter’s decorating toolkit. Applied directly to drawer fronts, cabinet doors, tabletops, side panels, and shelving backs, it allows renters to completely reimagine a piece of furniture in an afternoon, with zero permanent commitment and a finish that can look genuinely expensive when done right.
This guide covers everything: which furniture pieces work best, how to prep a thrifted surface, which wallpaper styles translate best to furniture, and how to avoid every common mistake that leaves renters with bubbles, lifting edges, or a piece that looks exactly like a DIY project rather than a designer piece.
Why Removable Wallpaper Works So Well for Furniture Upcycling
Removable wallpaper was originally designed to adhere to flat, painted walls — and furniture, specifically modern flat-pack furniture, shares those same surface properties. Smooth, sealed wood surfaces, laminate panels, and painted MDF all accept peel-and-stick adhesive in exactly the same way a standard wall does.
What makes it particularly ideal for renter-friendly furniture makeovers is the pressure-sensitive adhesive used in quality removable wallpaper. Unlike permanent contact paper, the adhesive is repositionable — you can lift and re-lay the sheet during application, and when you’re done with the look entirely, you can remove the panel without leaving a sticky residue or pulling the surface coating off the furniture.
For renters specifically, this solves two problems at once: you can dramatically upgrade the look of a cheap or outdated thrifted piece without paint fumes in a small apartment, and you can restore the piece to its original state before moving out or selling it on. It is one of the most genuinely reversible decorating techniques available for apartment living.
If you’re already exploring what peel-and-stick technology can do in a rental, take a look at our broader guide to peel-and-stick decor for renters — the same principles translate across surfaces throughout your home.
Best Types of Second-Hand Furniture to Upcycle with Removable Wallpaper
Not every thrifted piece is an equally good candidate. The best furniture for this technique shares a few common traits: flat panel surfaces, smooth finishes, and limited surface texture. Here is a breakdown of what works best and why.
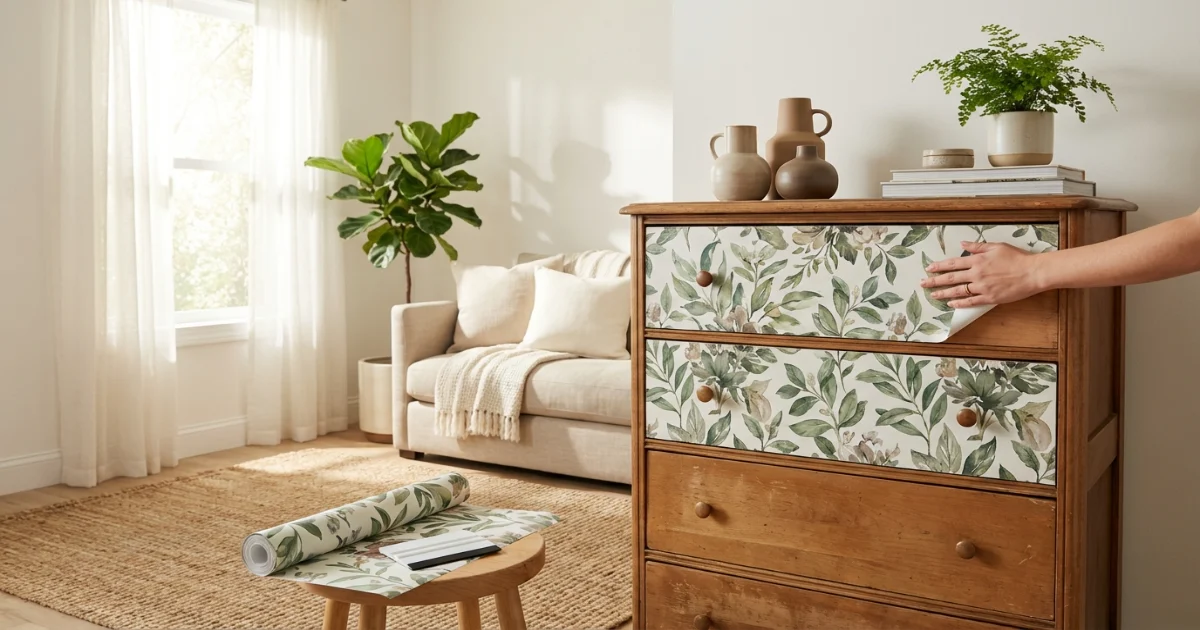
Dressers and Chests of Drawers
Drawer fronts are the ideal canvas — flat, square, and already designed to be noticed. Apply a bold botanical or geometric pattern to each front for maximum visual impact.
Side Tables and Nightstands
The top surface and any door or drawer panel on a nightstand take removable wallpaper cleanly. A single pattern ties the bedroom together without a permanent commitment.
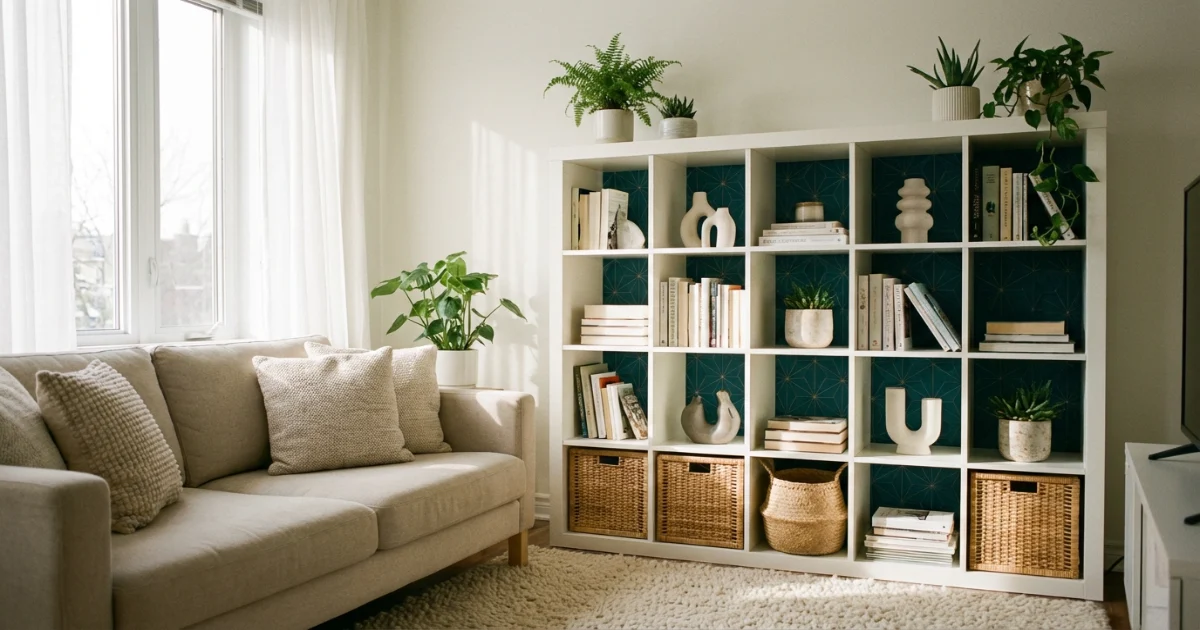
Bookcases and Shelving Units
The back panel of a bookcase transforms the piece entirely. A dark navy or rich terracotta pattern behind open shelving creates the effect of built-in cabinetry.
IKEA Flat-Pack Furniture
IKEA pieces like the KALLAX, PAX, and HEMNES are practically designed for this. Their smooth laminate surfaces are exceptionally compatible with peel-and-stick adhesive.
Coffee Tables (Flat Top)
A flat, smooth tabletop covered in removable wallpaper and sealed with a removable contact film on top creates a statement piece that holds up to everyday use.
Filing Cabinets and Office Storage
Plain metal or laminate filing cabinets become stylish home office pieces with a single sheet of subtle textured or linen-look wallpaper. Pair this with a renter-friendly home office setup for a cohesive look.
Avoid applying removable wallpaper to heavily distressed wood with open grain, wicker or rattan surfaces, very old furniture with peeling original paint, or any surface with significant texture variation. The adhesive needs flat, continuous contact to hold cleanly and lift without damage.
Step-by-Step: How to Apply Removable Wallpaper to Thrifted Furniture
The application process is straightforward, but the prep work determines whether the result looks professional or not. Take the time with each step and the finish will be dramatically better.
-
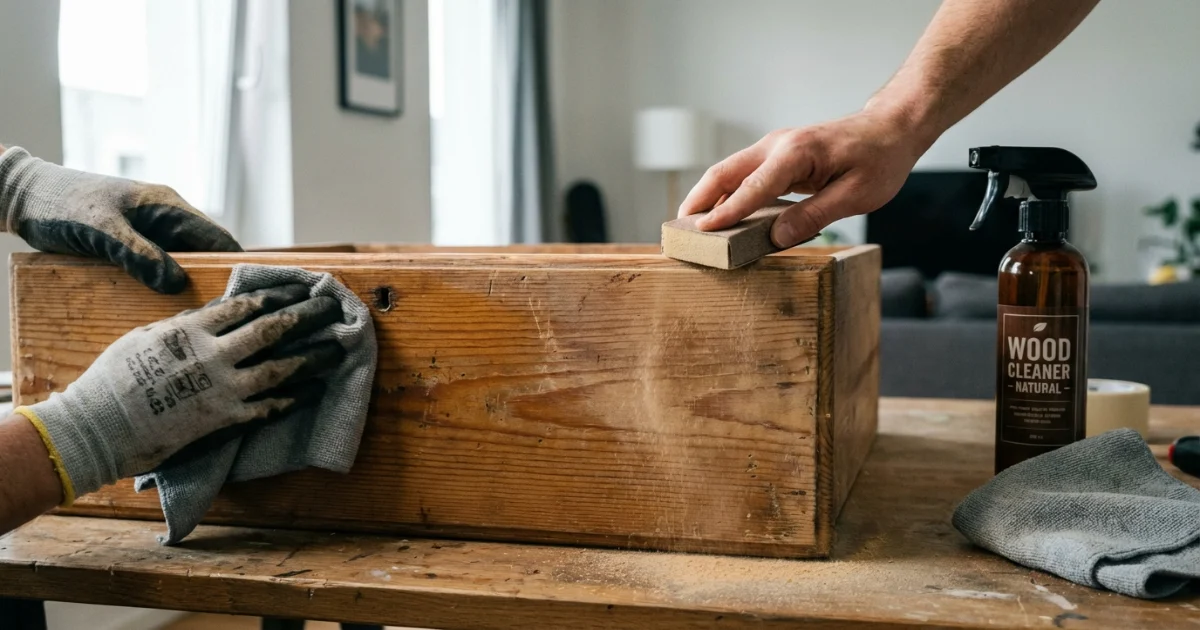
Clean the surface thoroughly
Thrifted furniture carries years of dust, oils, cleaning product residue, and sometimes wax polish. Wipe every surface you plan to cover with a diluted isopropyl alcohol solution or a quality de-greaser. Let it dry for at least two hours. Any residue left on the surface will cause the adhesive to fail prematurely.
-
Inspect and lightly sand rough spots
Run your hand across drawer fronts and panels. Any small nicks, raised grain, or chipped paint edges will telegraph through the wallpaper once applied. Lightly sand any rough areas with fine-grit sandpaper (220-grit is ideal) and wipe clean. You’re not refinishing — just smoothing.
-
Measure and cut your panels with a 3mm overlap
Measure each drawer front or panel individually — thrifted furniture is often not perfectly consistent in dimension. Cut each panel from your removable wallpaper roll with a 3mm overlap on all sides. This makes alignment easier and allows for trimming to a perfect edge once applied.
-
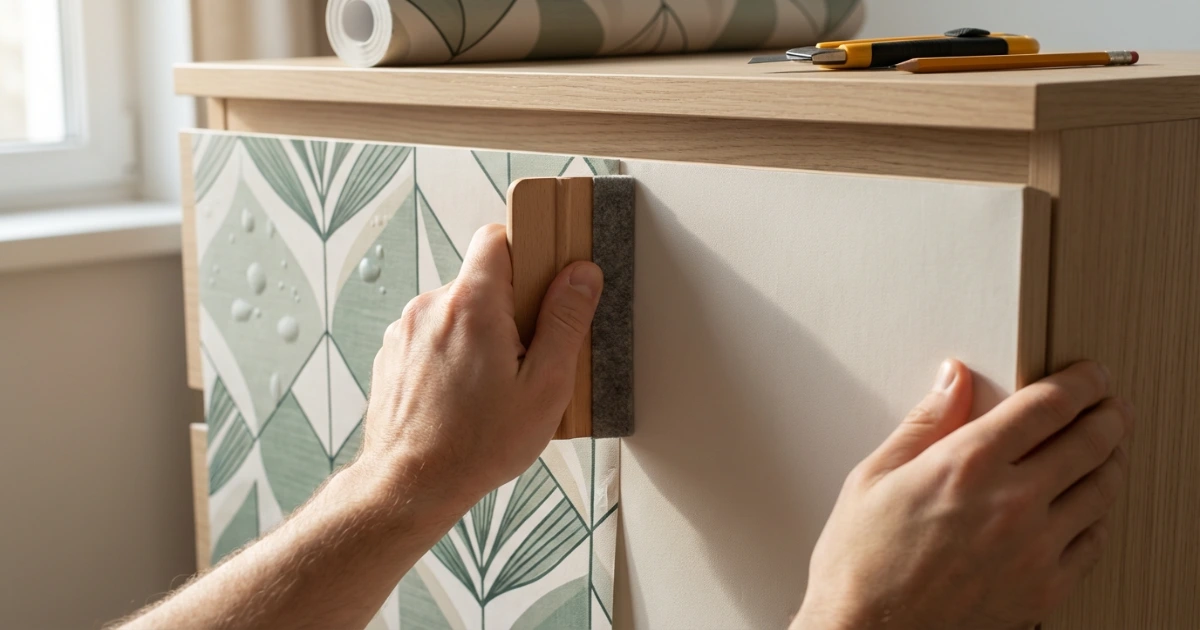
Peel the backing slowly and apply from the top edge
Peel the backing down by about four inches, align the top edge of the wallpaper with the top edge of the panel, and press firmly along that first line. Then slowly pull the backing down while smoothing forward with the flat of your hand or a wallpaper smoother tool.
-
Smooth out air bubbles immediately with a squeegee or card
Work from the center outward in firm strokes using a plastic squeegee or an old loyalty card. Small bubbles will disappear on their own within 24 to 48 hours as the adhesive settles. Do not pierce bubbles — lift the sheet back to the nearest bubble and re-smooth instead.
-
Trim excess with a sharp craft knife against a steel ruler
Use a fresh craft knife blade — dull blades drag and tear the wallpaper. Hold a steel ruler firmly against the edge of the panel and cut in a single smooth stroke. Take your time on corners. A clean edge is the detail that separates a polished result from an obviously DIY one.
-
Press all edges firmly and leave to cure for 24 hours
Run your fingernail firmly along every edge and corner seam after trimming. Leave the piece undisturbed for 24 hours before using it. The adhesive continues to bond during this period and edges that seem slightly loose initially will often set fully on their own.
Apply wallpaper panels to a warm, dry surface — cold or humid conditions slow the adhesive’s bond. Avoid applying during high-humidity days if possible, and never apply to furniture that has been stored in a cold space and not yet reached room temperature.
Best Wallpaper Styles and Finishes for Furniture Makeovers in 2026
Not all removable wallpaper patterns translate equally well from walls to furniture. Scale, finish, and pattern direction all matter when you’re working with smaller, more defined surfaces. Here is what is working best in 2026.
Pattern Styles That Work Best on Furniture
| Pattern Type | Best For | 2026 Trend Rating |
|---|---|---|
| Botanical / Leaf Prints | Dresser fronts, bookcase backs | Very High |
| Geometric / Linear | Side panels, cabinet doors | High |
| Abstract Watercolour | Coffee table tops, nightstand faces | High |
| Marble and Stone Effect | Tabletops, shelving unit sides | Moderate – High |
| Linen / Fabric Texture | Cabinet fronts, side table panels | High (neutral, long-lasting) |
| Maximalist Floral | Statement dressers, entryway console tables | Very High (2026 trend) |
| Art Deco / Fan Motifs | Bedside tables, bar carts, side tables | Moderate (niche, high impact) |
Finish Types and What They Mean for Durability
The finish of your removable wallpaper affects both how it looks and how it holds up on furniture surfaces.
- Matte finish — the most forgiving, hides minor surface imperfections beneath, and looks the most premium on furniture. Slightly lower wipe-ability.
- Satin or semi-gloss finish — easier to wipe clean, which makes it far more practical for tabletops and surfaces that see regular use.
- Textured or embossed finishes — look elevated but require very smooth base surfaces. Any surface imperfection shows through more readily.
- Non-woven fabric backing — the highest-quality option and the easiest to reposition during application. Holds better on furniture edges than standard vinyl-backed sheets.
For a full comparison of the best removable wallpaper brands currently available, including which ones hold up best on furniture surfaces, see our detailed peel-and-stick wallpaper brand guide.
Mistakes to Avoid When Upcycling Furniture with Removable Wallpaper
Most disappointing results from this technique come from a handful of consistent mistakes. Knowing them in advance saves you time, money, and a wasted roll of wallpaper.
- Skipping the cleaning step — this is the single most common cause of peeling edges and adhesive failure. Clean thoroughly with isopropyl alcohol, not just a damp cloth.
- Applying to a freshly painted surface — paint needs to cure for at least 30 days before removable wallpaper adhesive will bond properly. New paint feels dry but is not fully hardened.
- Using scissors instead of a craft knife for trimming — scissors compress and drag the paper edge, leaving a ragged line. A fresh craft knife blade is non-negotiable for clean results.
- Choosing a large repeat pattern for small panels — a 24-inch pattern repeat on a 10-inch drawer front will result in a cropped, confusing image. Scale your pattern choice to your surface size.
- Applying in cold conditions — pressure-sensitive adhesive needs warmth to bond properly. Below 15 degrees Celsius, adhesion is significantly reduced.
- Rushing the removal process — when it’s time to remove the wallpaper, heat it gently with a hairdryer on low and pull at a very shallow angle. Pulling perpendicular to the surface is the fastest way to take the furniture’s finish with it.
- Ignoring the paper grain direction — matching the grain direction across adjacent panels (like multiple drawer fronts) keeps the finished look coherent rather than chaotic.
While removable wallpaper is designed to come off cleanly, furniture with an already compromised finish — peeling veneer, unstable old paint, or raw wood with no sealant — may not hold the adhesive at all, or worse, may have the surface lift away during removal. Only apply to stable, sealed surfaces. If the furniture itself is in poor cosmetic condition, stabilise the surface with a clear sealant coat first and allow it to cure fully before applying.
Removable Wallpaper vs Painting: Which Is Better for Renter Furniture Makeovers?
This is one of the most common questions from renters considering a furniture makeover. The answer depends on your situation, but for most apartment dwellers, removable wallpaper wins on almost every practical measure.
| Factor | Removable Wallpaper | Furniture Paint |
|---|---|---|
| Renter-safe (reversible) | Yes — lifts cleanly | No — permanent alteration |
| Fumes and ventilation | None required | Required, especially in small apartments |
| Drying / curing time | 24 hours to full adhesion | 24–72 hours per coat, multiple coats needed |
| Pattern and texture options | Unlimited — prints, textures, effects | Flat colour only unless skilled |
| Skill required | Low to moderate | Moderate to high for a clean result |
| Cost (average dresser) | $20 – $50 | $30 – $80 including primer and brushes |
| Refresh or change look later | Yes — remove and replace | Requires full sanding and repainting |
| Works in apartments | Yes | Restricted by ventilation and lease terms |
For renters who want a truly no-damage approach, removable wallpaper is the clear practical choice. Paint produces a more seamless colour result on complex or curved shapes, but the lack of reversibility, the fumes involved, and the skill required make it a secondary option for most apartment situations. Our broader collection of no-damage decor ideas follows the same principle: commitment-free transformation first.
Realistic Budget Tips for Thrift Flips in Apartments
One of the strongest arguments for furniture upcycling with removable wallpaper is the cost. Even a brand-new equivalent piece at a furniture retailer rarely looks as interesting as a thrifted piece that has been thoughtfully transformed.
Typical Budget Breakdown
- Thrifted dresser (4–6 drawer): $10 to $40 at a thrift store, estate sale, or Facebook Marketplace
- Removable wallpaper (1 roll): $18 to $45 depending on brand and quality — one roll typically covers a 4-drawer dresser with room to spare
- Craft knife and steel ruler: $8 to $14 if you don’t already own these
- Isopropyl alcohol for surface cleaning: $3 to $6
- Squeegee or wallpaper smoother: $4 to $9
- Total investment: $43 to $114 for a completely transformed statement piece
- Equivalent new furniture retail cost: $180 to $400+
The thrift store or marketplace sourcing is where the real savings happen. Train your eye to look past cosmetic imperfection — a drawer front can be covered entirely, so a previous owner’s sticker residue or old paint drips matter very little. Focus on structural integrity instead: drawers that open smoothly, no wobbling frame, no water damage or swelling to the carcass.
Buy one extra roll or purchase a slightly larger quantity than your measurements suggest you need. Off-cuts from drawer fronts can be used to line the inside of shelves, cover the back panel of a bookcase, or be used for small accent pieces. Running out and buying a second roll later means matching a dye lot, which can show a visible variation in colour or pattern scale.
How to Style Wallpapered Furniture So It Looks High-End, Not Handmade
The application is only half the story. How you style and position your upcycled piece within a room determines whether it reads as a deliberate, designed choice or an obvious DIY project.
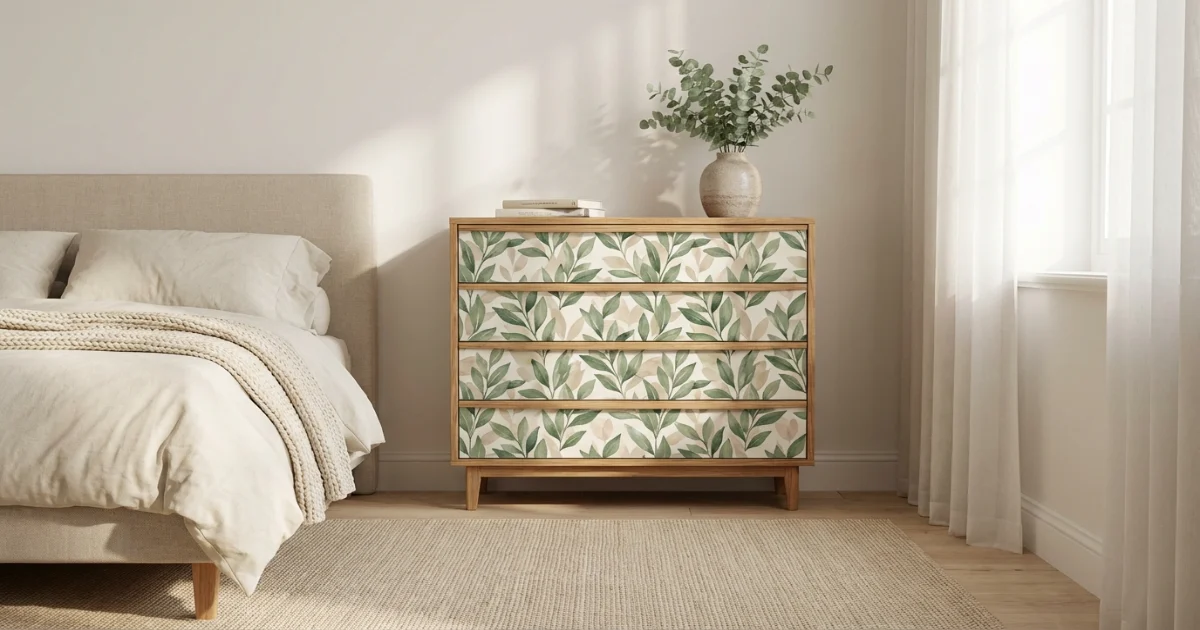
In the Bedroom
A wallpapered dresser becomes a genuine focal point when it is treated as one intentionally. Position it against a solid-colour wall in a contrasting or complementary tone to the wallpaper pattern. Add a simple tray on top with a few considered objects — a small lamp, a candle, a single framed print — and keep the styling minimal. The piece itself is doing the visual work. For additional bedroom lighting ideas that complement the warmth of natural patterned finishes, our small apartment lighting guide is worth bookmarking.
In the Living Room
A wallpapered coffee table or sideboard in the living room works best when it anchors a vignette rather than competing with everything around it. Choose a wallpaper that picks up one colour already present in your rug, cushions, or curtain fabric. Limit the pattern to one piece per room — restraint is what makes it look considered rather than chaotic.
In the Entryway
The entryway is one of the best places in a rental apartment to use a patterned upcycled piece precisely because it is a transitional space — not a room anyone lingers in. A bold, maximalist pattern on a narrow console table creates immediate impact without overwhelming a space where you spend time. Pair it with a simple mirror above it and hooks for bags. For broader entryway ideas and adhesive-based decor inspiration, explore our adhesive wall art guide and ideas for hanging art without nails.
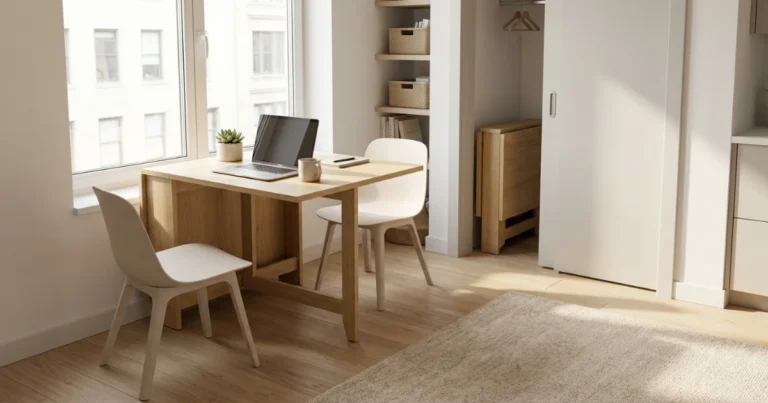
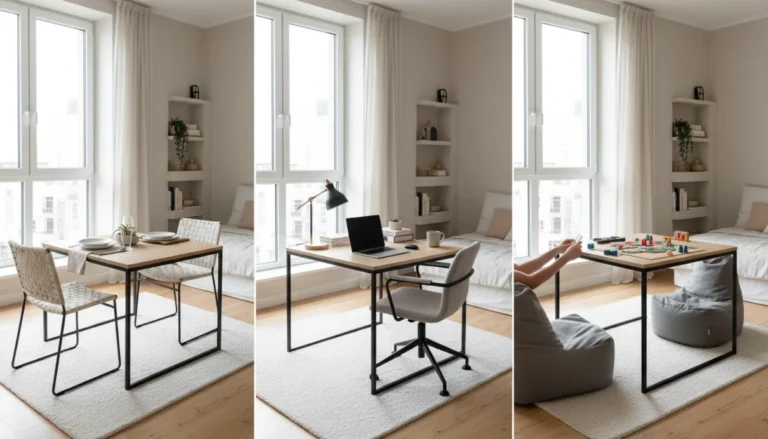
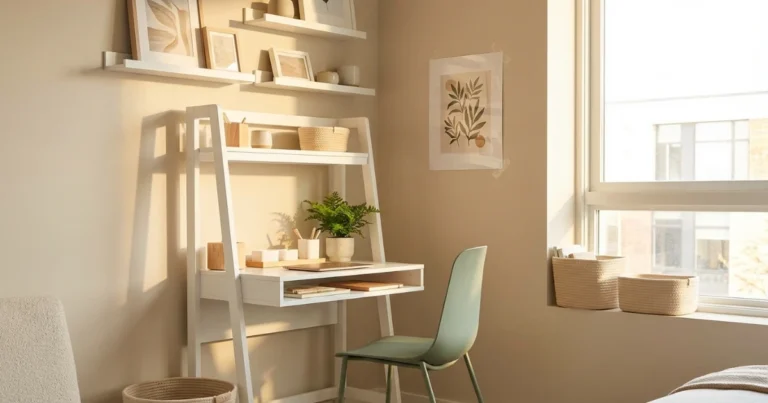
In the Home Office
A wallpapered filing cabinet or storage unit in a home office adds enough visual personality to an otherwise purely functional space to make it a room you actually want to be in. Stick to quieter, more structured patterns — linen texture, subtle geometry — rather than large-scale botanicals. The goal in a work setting is visual interest without distraction.
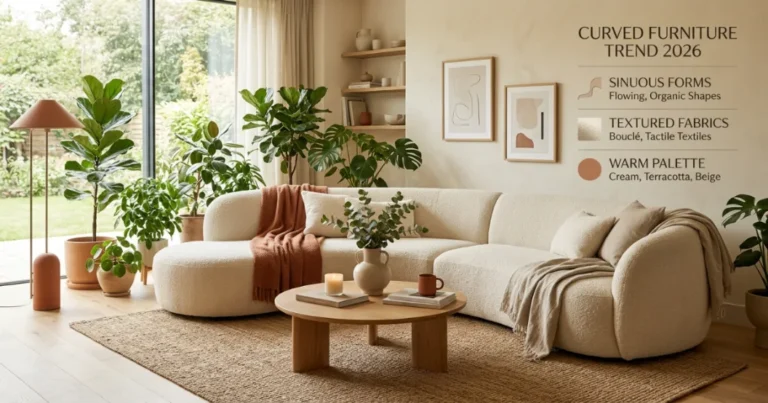
The curved furniture trend that has been dominant for several years remains strong in 2026, but it’s worth noting that curved pieces — barrel chairs, round side tables, arc-shaped shelving — are generally not compatible with removable wallpaper. Stick to flat-panel furniture for this technique and use other no-damage methods to add personality to curved pieces.
Maintenance and Removal Tips: Making It Last and Leaving No Trace
Once applied and cured, a well-applied panel of quality removable wallpaper on furniture will typically last two to four years before showing significant edge wear or adhesive fatigue, depending on use and conditions. Here is how to extend that lifespan and remove it cleanly when the time comes.
Maintenance During Use
- Wipe surfaces with a slightly damp cloth only — never saturate the wallpaper or allow moisture to sit at the edges, as this weakens the adhesive seal over time.
- If an edge begins to lift slightly, press it back firmly and run a thin line of repositionable adhesive tape underneath — do not use standard glue or permanent adhesive.
- Keep furniture away from direct, sustained sunlight where possible. UV exposure fades pattern ink over time on most removable wallpaper products.
- In humid rooms (kitchens, bathrooms), refresh the edges every six to twelve months by pressing firmly. Humidity is the main enemy of adhesive longevity on furniture surfaces.
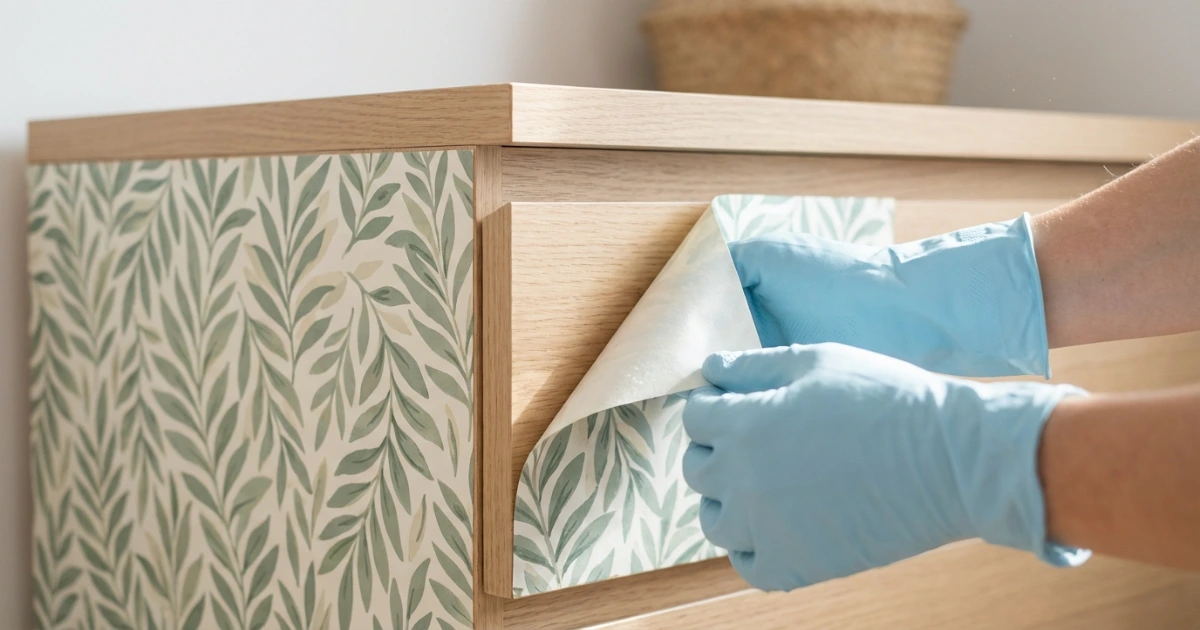
How to Remove Removable Wallpaper from Furniture Without Damage
- Start at a corner and gently lift the edge with your fingernail or a plastic spudger — never a metal tool.
- Use a hairdryer on low heat held 6 to 8 inches from the surface to warm the adhesive as you pull. Warm adhesive releases cleanly; cold adhesive resists and risks pulling the surface finish.
- Pull at a very shallow angle — almost parallel to the surface — and pull slowly and steadily. Speed is the enemy of a clean removal.
- If any adhesive residue remains, a small amount of isopropyl alcohol on a soft cloth removes it completely without damaging the underlying surface.
For more techniques on leaving your rental in perfect condition while still making it feel like home, browse our full collection of renter-friendly decor ideas at NoDamageDecor — everything is designed around the same no-damage, no-deposit-loss philosophy.
Frequently Asked Questions
Can you use removable wallpaper on furniture?
Yes, removable wallpaper works well on most flat, smooth, sealed furniture surfaces including drawer fronts, cabinet doors, tabletops, and shelf back panels. The pressure-sensitive adhesive bonds cleanly to smooth surfaces and lifts off without damage when removed correctly. It is one of the most practical no-damage furniture makeover techniques available for renters.
Does peel-and-stick wallpaper damage furniture?
When applied and removed correctly, quality removable wallpaper does not damage furniture. The key is applying it only to stable, well-sealed surfaces and removing it slowly with gentle heat applied. Damage can occur on unstable surfaces — furniture with peeling veneer, raw unsealed wood, or old paint that has not bonded well to the surface beneath.
What type of furniture works best for removable wallpaper makeovers?
Flat-panel furniture with smooth, sealed surfaces works best — dressers, nightstands, IKEA laminate pieces, bookcases, side tables, and filing cabinets. Furniture with significant texture, open grain wood, wicker, or heavily distressed finishes is not suitable, as the adhesive cannot make continuous flat contact and the result will peel and look uneven.
How long does removable wallpaper last on furniture?
With proper surface preparation and quality wallpaper, removable wallpaper on furniture typically lasts two to four years before showing significant edge wear or adhesive fatigue. Longevity is shortened by high humidity, direct sunlight, and regular wiping with wet cloths. Non-woven fabric-backed wallpaper generally outlasts standard vinyl-backed products on furniture surfaces.
Is using removable wallpaper on furniture better than painting it?
For renters specifically, removable wallpaper is the better choice in most situations. It is fully reversible, produces no fumes, requires no drying time between coats, and offers unlimited pattern options that paint alone cannot replicate. Paint produces a more seamless result on complex shapes but is a permanent alteration and requires significant skill for a professional-looking finish.
Can renters use removable wallpaper on furniture without risking their security deposit?
Yes. Applying removable wallpaper to furniture you own — even rented furniture brought from a previous property — carries no risk to your tenancy security deposit, as it does not alter the rental property itself. The only concern arises if you were to apply it directly to rental-supplied furniture without permission. Applied to your own thrifted pieces, it is completely risk-free from a tenancy perspective.
How do you prevent bubbles and peeling edges on furniture?
Bubbles are almost always caused by applying to a surface with any residue, dust, or moisture present — clean with isopropyl alcohol first. Apply from the top edge downward, keeping the backing on the lower portion as you smooth. Use a plastic squeegee in firm strokes from the center outward. Peeling edges result from applying in cold conditions, skipping surface prep, or using a lower-quality wallpaper with weak adhesive strength on edges.
Do you need to seal removable wallpaper on a furniture tabletop?
For surfaces that see regular use — coffee table tops, desk surfaces, nightstand tops — adding a layer of removable self-adhesive clear contact film over the wallpaper significantly extends its life and makes it wipe-clean. This is not the same as a permanent resin seal and can itself be replaced when worn. For purely decorative surfaces like drawer fronts and bookcase backs, no additional sealing is necessary.
What is the best removable wallpaper brand to use on furniture?
Brands with non-woven fabric backing — such as Tempaper, Chasing Paper, and Spoonflower — tend to outperform standard vinyl-only products on furniture, particularly on edges and corners. They are more dimensionally stable, easier to reposition during application, and remove more cleanly. Budget-friendly options from RoomMates and REMOVABLE WALLPAPER CO can also work well if surface prep is thorough. See our full brand comparison guide for current rankings.
Final Thoughts: The Smartest Renter-Friendly Furniture Upgrade You Are Not Doing Yet
Upcycling second-hand furniture with removable wallpaper sits in a rare sweet spot in the world of renter-friendly decorating: it is genuinely creative, it produces results that look intentional and elevated, it costs a fraction of buying new, and it carries zero permanent consequence. You can transform a $15 thrift store dresser into something that stops visitors mid-sentence, and you can take it with you or strip it back to bare wood the day you decide you want something different.
The keys are surface preparation, pattern scale, and patience during application. Get those three things right and the finished result will have none of the hallmarks of a DIY project — just a piece of furniture that looks like it cost considerably more than it did and happened to come from your apartment.
In a design landscape that increasingly celebrates considered, sustainable, and personalised interiors over mass-produced uniformity, thrift-flip furniture with removable wallpaper sits perfectly at the intersection of all three. It is one of the best decorating decisions a renter can make in 2026 — and one of the most satisfying.