How to Use Command Strips for Hanging Pictures
A practical, deposit-conscious guide for renters who want to display art, photos, and frames without risking wall damage or lease penalties.
- Renter-conscious
- Surface-safe guidance
- Deposit-minded
To use Command strips for hanging pictures, clean the wall with rubbing alcohol, let it dry, press the strip firmly against the wall for 30 seconds, then press the frame against the strip for 30 seconds. Wait one hour before hanging. Always check the weight limit on the package — most strips hold 3–8 lbs per pair. Test a small area first, and follow package instructions exactly for best results.

At a Glance
- Command strips are a renter-friendly adhesive option for hanging pictures on painted drywall, tile, and smooth surfaces.
- Always check the weight limit — pair capacity ranges from 3 to 8 lbs depending on the strip type.
- Surface preparation matters: clean with rubbing alcohol and let dry completely before applying.
- Removal is lower-risk when you stretch the tab slowly and parallel to the wall, not pull outward.
On This Page
What Renters Need to Know First
Using Command strips for hanging pictures is one of the most popular renter-friendly wall decor strategies — but it’s not risk-free. Before you start, it pays to understand the fine print, the surfaces you’re working with, and what your lease actually says.
Command strips are designed to be removable, but they work best on smooth, clean, non-porous surfaces. Painted drywall is the most common rental wall type, and it’s also the surface where these strips perform most predictably. However, if your walls have matte paint, flat paint, or a textured finish, the adhesive may not hold as securely — and removal could lift paint.
Check your lease before hanging anything. Some leases prohibit adhesives on walls, while others allow them with caveats. When in doubt, ask your landlord or property manager. It’s much easier to get permission upfront than to lose part of your security deposit later.
Also worth knowing: Command strips are not a one-size-fits-all solution. Different strip types have different weight capacities, and the surface you’re sticking them to matters just as much as the strip itself. We’ll cover surface compatibility in detail below.
If you’re new to renting or just want a refresher on wall decor rules, check out our guide on whether landlords can charge for nail holes — it’s a helpful primer on deposit risks.
Best Low-Risk Approach
For renters who want to hang pictures with Command strips, the lowest-risk approach combines three things: the right strip, the right surface preparation, and the right removal technique. Here’s the short version:
- Choose the correct strip for your frame weight. Command offers strips rated for 3 lb, 5 lb, and 8 lb pairs. Don’t guess — weigh your frame or check the product packaging.
- Prepare the wall with rubbing alcohol and a clean cloth. This removes dust, oil, and residue that can weaken adhesion.
- Apply and wait — press firmly for 30 seconds, then wait at least one hour before hanging your picture.
- Remove slowly by stretching the tab straight down (not pulling outward). This is the key to reducing paint-lift risk.
This approach isn’t guaranteed deposit-safe — no adhesive method is — but it’s considered lower-risk when done correctly. Always test a small, inconspicuous area first, especially if you’re unsure about your wall’s paint quality.
Step-by-Step Guide: How to Use Command Strips for Hanging Pictures
Follow these steps carefully for the best results. Skipping preparation or rushing the application is one of the most common reasons Command strips fail.
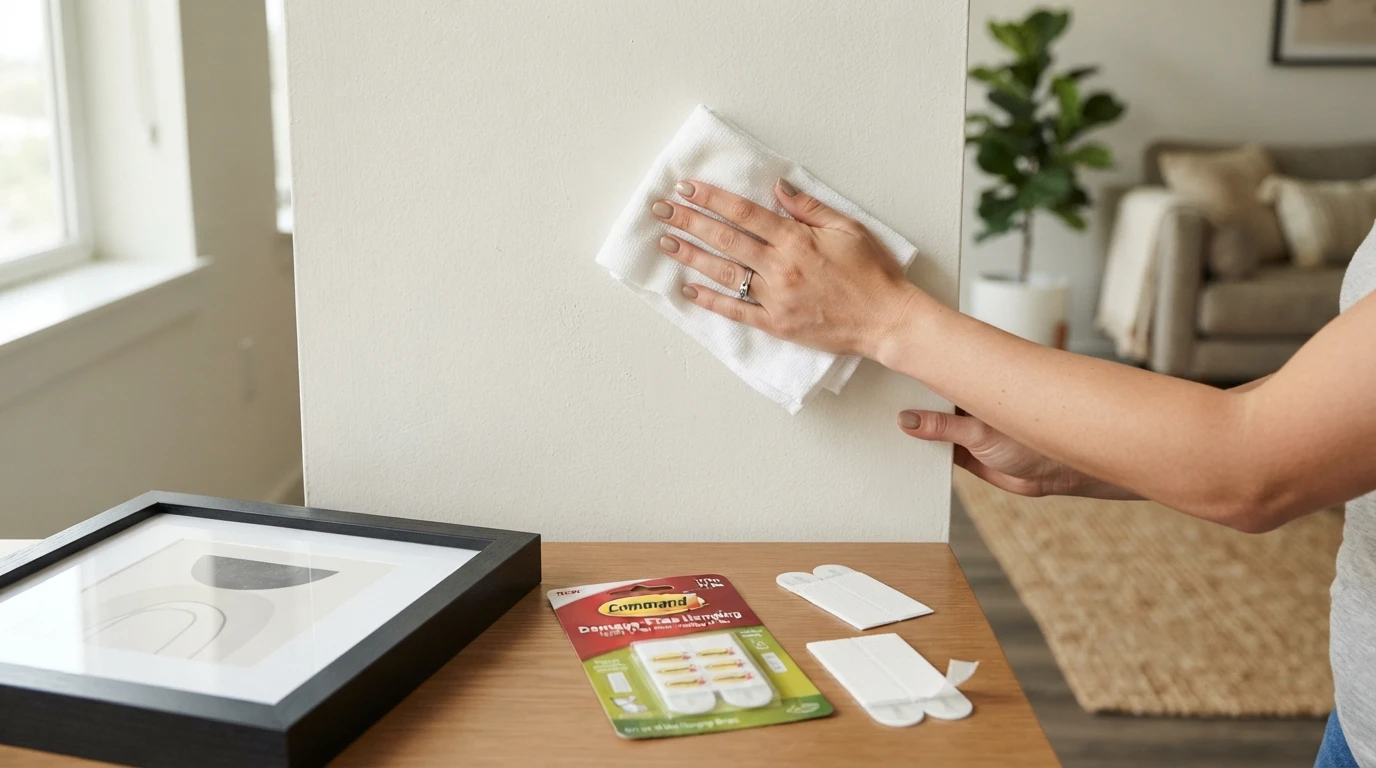
Step 1: Gather Your Supplies
You’ll need: Command strips rated for your frame’s weight, a clean lint-free cloth, rubbing alcohol (70% or higher), and your picture frame. If you’re hanging a heavy frame, consider using multiple strips — check the package for guidance.
Step 2: Clean the Wall Surface
Dust, grease, and grime are the enemies of adhesive. Wipe the area where you’ll place the strips with rubbing alcohol on a clean cloth. Let it dry completely — this usually takes 1–2 minutes. Do not use household cleaners, soap, or water, as they can leave residues that weaken the bond.
Step 3: Separate the Strip
Command strips come in two parts: the adhesive strip and the interlocking fastener. Separate them by pulling the strip apart at the seam. You’ll have one side with the red liner and one with the black or clear liner.
Step 4: Apply the Strip to the Wall
Remove the liner from the back of the strip and press it firmly against the wall where you marked your placement. Use your thumb or palm to press the entire strip for at least 30 seconds. This activates the adhesive.
Step 5: Apply the Matching Strip to the Frame
Remove the remaining liner and press the matching strip onto the back of your picture frame. Press firmly for 30 seconds. Make sure the strips align with the wall strips when you hang the frame.
Step 6: Wait — This Is Important
Command recommends waiting at least one hour before hanging your picture. This allows the adhesive to bond properly. If you’re hanging something heavier, waiting longer (up to 24 hours) can improve hold.
Step 7: Hang Your Picture
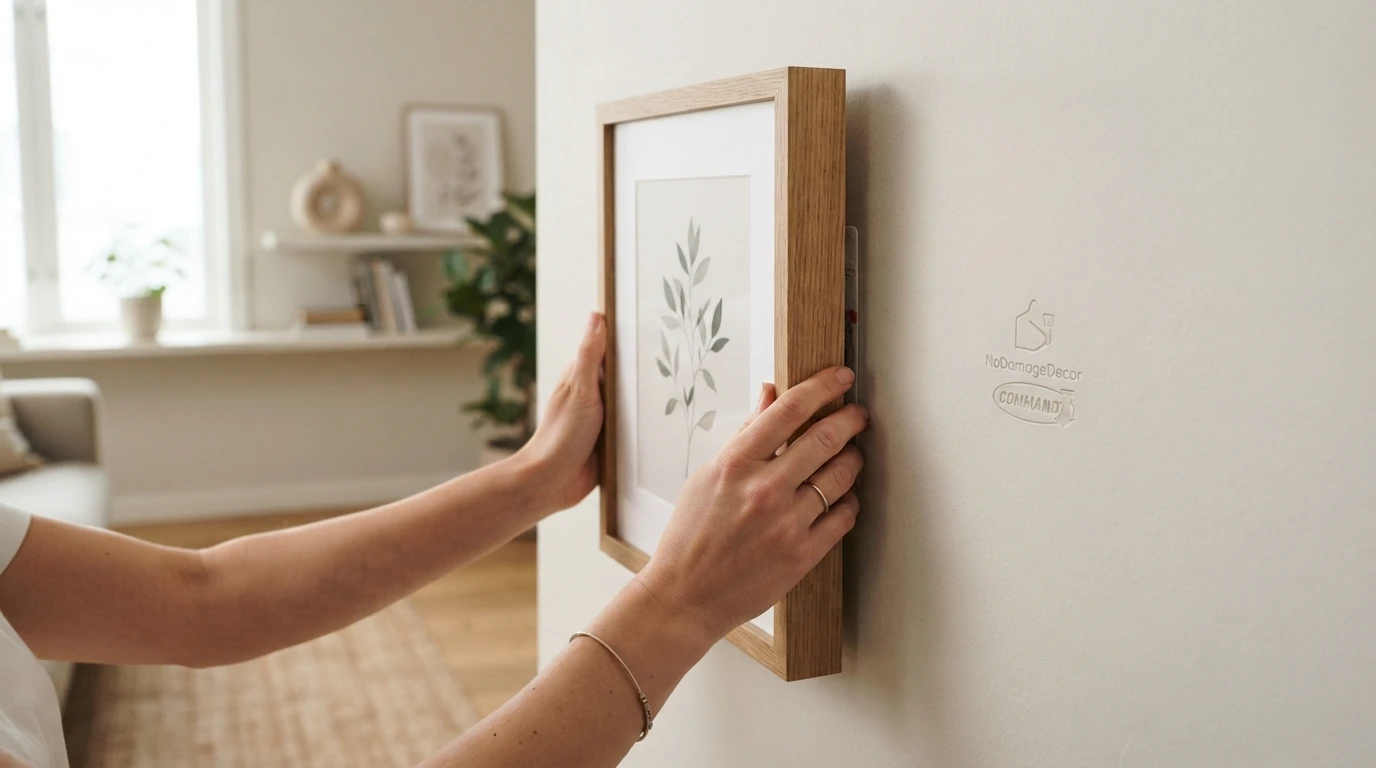
Align the frame’s strips with the wall strips and press the frame firmly against the wall. Press along the entire frame for about 30 seconds to ensure the fasteners engage.
Step 8: Level and Adjust
Gently adjust the frame to level it. Command strips allow some movement during the first few minutes, but once they’re fully engaged, repositioning is difficult.
For larger frames or mirrors, use the maximum number of strips recommended by Command for that weight. Distributing the weight across multiple strips reduces stress on each adhesive point.
Surface Compatibility & Renter Risk
Not all rental walls are created equal. Here’s how different surfaces respond to Command strips, along with the relative risk level for renters.
| Surface | Works Better When | Risk Level | Renter Tip |
|---|---|---|---|
| Smooth painted drywall | Clean, dry, recently painted (at least 2 weeks old) | Lower | The ideal surface. Test a small spot first. |
| Textured walls (orange peel, knockdown) | Light texture only; clean with alcohol | Medium | Adhesion is less reliable. Consider using more strips. |
| Flat or matte paint | Recent paint (fully cured), clean surface | Medium | Paint may lift during removal. Stretch tabs very slowly. |
| Glossy tile / glass | Smooth, clean, dry | Lower | Holds well but removal is easier — just stretch the tab. |
| Wood paneling | Clean, sealed surface | Medium | Test an inconspicuous spot for discoloration. |
| Wallpaper | — | Higher | Avoid if possible. Adhesive may lift or tear wallpaper. |
Product & Method Comparison
Not all Command strips are the same, and other methods exist. Here’s how the main options compare for renters.
| Method | Best For | Weight Capacity | Renter Risk | Removal Ease |
|---|---|---|---|---|
| Command Picture Strips | Light to medium frames (up to 8 lbs per pair) | 3–8 lbs per pair | Lower when used correctly | Stretch tab — moderate |
| Command Large Strips | Heavier frames, mirrors (up to 16 lbs per set) | 16 lbs per 4-strip set | Lower when used correctly | Stretch tab — moderate |
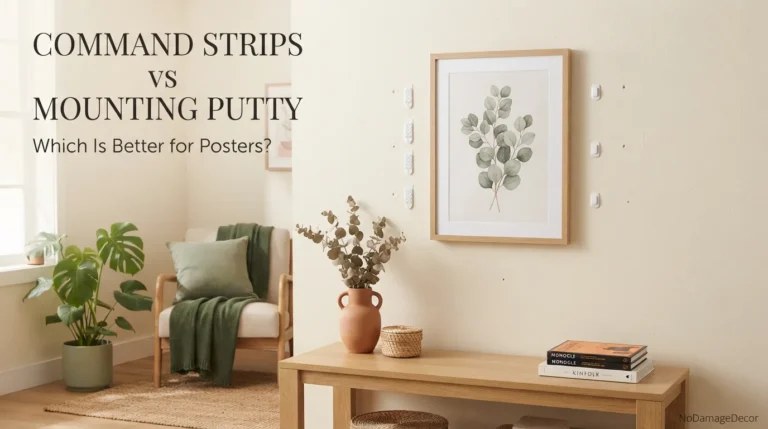
| Removable mounting putty | Very light items (posters, lightweight prints) | 1–2 lbs | Lower | Peel — easy |
| Nails / picture hooks | Heavy frames, permanent installation | 10–50+ lbs | Higher (holes, deposit risk) | Requires patching |
| Adhesive hooks | Towels, lightweight decor | 3–5 lbs | Lower | Stretch tab — moderate |
Product Picks for Renter-Friendly Picture Hanging
As an Amazon Associate I earn from qualifying purchases.Command Picture Hanging Strips
Best for most framesMedium-weight strips rated for frames up to 8 lbs per pair. Suitable for most standard picture frames and wall art.
Caution: Always check the weight of your frame before purchasing. Use multiple sets for heavier frames.
Replace With Amazon LinkCommand Large Picture Hanging Strips
Best for heavier frames & mirrorsHeavy-duty strips rated for frames up to 16 lbs per 4-strip set. Ideal for larger art, mirrors, and heavier frames.
Caution: Use all four strips in the set for maximum hold. Do not exceed the stated weight limit.
Replace With Amazon LinkCommand Damage-Free Hanging Kit
Best for varietyIncludes multiple strip sizes and hooks for a range of wall decor needs — from picture frames to lightweight shelves and mirrors.
Caution: Match each strip to the weight of the item you’re hanging. Read the package carefully.
Replace With Amazon LinkCommon Mistakes Renters Make With Command Strips
Even with the best intentions, small missteps can turn a renter-friendly solution into a deposit-dinging problem. Avoid these common errors.
- Skipping the cleaning step. Dust and oils prevent the adhesive from bonding properly. Always clean with rubbing alcohol.
- Not waiting long enough. Pressing for 30 seconds and waiting an hour are not optional — they’re part of the adhesive activation process.
- Exceeding the weight limit. Just because a strip can hold 5 lbs doesn’t mean your 5.2 lb frame is safe. Stay under the limit.
- Using too few strips. For larger frames, distribute weight across multiple strips to reduce stress on each adhesive point.
- Pulling the tab outward during removal. This is the #1 cause of paint damage. Stretch the tab straight down, parallel to the wall.
- Applying to textured or unpainted surfaces. The adhesive needs a smooth, clean surface to work effectively.
- Rushing the removal process. If a strip is stuck, don’t yank it. Slowly stretch the tab — it may take a few seconds.
- Not testing an inconspicuous area first. Especially important if you’re unsure about your wall’s paint or texture.
Safer Alternatives When Command Strips Aren’t Ideal
Command strips are versatile, but they’re not always the best choice. Here’s what to consider instead.
- For very heavy items: Consider a floor-standing easel or leaning frame. These avoid wall contact entirely.
- For delicate surfaces: Removable mounting putty can be gentler on paint, but it only holds very light items.
- For textured walls: Some renters find that adhesive hooks with larger surface areas hold better on uneven surfaces.
- If you’re unsure about your wall: Test a single strip in a hidden spot, leave it for 24 hours, then remove it to see how the paint reacts.
- When your lease prohibits adhesives: Use non-adhesive alternatives like leaning art, clip rails, or freestanding displays.
For more inspiration, browse our no-damage wall decor ideas or explore gallery wall ideas without nails.
Move-Out & Removal Guidance
When it’s time to move out, removing Command strips carefully is just as important as applying them correctly. Here’s a step-by-step removal process.
1. Gather Your Tools
You’ll need: a clean cloth, rubbing alcohol (for any residue), and a gentle touch. No tools like scrapers or knives — they can gouge the wall.
2. Stretch the Tab, Don’t Pull It
Command strips have a built-in removal tab. Hold the tab and stretch it straight down, parallel to the wall. Do not pull outward or yank it. The adhesive releases as you stretch.
3. Remove Slowly
If the strip doesn’t release, don’t force it. Try stretching a bit more or from a different angle. Patience is key.
4. Clean Any Residue
If any adhesive remains on the wall, gently rub it with your finger or a soft cloth. For stubborn residue, use a small amount of rubbing alcohol on a cloth — test in an inconspicuous area first.
5. Document Your Work
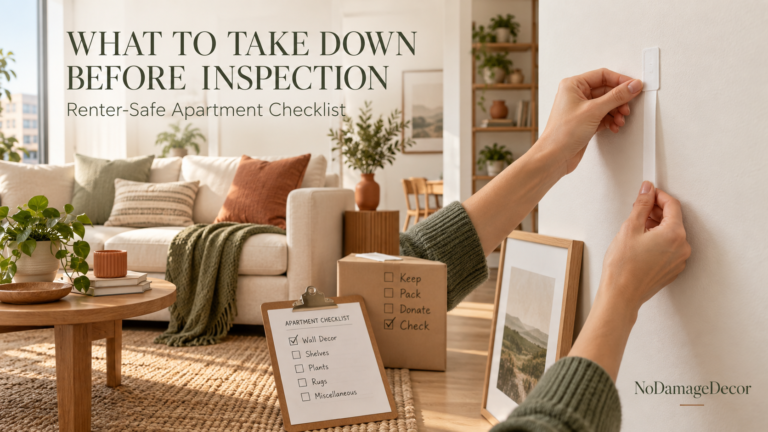
Take photos of the walls after removal. This can be helpful if there’s any question about wall condition during your move-out inspection.
If you notice any paint lifting during removal, stop immediately and try stretching the tab more slowly. If paint does lift, document it and consult your landlord — a small touch-up is often easier to resolve than a dispute over the security deposit.
For more on protecting your deposit, read our guide on decor mistakes that can cost your deposit.
Sources & Renter-Safety Note: This guide is based on manufacturer instructions for Command brand adhesive strips, widely recognized as a renter-friendly product. Always verify current product specifications on the official brand website or packaging before use. Surface compatibility and adhesion vary; test a small area first. This information is for educational purposes and does not guarantee deposit safety. Consult your lease and landlord for property-specific rules.
Frequently Asked Questions
Can Command strips hold heavy picture frames?
Command offers different strip types with varying weight capacities. The standard picture hanging strips hold up to 8 lbs per pair, while the large strips hold up to 16 lbs per 4-strip set. Always check the package for the specific weight limit and do not exceed it. For frames over 16 lbs, consider using multiple sets or alternative mounting methods.
How long should I wait after applying Command strips before hanging a picture?
Command recommends waiting at least one hour before hanging your picture. This allows the adhesive to bond with the wall surface. For heavier items, waiting longer (up to 24 hours) can improve the hold.
Will Command strips remove paint from rental walls?
Command strips are designed to be removable, but paint-lift can happen, especially on flat or matte paint or if the strips are removed incorrectly. To lower the risk, stretch the tab straight down (parallel to the wall) and remove slowly. Test an inconspicuous area first if you’re unsure about your wall’s paint quality.
Can I use Command strips on textured walls?
Command strips work best on smooth, clean surfaces. On textured walls (like orange peel or knockdown), adhesion is less reliable and the strips may not hold as securely. If you must use them on textured walls, clean the area thoroughly and consider using more strips to distribute weight.
How do I remove Command strips without damaging the wall?
Hold the tab and stretch it straight down, parallel to the wall, slowly and evenly. Do not pull outward or yank it. The adhesive releases as you stretch. If the strip doesn’t release, try stretching from a different angle. Never use tools like scrapers or knives.
What surfaces should I avoid with Command strips?
Avoid using Command strips on wallpaper, unpainted drywall, wood paneling with unfinished surfaces, and any surface that is damp, greasy, or dusty. They also should not be used on surfaces that are too hot or too cold, as extreme temperatures can affect adhesion.
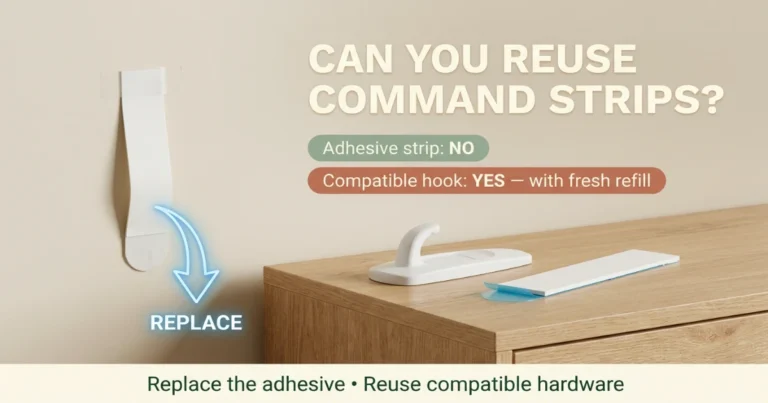
Can Command strips be reused?
No, Command strips are designed for single use. Once they’ve been applied and removed, the adhesive properties are compromised. Always use fresh strips for each new application.
Are Command strips safe for apartment walls?
Command strips are generally considered a renter-friendly option for apartment walls when used correctly. However, you should always check your lease for any restrictions on adhesives, test a small area first, and follow the manufacturer’s instructions carefully. Some landlords may still charge for repairs if damage occurs.
Renter-Safety Verdict
Used on smooth, clean drywall or tile; within the stated weight limit; removed by stretching the tab slowly and parallel to the wall.
Your lease prohibits adhesives; your walls are textured, wallpapered, or have flat/matte paint; or when the frame exceeds the strip’s weight rating.
Best next step: Test a single Command strip in an inconspicuous spot before committing to your full gallery wall. If you’re ready to plan your wall decor, explore our DIY gallery wall guide for renters for more inspiration.
Start Your Renter-Friendly Gallery Wall
Get more deposit-smart decorating ideas in our complete guide to hanging art without nails.
Explore Art Hanging Tips →