How to Remove Adhesive Residue From Walls Safely
Learn surface-aware, deposit-minded methods to lift sticky residue from painted drywall, textured walls, and wallpaper — without making the damage worse.
At a Glance
Why Adhesive Residue Happens — and Why Removal Goes Wrong
Adhesive residue is what remains when the sticky layer of a tape, hook, decal, or wallpaper backing separates from its carrier and stays bonded to the wall. The carrier might peel away cleanly, but the adhesive itself can leave a tacky film, a gummy patch, or a hardened ring that collects dust and looks worse over time.
Removal goes wrong for one of two reasons. Either the method is too aggressive — scraping, scrubbing with an abrasive pad, or flooding the wall with liquid — or the method is too weak, which leads to repeated attempts that eventually damage the paint. The goal is to match the method to the adhesive and the surface, not to overpower the residue.
Painted drywall is the most common rental wall surface in the United States, and it is also one of the most forgiving — until it is not. Drywall has a paper facing that absorbs moisture quickly. Once water or solvent penetrates the paint layer and reaches that paper, the wall can swell, soften, or blister. That is why every step in this guide prioritizes controlled moisture and mechanical gentleness.
Identify Your Wall Surface and Adhesive Type
Before you reach for any product, take thirty seconds to identify what you are dealing with. The same residue that lifts easily from a semi-gloss painted wall can stain or soften a flat-painted wall, and the same solvent that is safe on ceramic tile can dull a vinyl wallpaper surface.
Wall surface quick reference
| Wall Surface | General Tolerance | Key Caution |
|---|---|---|
| Painted drywall (semi-gloss or satin) | Moderate — many solvents are tolerated when used sparingly. | Test first. Flat and matte paints are more porous and more likely to stain or dull. |
| Painted drywall (flat or matte) | Low — solvent can leave a dull ring or lift pigment. | Prefer heat and dry methods. If solvent is needed, use the smallest amount and wipe immediately. |
| Textured or popcorn ceiling/wall | Very low — texture can crumble or flake. | Do not scrape. Use heat and a soft brush. Solvent may dissolve texture binder. |
| Peel-and-stick wallpaper | Low to moderate depending on the product. | Check the wallpaper manufacturer’s removal guidance. Some residues respond to gentle heat; others require a specific remover. |
| Vinyl or coated wallpaper | Moderate — surface is less porous but can be dulled. | Avoid abrasive erasers. Test alcohol on a hidden seam first. |
| Brick or unfinished masonry | Very low — porous and staining-prone. | Adhesive can soak in. Mechanical removal is usually safer than liquid saturation. |
Adhesive type matters too
Fresh adhesive that is still tacky responds well to heat and a dry cloth. Adhesive that has been on the wall for months or years may have cured into a harder film that needs a solvent to soften. Rubber-based adhesives — common on many tape and decal products — often respond to citrus-based removers. Acrylic-based adhesives, including many Command strip formulations, tend to stretch and release when pulled correctly, leaving less residue behind.
If you are dealing with a specific product, check the manufacturer’s removal instructions before trying anything else. For Command strips, the built-in release mechanism is the first and safest method. Our guide on removing Command strips without damage walks through the downward-pull technique in detail.
Tools and Materials That Keep Risk Low
You do not need a cabinet full of chemicals. A small, well-chosen kit covers most renter situations:
- Hair dryer — for softening adhesive with controlled, low heat.
- Unwaxed dental floss or lightweight fishing line — for slicing behind stubborn strips without scraping.
- Clean white eraser — for small, fresh residues; white avoids color transfer.
- Microfiber cloths — at least two: one for solvent, one for a clean water wipe.
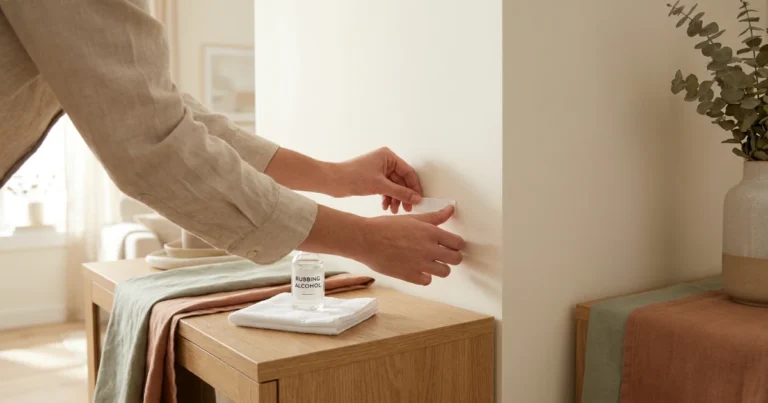
- 70% isopropyl alcohol — a mild solvent that works on many tape and sticker residues.
- Plastic scraper or an old credit card — only after the adhesive has been softened.
- Surface-approved adhesive remover — only when the product label explicitly allows your exact wall surface.
- Cotton swabs — for precise spot testing and tiny residue spots.
Keep a roll of paper towels nearby, but do not use them directly on painted drywall with solvent. Paper towels can shed fibers into soft adhesive and leave lint behind. Microfiber is more controlled.
Step-by-Step: Removing Adhesive Residue From Walls Safely
Work through these steps in order. Stop at the point where the residue releases. There is no benefit to continuing with a stronger method once the wall is clean.
Photograph the wall before you start
Take a dated photo of the residue and the surrounding wall. If the paint is already lifting or the drywall paper is torn, photograph that too. This documentation protects you if the landlord later questions the condition. It also helps you compare the result after removal.
Remove the carrier first, if it is still attached
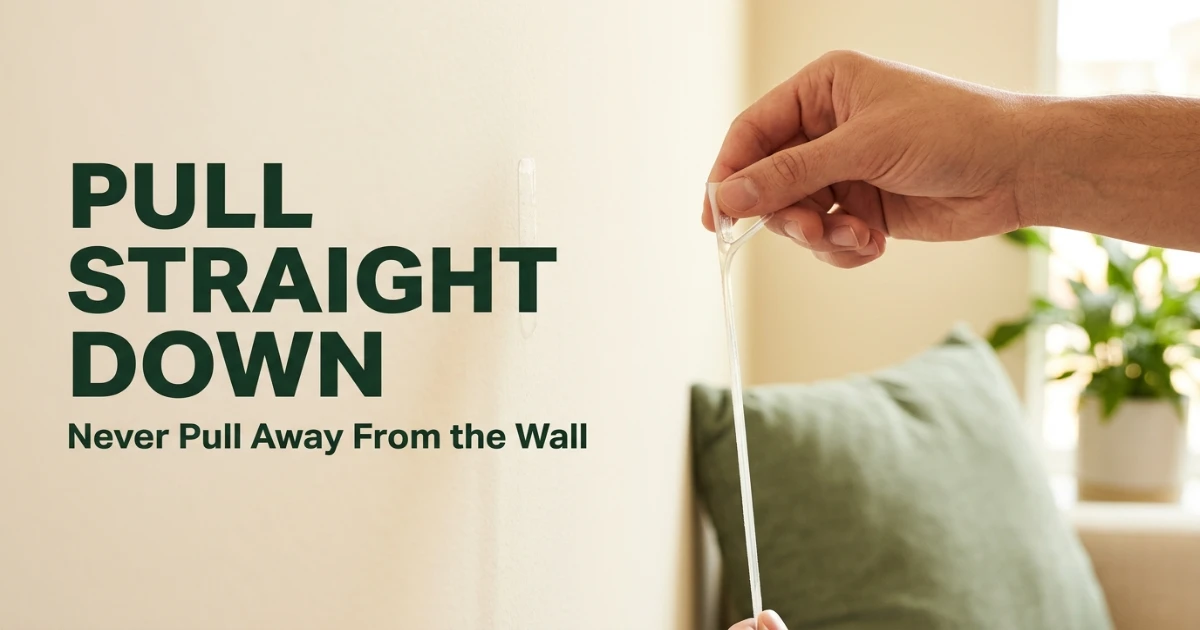
If a strip, decal, or hook is still on the wall, remove it using the manufacturer’s recommended method. For Command strips, that means holding the base and pulling the tab straight down — parallel to the wall, not outward. Pulling outward is the fastest way to peel paint. If the strip snaps or is stuck, use dental floss to slice behind it.
Try heat before any liquid
For remaining residue, aim a hair dryer on medium heat at the adhesive from four to six inches away. Move the dryer in a slow circular pattern for 15 to 30 seconds. The adhesive should become softer and more pliable. Test with your fingertip — if it feels tacky and movable, you can often roll it off with a clean white eraser or a dry microfiber cloth.
Test your solvent on a hidden spot
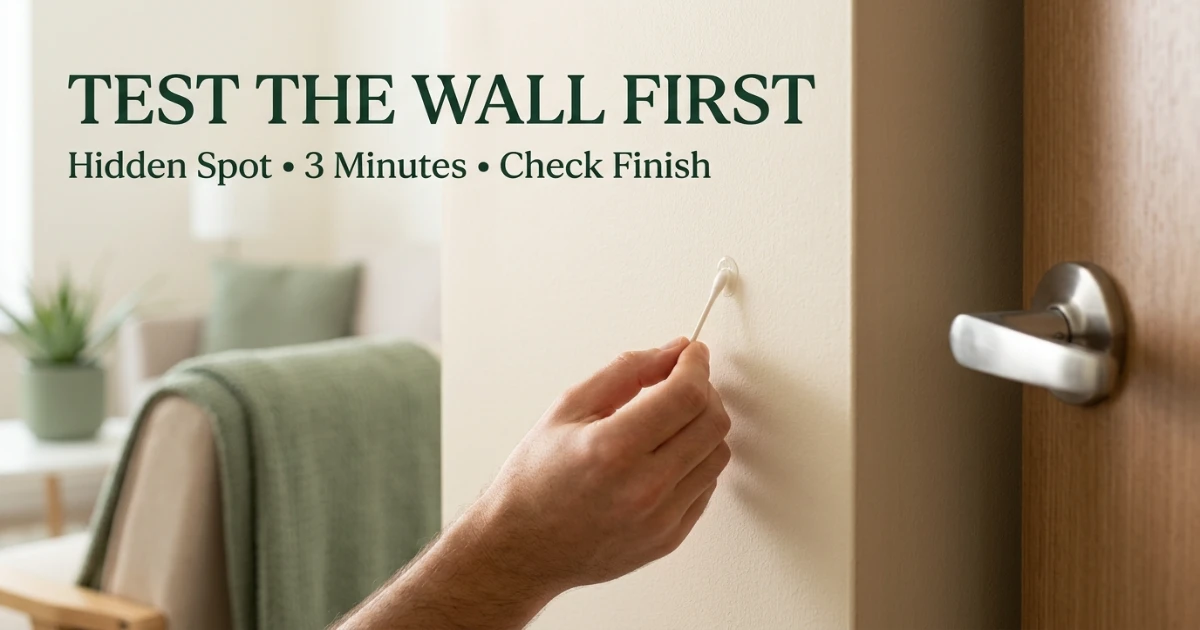
If heat alone does not work, choose a solvent. Pour a small amount onto a cotton swab and dab it on a hidden area — behind a door, inside a closet, or near the baseboard. Wait three minutes. If the paint color transfers to the swab or the finish looks dull or cloudy, stop. That solvent is not safe for this wall. If the paint remains stable, proceed.
Apply solvent sparingly and wipe in one direction
Dampen a microfiber cloth with your chosen solvent — wet but not dripping. Press it against the residue for about two minutes to soften the bond. Then wipe in one direction, lifting the adhesive as you go. Avoid circular scrubbing, which can spread the residue or abrade the paint. Use a fresh section of cloth as it becomes sticky.
Use a plastic scraper only on softened adhesive
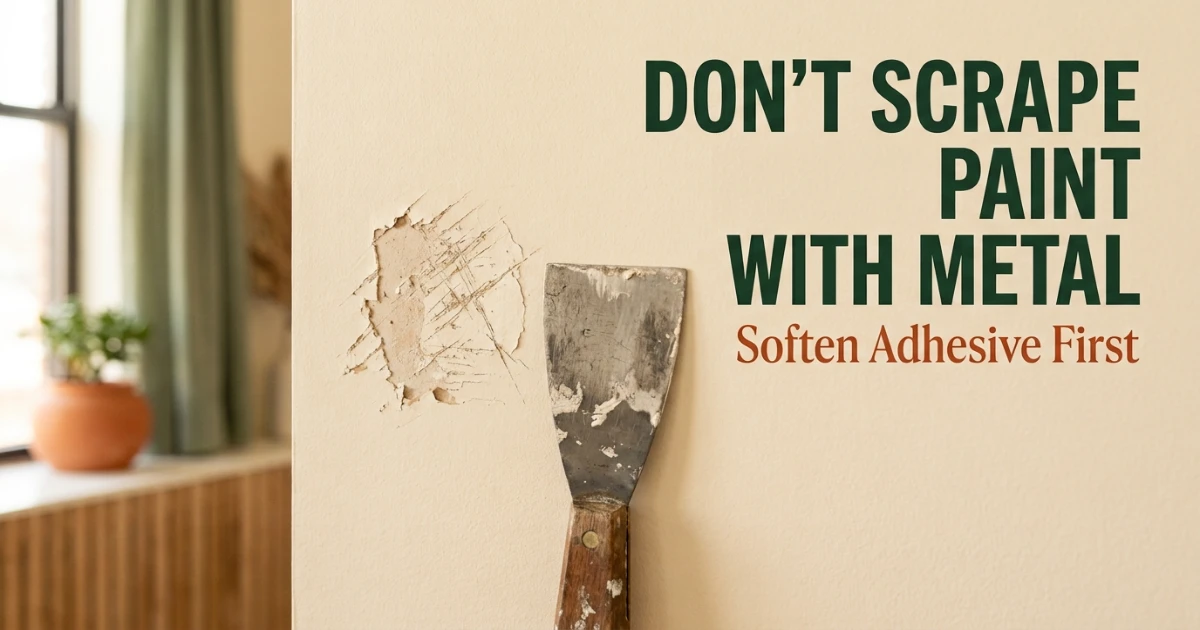
If a thick patch of residue remains after softening, hold a plastic scraper or an old credit card at a shallow angle — almost flat against the wall — and gently push the adhesive away. Never use a metal blade. Never scrape dry. If the residue is still hard, add more heat or solvent and wait rather than applying more pressure.
Wipe clean and let the wall dry completely
After the residue is gone, wipe the area with a clean cloth dampened with plain water to remove solvent residue. Then dry the wall with a dry microfiber cloth and let it air dry for at least 15 minutes. Check the area under normal lighting. If you see a slight sheen difference, you may need a light touch-up with matching paint — but only after the wall is fully dry.
Method Comparison by Surface and Residue Type
Use this table to choose a starting method. It is not a substitute for testing on your specific wall, but it narrows the options and reduces the chance of reaching for something too aggressive.
| Method | Best For | Surface Caution | Residue Type |
|---|---|---|---|
| Hair dryer + dry cloth | Fresh tape residue, small decals, stickers | Low risk on most painted drywall. Keep heat moving. | Tacky or slightly cured adhesive |
| White eraser | Small, fresh residue spots | Low risk. Use light pressure only. | Tacky adhesive |
| 70% isopropyl alcohol | Tape residue, sticker film, some Command strip residue | Test first on flat or matte paint. Can dull some finishes. | Rubber-based and some acrylic adhesives |
| Surface-approved adhesive remover | Cured or stubborn residue when the label allows the wall surface | Use only if the manufacturer explicitly lists your wall surface; test first. | Rubber-based, cured adhesive, wallpaper paste residue |
| Dental floss or fishing line | Stuck strips, mounts, or decals that will not pull | Low risk if used gently. Do not saw into drywall. | Adhesive still under a carrier |
| Plastic scraper | Thick, softened residue | Only after softening. Never on texture or bare drywall paper. | Gummy or thickened residue |
What Not to Do
Most adhesive-removal damage is avoidable. These are the mistakes that turn a small residue spot into a repair bill.
Do not pull strips outward
Pulling a Command strip or adhesive mount away from the wall instead of straight down puts tension on the paint-adhesive interface and frequently lifts the paint film.
Do not scrape with metal
A metal blade or putty knife will gouge paint and tear drywall paper instantly. Plastic scrapers exist for a reason — use them.
Do not oversaturate the wall
Soaking painted drywall with solvent or water can soften the paper facing underneath the paint. Use a damp cloth, not a soaked one, and work in sections.
Do not use acetone or paint thinner
These solvents are too aggressive for painted interior drywall. They can dissolve paint, dull the finish, and leave a permanent mark.
Do not scrub aggressively
Circular scrubbing spreads adhesive and abrades paint. Wipe in one direction and change cloths as they become sticky.
Do not ignore a lifted paint edge
If paint lifts, stop. Pressing it back down while wet can make it worse. Let it dry, then decide whether a touch-up is needed.
Optional Tool for Adhesive Residue Removal
As an Amazon Associate I earn from qualifying purchases. This tool is optional; start with heat, a microfiber cloth, and surface testing before using any scraper. Product availability and details can change.
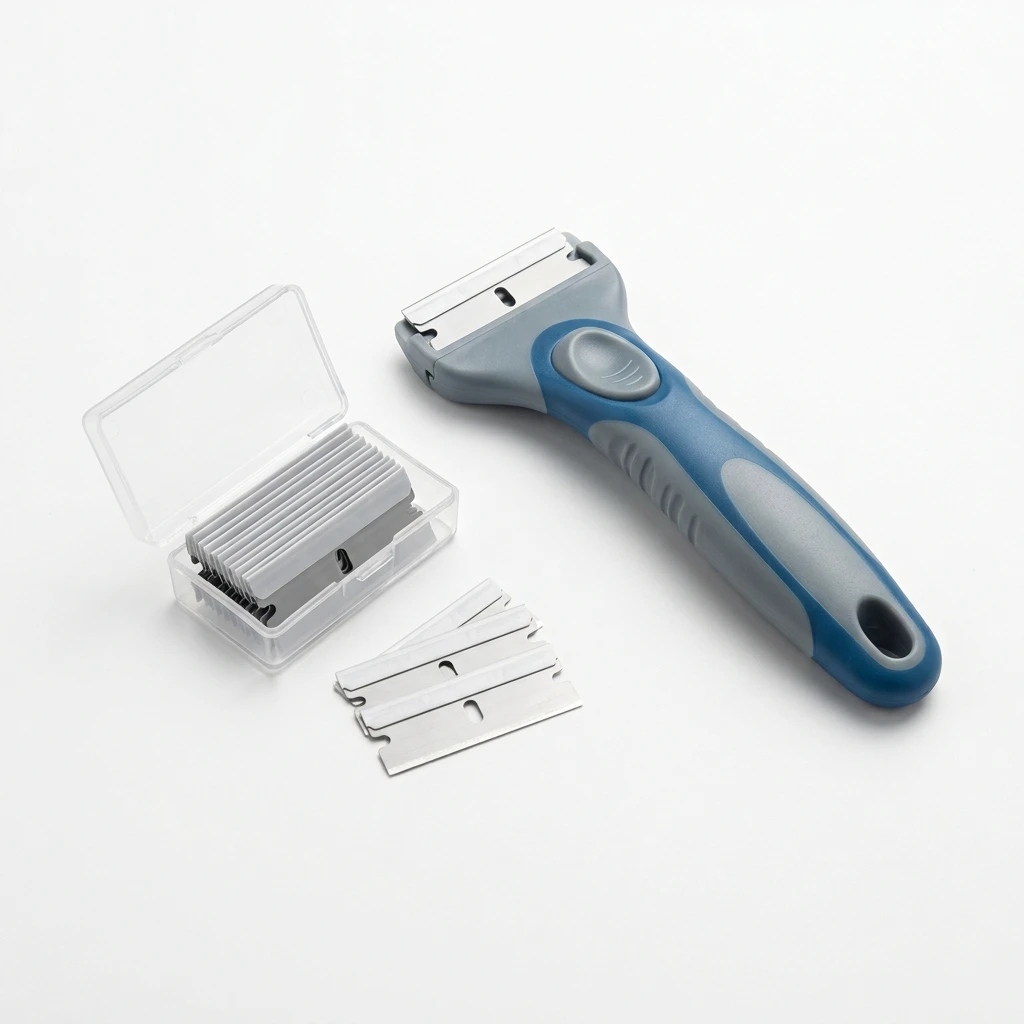
Plastic Razor Blade Scraper, 6pcs Replacement Blades
Best for: Lifting softened residue without metal damage
A plastic-bladed scraper that gives you the control of a razor tool without the gouging risk of metal. Use it only after heat or solvent has softened the adhesive, and hold it at a shallow angle against the wall.
Verified detail: Plastic blades are designed to be less likely to scratch painted surfaces than metal alternatives when used correctly.
When to Stop and Touch Up Instead
There are moments when continuing to remove residue creates more risk than leaving a faint mark and repainting. Recognize them early.
Stop and touch up when:
- The paint has already lifted or the drywall paper is visibly torn.
- The residue is in a corner or behind furniture and will not be seen during a typical move-out inspection.
- You have tested two gentle methods and the residue is not budging — more force is likely to damage the wall.
- The wall is textured and the texture is starting to crumble or flake.
A small touch-up with matching paint is often faster and lower-risk than an aggressive removal attempt. Ask your landlord or maintenance team for the paint color and sheen if you do not have touch-up paint on hand. If you are unsure whether a mark counts as normal wear, our guide on deposit-costing decor mistakes explains how to think about that line.
If you are still in the planning stage and want to reduce residue before it happens, choosing lower-residue products matters. Our Command strips weight limit guide explains how to match the strip to the object so the removal is easier when the time comes. And if you are considering peel-and-stick wallpaper as a decor option, our guide to the best removable wallpaper for renters covers removal expectations by product type.
Lease and Deposit Considerations
Adhesive residue sits in a gray area between normal wear and tenant-caused damage. Rules vary by state, city, lease agreement, and the specific property management company. This guide cannot tell you what your landlord will charge or what your lease allows. It can help you prepare so that you are not relying on guesswork.
Before you start removal, review your lease for any clauses about wall decor, adhesives, or move-out condition standards. If the lease is unclear, ask your property manager in writing whether adhesive residue is treated as normal wear or as damage. Keep that written response.
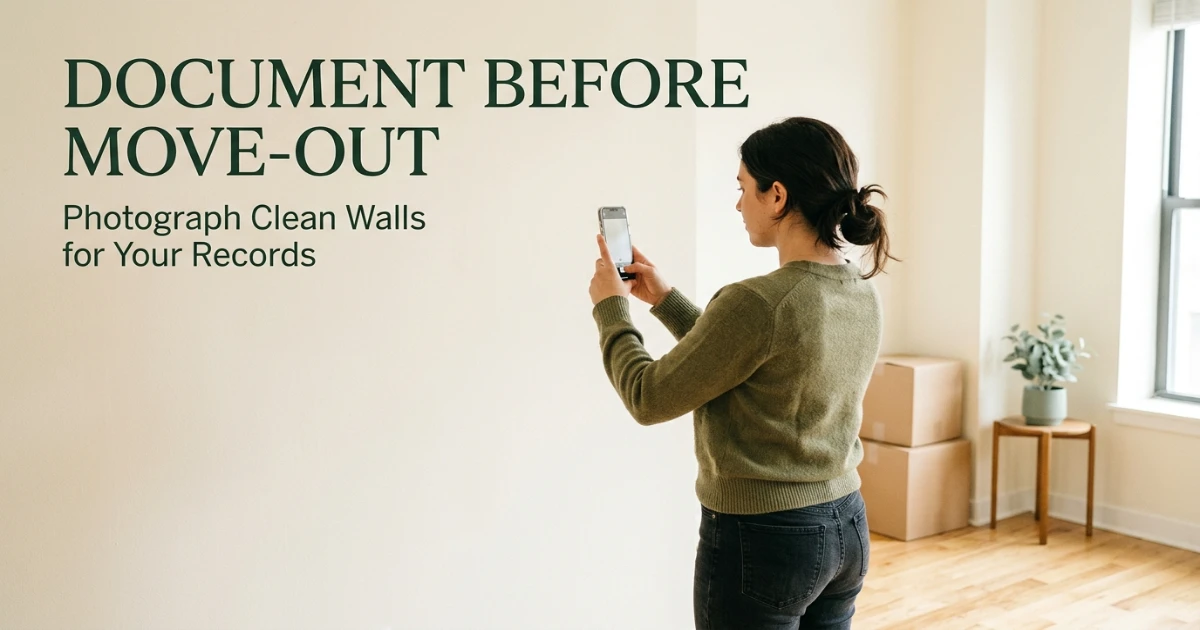
Keep dated move-in photos and dated move-out photos of every wall where you used adhesive products. If you remove residue and the wall looks clean, photograph it in normal lighting. If a small touch-up was needed, photograph that too. Documentation is your best protection if a deposit deduction is proposed.
If your landlord does charge for residue-related repairs, the rules about what they can deduct vary. Our guide on whether your landlord can charge for nail holes explains the general framework for move-out deductions and how to ask for an itemized list. The same documentation habits apply to adhesive residue.
Renter-Safety Verdict
Removing adhesive residue from walls safely comes down to three habits: start gentle, test first, and stop before the wall tells you to. Heat and a dry eraser handle most fresh residue. Alcohol may help in some cases, while stronger removers should be used only when their label explicitly allows your exact wall surface. Plastic tools and controlled moisture prevent the kind of damage that turns a residue spot into a repair charge.
No method is universally damage-free. Painted drywall is forgiving until it is not, and flat or matte finishes are the most vulnerable. If you are unsure, document the wall, try the least aggressive option, and be willing to touch up rather than force a removal. A small paint touch-up is almost always cheaper and less stressful than a drywall repair.
Frequently Asked Questions
Can I use rubbing alcohol to remove adhesive residue from painted walls?
70% isopropyl alcohol is a common choice for tape and sticker residue on painted drywall. It works best on rubber-based adhesives and some acrylic residues. Always test it on a hidden area first, because flat or matte paints can dull or stain. Use a damp cloth, not a soaked one, and wipe in one direction.
What if the adhesive residue is on flat or matte paint?
Flat and matte paints are more porous and more likely to stain or dull when exposed to solvents. Start with heat and a dry eraser. If you must use a solvent, use the smallest amount possible on a cotton swab, test first, and wipe immediately. A touch-up with matching paint may be safer than a stronger chemical approach.
Can I use Goo Gone Original on painted drywall?
Do not treat it as a default painted-drywall solution. Goo Gone lists painted surfaces among its safe surfaces, but its current product guidance also says not to use Goo Gone Original on drywall. For a rental wall, follow the product label for your exact surface and choose a method specifically approved for painted drywall.
Can I use a metal scraper to remove adhesive residue?
No. Metal scrapers, putty knives, and razor blades can gouge paint and tear drywall paper instantly. Use a plastic scraper or an old credit card, and only after the adhesive has been softened with heat or a solvent. Never scrape dry.
What should I do if the paint lifts while I am removing residue?
Stop immediately. Do not press the lifted paint back down while it is wet. Let the area dry completely, then photograph it. If the lifted area is small, you may be able to touch it up with matching paint. If the drywall paper is torn, a small patching compound and touch-up paint may be needed. Document the area for your deposit records.
Does adhesive residue count as normal wear in a rental?
It depends on your state, city, lease, and property. Some leases specify that adhesive residue is tenant responsibility; others may treat small amounts as normal wear. Review your lease and ask your property manager in writing if you are unsure. Keep dated move-in and move-out photos of the area.
How do I remove Command strip residue specifically?
Start by removing the strip correctly: hold the base and pull the tab straight down, parallel to the wall. If residue remains, try heat from a hair dryer, then a white eraser. For stubborn residue, test 70% isopropyl alcohol on a hidden area. Our guide on removing Command strips without damage covers the full process.
Plan Your Move-Out Wall Check
Adhesive residue is one of the most common move-out surprises. A little preparation goes a long way toward a smooth inspection.
Read the Deposit-Costing Decor Mistakes Guide