Command Strips vs Drywall Anchors: Which Is Safer for Renters?
A practical comparison of two popular mounting methods, focused on surface safety, weight limits and protecting your security deposit.
Core Difference: Adhesive vs Mechanical Hold
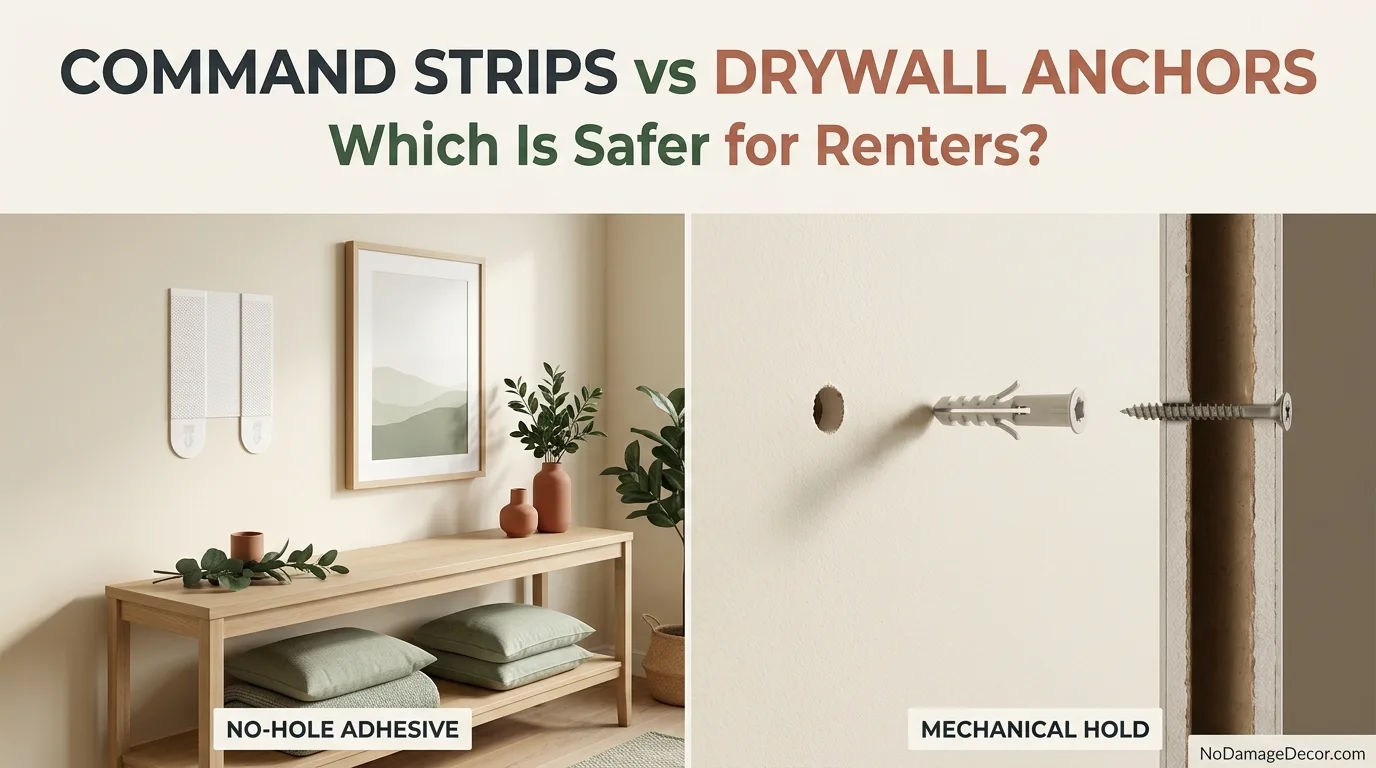
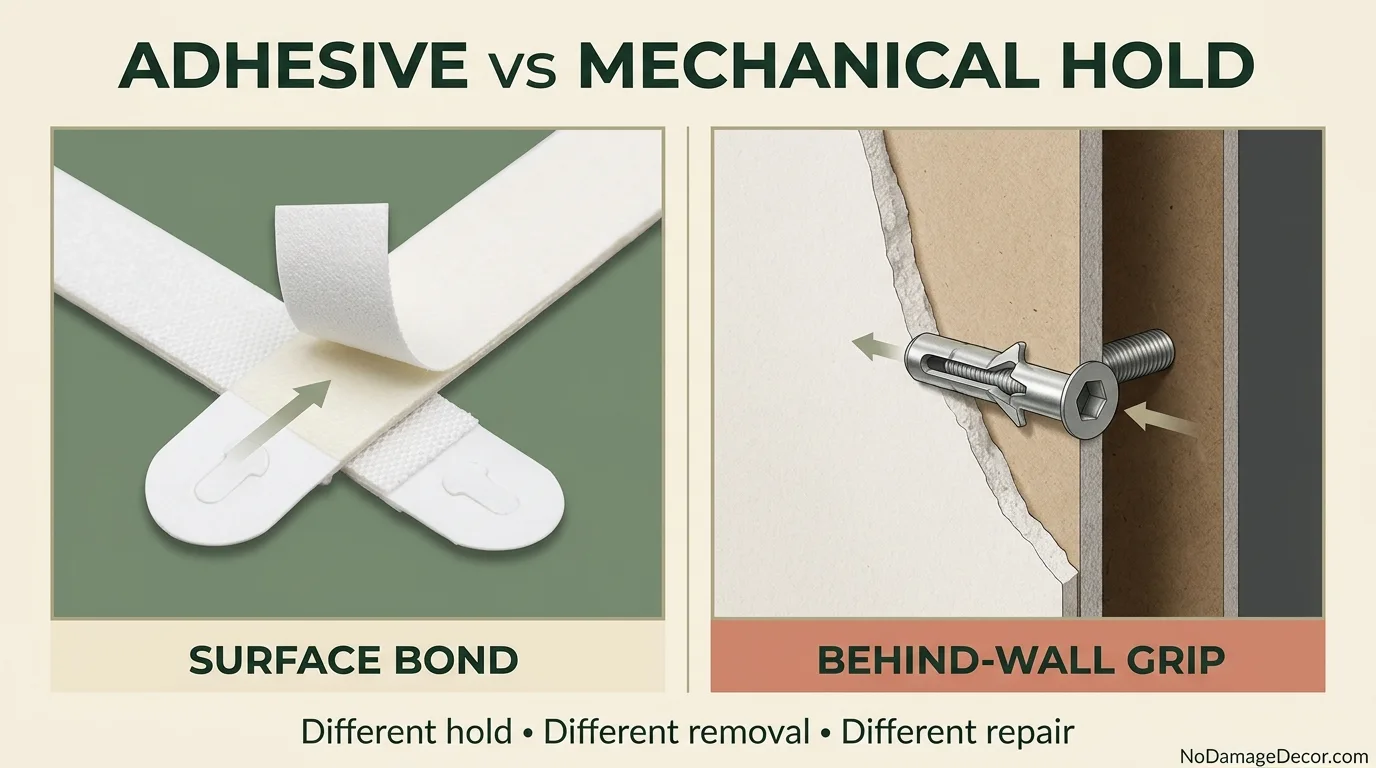
Command strips and drywall anchors solve the same problem in opposite ways. Command strips rely on a pressure-sensitive adhesive that bonds to the surface and locks to a matching strip on the object. Drywall anchors rely on a mechanical fastener that expands or toggles behind the wall board to create a load-bearing point.
That difference shapes everything else: what surfaces each method tolerates, how much weight each can safely hold, how they are installed, and what happens when you remove them.
Command strips are designed for smooth, clean, painted surfaces. They work best on light to medium loads and are removed by stretching the adhesive tab straight down. Drywall anchors create a mechanical opening in the wall, but installation varies by type: some self-drill directly into suitable drywall, while toggle-style anchors require a specified opening. Removal also varies; some anchors back out, some are countersunk or pushed through, and toggle hardware can leave part of the anchor behind the wall.
Command Strips vs Drywall Anchors: Side-by-Side Comparison
| Factor | Command Strips | Drywall Anchors |
|---|---|---|
| Hold type | Adhesive + interlocking strips | Mechanical expansion or toggle |
| Typical weight range | Varies by strip size; check the specific product rating | Varies widely by anchor type and wall thickness |
| Surface requirements | Smooth, clean, painted walls, tile, metal, finished wood | Drywall, plasterboard, some hollow walls |
| Tools needed | None for installation; rubbing alcohol for prep | Varies by anchor: screwdriver for some self-drilling types; drill plus screwdriver/bolt for others |
| Removal | Pull tab straight down slowly | Removal varies by anchor type; the opening normally becomes a repair point |
| Deposit risk | Low if removed correctly; paint pull possible if misused | Higher repair burden; visible anchor openings commonly need patching before move-out |
| Best for | Light frames, posters, small decor | Heavier mirrors, shelves, large frames |
Surface Differences That Change the Decision
The wall surface matters as much as the object you are hanging. A method that works perfectly on smooth painted drywall can fail or cause damage on other common rental surfaces.
Smooth Painted Drywall
This is the best-case surface for Command strips, provided the paint is fully cured and the wall is clean. Drywall anchors also work here, but the hole size and patching burden are higher.
Wallpaper and Vinyl Wall Coverings
Command strips are not recommended on wallpaper or vinyl surfaces. The adhesive may not bond reliably, and removal can tear the paper or vinyl. Drywall anchors are also risky because the hole can compromise the covering and be difficult to repair invisibly.
Freshly Painted Walls
Current Command picture-hanging instructions say to wait at least seven days after painting before use. The wall still needs to be sound and compatible with the exact product. A drywall anchor does not depend on adhesive cure, but drilling into a newly finished wall can still create a repair point you may need to patch and touch up later.
Textured, Rough or Delicate Surfaces
Adhesive strips need full contact to hold. Rough, textured or delicate surfaces reduce contact and increase failure risk. Anchors are not a universal fix either; some hollow or fragile wall materials do not support standard drywall anchors.
Installation: What Each Method Requires
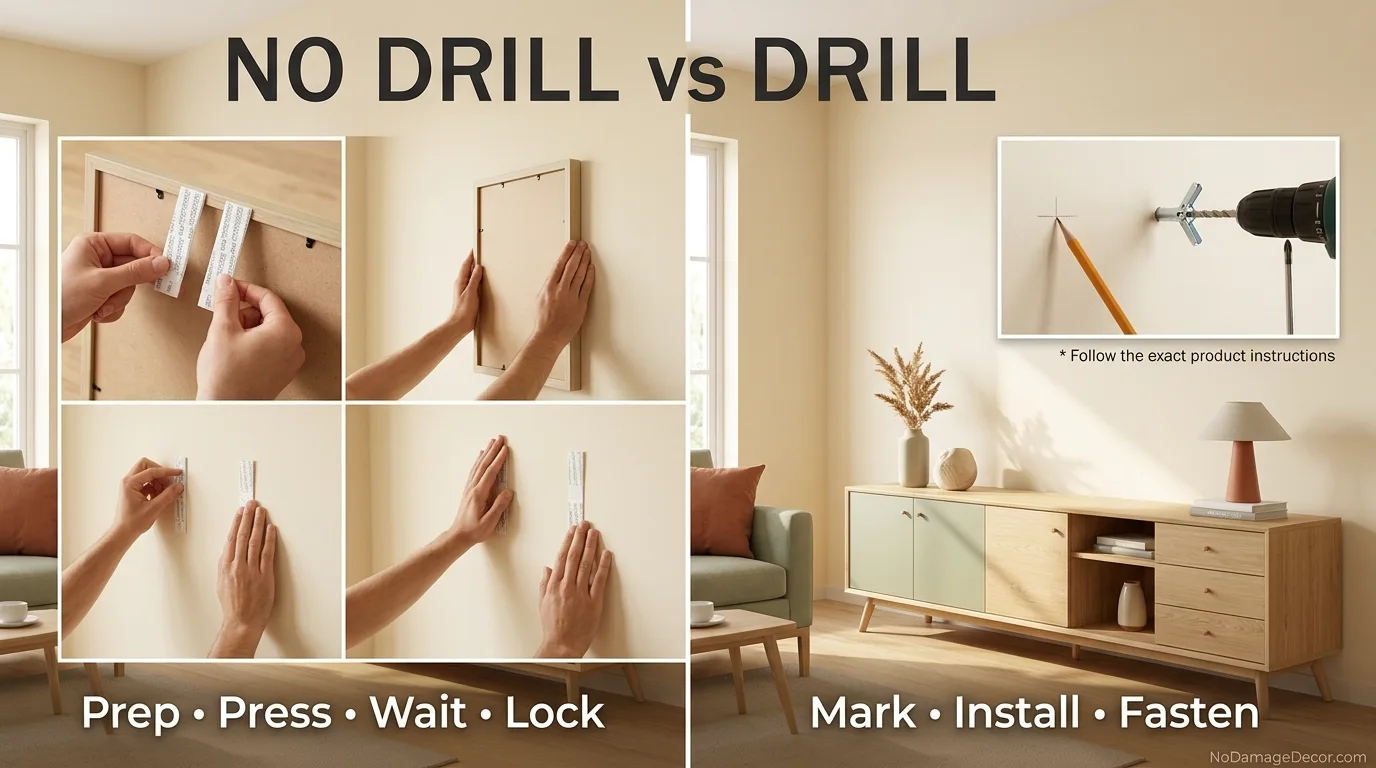
Command Picture-Hanging Strips
- Wait at least seven days after painting, and confirm the wall is a compatible smooth surface.
- Wipe the wall with rubbing alcohol. Current 3M instructions say not to use household cleaners or water for this prep step.
- Separate the strips, click each pair together, then attach the paired strips to the back of the frame in the positions shown for the product.
- Remove the remaining liners and press the frame firmly to the wall.
- Peel the frame away as directed, then press each wall-side strip firmly for 30 seconds to reinforce the bond.
- Wait one hour before reattaching the frame, then align the pairs and press until they click.
Use the exact number of pairs, maximum frame size and weight limit stated for the specific product. Do not extrapolate beyond the package by simply adding extra strips.
Drywall Anchors
- Confirm that the wall is actually drywall/gypsum board and check for wiring, plumbing and other hidden services before making a hole.
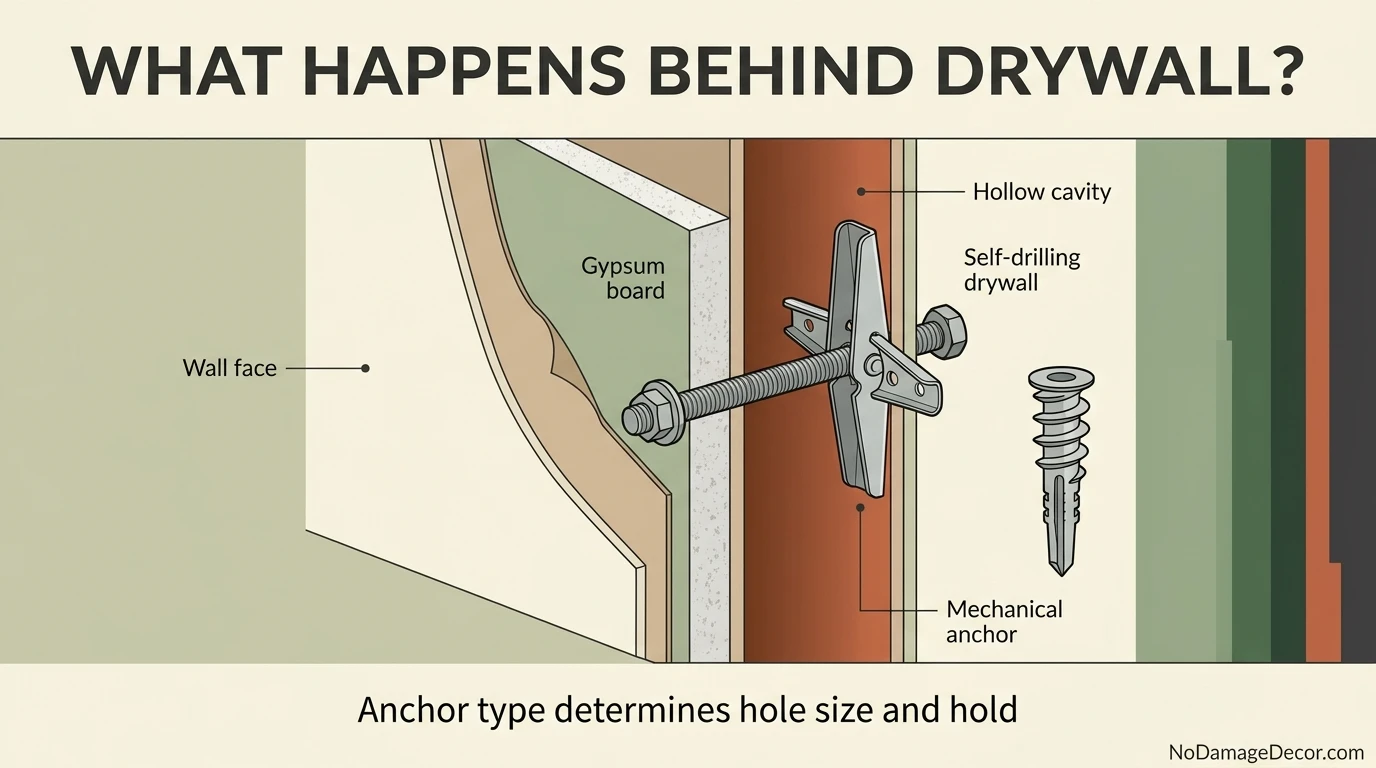
- Choose an anchor designed for the wall thickness, object geometry and load. Self-drilling anchors and toggle anchors do not install the same way.
- For a self-drilling anchor, follow its instructions for driving the anchor directly into suitable drywall. For a toggle-style anchor, drill the exact opening specified for that anchor.
- Seat the anchor correctly without overtightening, then fasten the object using the specified screw or machine bolt.
- Stop if the drywall is soft, damaged, unusually thin, or the anchor spins or crushes the board.
Package load figures are not universal safe-working limits for every installation. Wall thickness, drywall condition, load direction, fixture stand-off and anchor type all matter. Shelves and other projecting loads can stress an anchor differently from a frame mounted flat to the wall.
Removal and Deposit Risk
Removal is where the renter calculus often changes. A mounting method can install cleanly and still create a repair problem if it is removed the wrong way.
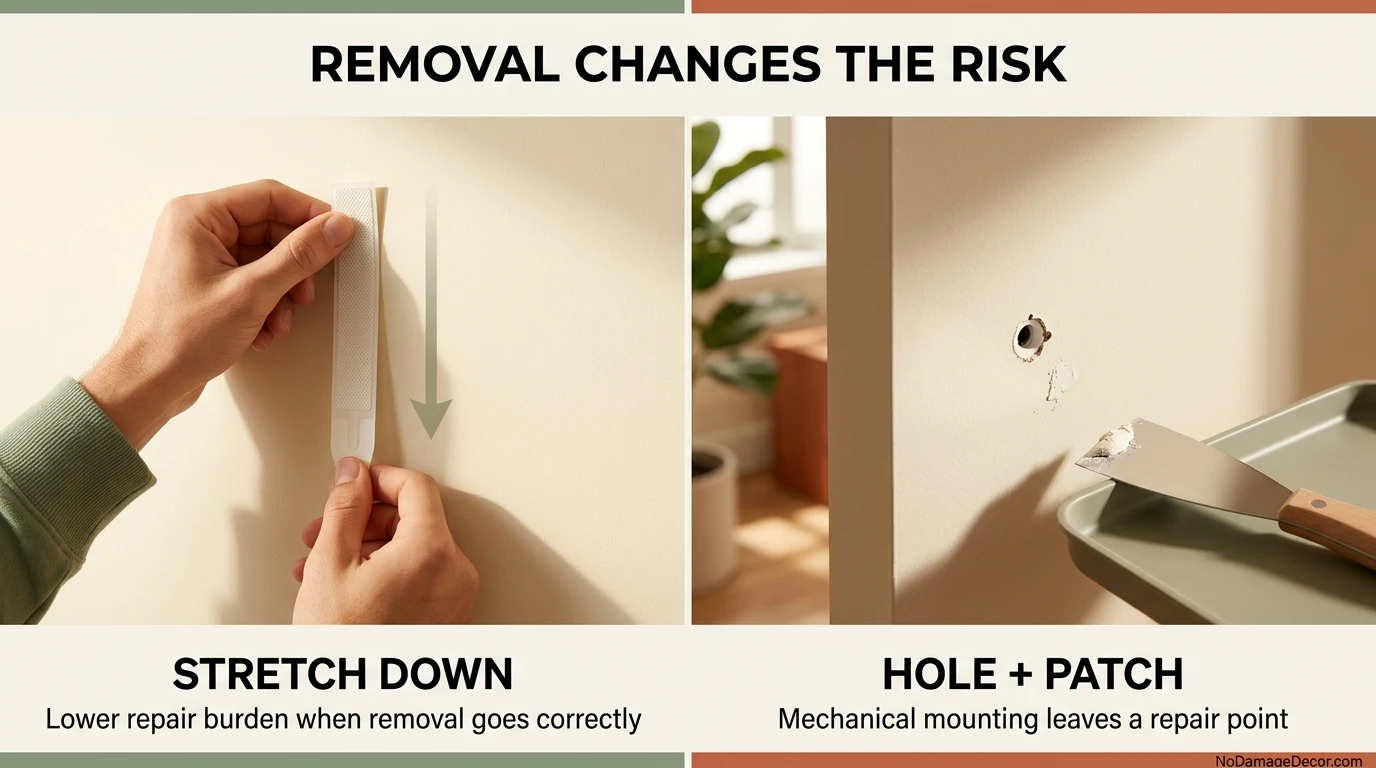
Drywall-anchor removal depends on the fastener. Some self-drilling anchors can be backed out; others may be countersunk or pushed through the board before patching. Toggle systems can leave hardware behind the wall after the visible bolt and cap are removed. In every case, the opening normally becomes a repair point rather than disappearing on its own.
Command strips are also not a guarantee against surface damage. Weak paint, an incompatible wall, incorrect surface prep or pulling the strip outward can still lift paint or drywall paper. Treat “removable” as a manufacturer-directed process, not as permission to use the product on any finish.
Whether a hole or repair can affect your deposit depends on your lease, property, state/local rules and the circumstances. Do not assume any hole size is automatically “normal wear” or automatically chargeable. Review your lease, keep dated photos and ask management in writing when permission is unclear. See can your landlord charge for nail holes for the broader renter issue.
Which Renter Should Choose Which
Choose Command strips when…
- The wall is smooth, clean and painted.
- The object is light and within the manufacturer’s rated limit.
- You want the simplest possible removal path.
- You are not hanging above a bed, crib or walkway.
Choose drywall anchors when…
- The object is heavier than what adhesive strips are rated to hold.
- The surface is drywall and the lease permits drilling.
- You are comfortable patching and painting a small hole at move-out.
- You need a mechanical hold that does not depend on adhesive bonding.
If you want to avoid holes entirely for art, hang art without nails covers additional methods and layout tips. For shelf-style storage without drilling, see floating shelves without drilling.
Verified Product Examples
As an Amazon Associate I earn from qualifying purchases.
These examples illustrate the two mounting approaches. Product listings and packaging can change, so use the current package and manufacturer instructions as the final source for capacity, surface compatibility and installation.
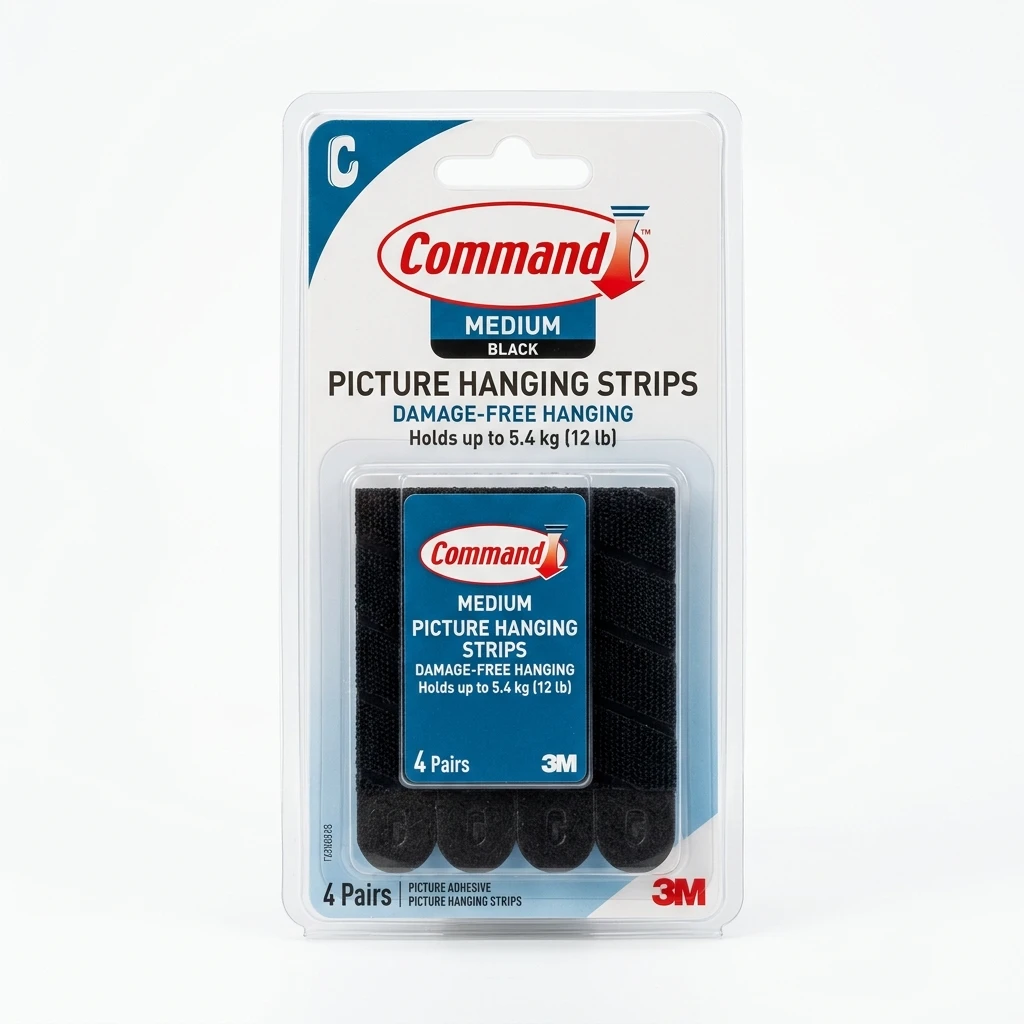
Command Medium Black Picture Hanging Strips, 16 Pairs (32 Strips)
Best for: Lightweight frames on compatible smooth indoor surfaces when you want to avoid drilling.
Current 3M documentation for Medium Picture Hanging Strips says four pairs support a frame up to 18 × 24 inches within the stated product limit. Retail listing titles for this ASIN can use different headline capacity wording, so follow the package in hand rather than mixing figures from different listings.
Caution: 3M says to wait seven days after painting, prep with rubbing alcohol, avoid wallpaper, avoid hanging over beds, and not use the strips for valuable or irreplaceable items.
Check Price on Amazon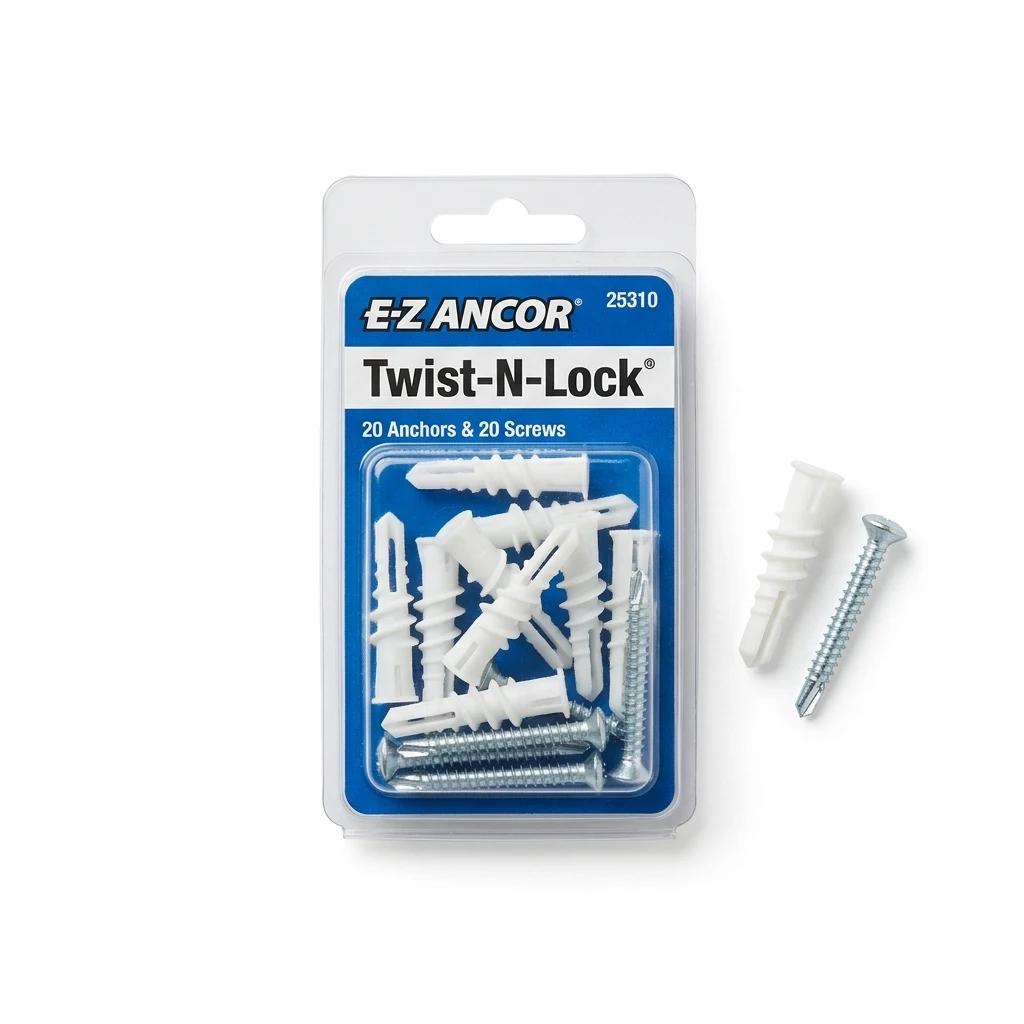
E-Z Ancor Twist-N-Lock Drywall Anchors, 50-Pack, Model 25310
Best for: Medium-duty wall applications in suitable drywall where the lease allows a mechanical fastener.
Current retailer/manufacturer-supported product information identifies model 25310 as a self-drilling #8 anchor for 1/2-inch or 5/8-inch drywall and lists a 75 lb working-load figure in 1/2-inch drywall under stated conditions. ITW also notes that real capacity can be lower depending on the application and wall condition, especially when a load projects away from the wall.
Caution: Do not treat the package number as a universal safe load. It is not a ceiling anchor, and ITW has warned against applications with repeated dynamic/outward loading. Check wall condition, fixture geometry and current instructions.
Check Price on Amazon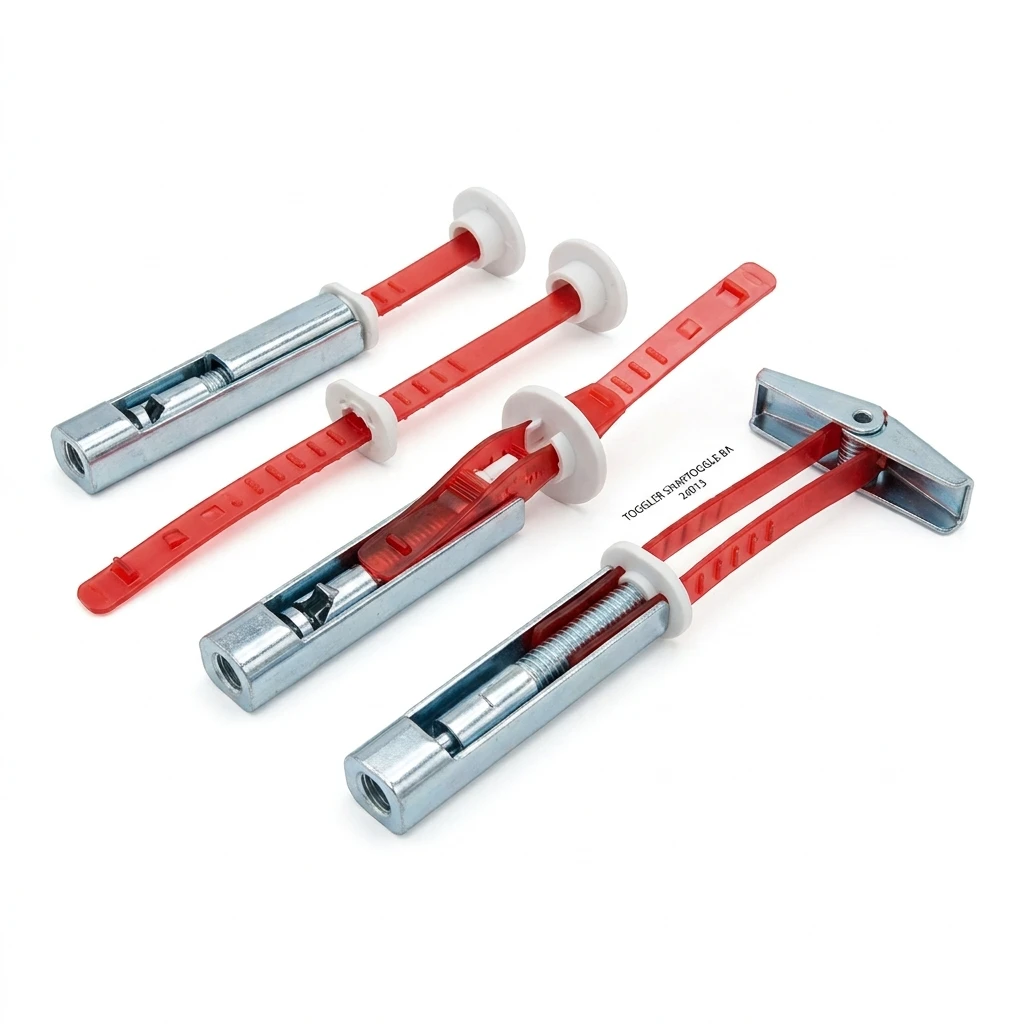
TOGGLER SNAPTOGGLE BA, 3/16-24, 100-Pack Without Bolts, Model 24013
Best for: Applications that require a heavy-duty hollow-wall fastener and where the exact wall, fastener, fixture and lease rules support drilling.
TOGGLER’s current technical documentation lists the BA model with a 1/2-inch drill diameter, 3/16-24 thread and 3/8-inch to 3-5/8-inch grip range. The steel channel locks behind the wall rather than relying on surface adhesive.
Caution: Capacity depends heavily on wall material, thickness, fastener, fixture geometry and load direction. Do not borrow a headline load number from a different SNAPTOGGLE size or wall material. The 1/2-inch installation opening also creates a larger move-out repair than a picture-hanging strip.
Check Price on Amazon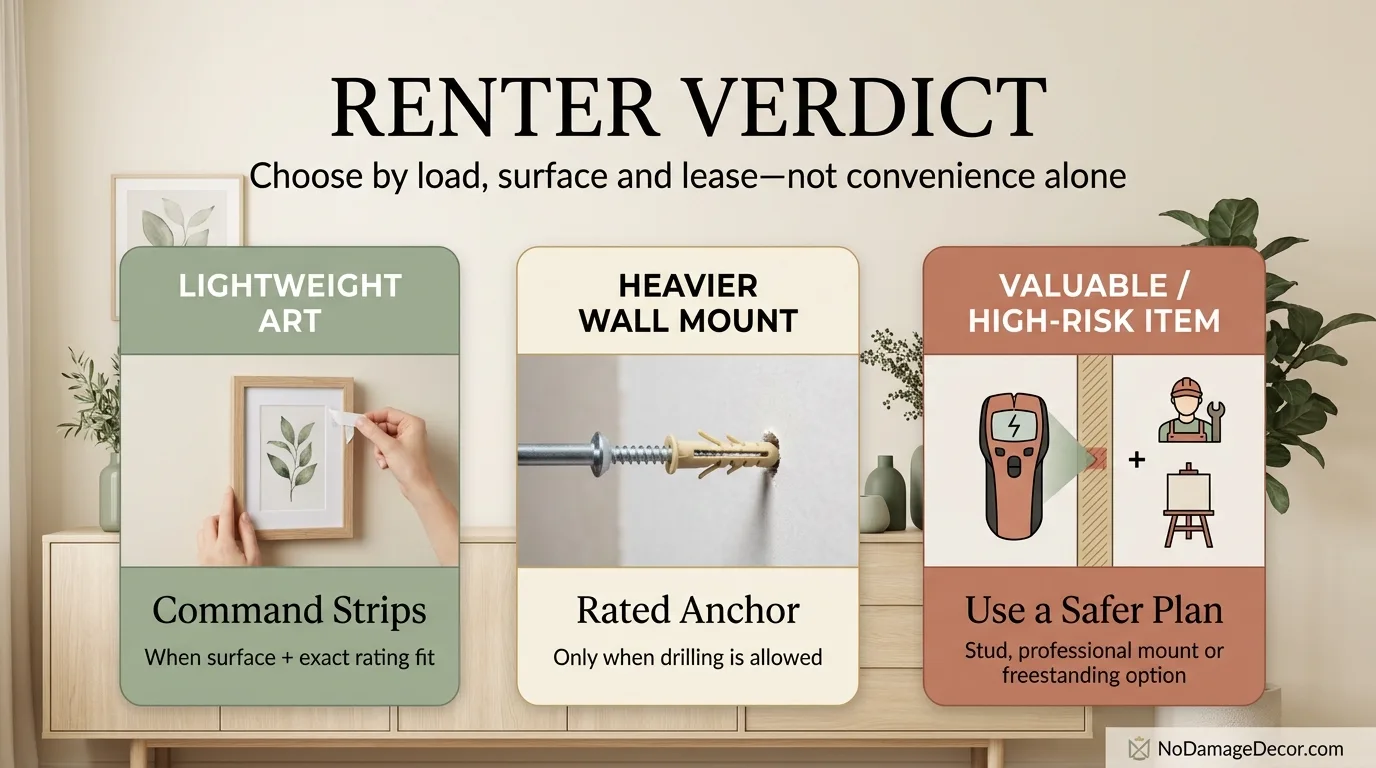
Renter-Safety Verdict
For most renters hanging light art on smooth painted drywall, Command strips are the lower-risk, more reversible option. They require no drilling, install in minutes and remove by pulling a tab. The catch is that they are not risk-free: paint pull can happen if the surface is not prepared, the strips are removed incorrectly, or they are left on certain paints for a long time.
Drywall anchors are the better choice for heavier objects, but they leave holes that usually need patching. The repair work—and the possibility of a deposit issue depending on the lease and local rules—is the real renter trade-off. Toggle and molly anchors hold substantially more than adhesive strips, but they also require the largest holes.
Before you choose either method: read your lease, test an inconspicuous area, keep move-in and move-out photos, and follow the exact manufacturer instructions for the product you buy. No mounting method can guarantee zero damage or a full deposit return.
Get the Weight Limits Right
Before you hang anything, check the rated capacity for your specific strips. Our Command strips weight limit guide breaks down what each size can safely hold.
Read the Command Strips Weight Limit GuideFrequently Asked Questions
Are Command strips guaranteed to be damage-free on rental walls?
No. 3M designs picture-hanging strips for clean removal when the product, surface, preparation and removal method all match the instructions, but 3M also warns that failure to follow the instructions can cause damage. Weak paint or an incompatible finish can still fail.
Do drywall-anchor holes automatically count as rental damage?
Do not assume that they do—or that they do not. Security-deposit and normal-wear rules vary by state, city, lease, property and circumstances. Larger anchor holes are more visible than small picture-pin holes and often require patching. Review your lease and keep dated move-in and move-out photos.
Can I use Command picture-hanging strips on wallpaper?
No. Current 3M picture-hanging guidance says not to use them on wallpaper. Use a method that does not depend on that wall covering, or get written guidance from your property manager.
How much weight can Command picture-hanging strips hold?
It depends on the exact strip size and the required number of pairs. Current 3M documentation publishes capacity per set and product-specific frame limits. Check the current package and use the specified configuration; do not exceed the rating or improvise extra capacity by adding strips beyond the instructions.
Which is better for hanging a mirror in a rental?
Start with the mirror’s weight, dimensions, value and location. Some lightweight mirrors can fit the instructions for an appropriate picture-hanging product. A heavier mirror may require a stud or a mechanical fastener engineered for the wall and load. Avoid adhesive-only hanging for a valuable mirror or an injury-risk location, and do not hang a heavy mirror above a bed.
Can I mount a shelf with ordinary Command picture-hanging strips?
Do not use ordinary picture-hanging strips as a substitute for a conventional shelf-mounting system. Shelves create projecting and changing loads. Use a shelf product with its own verified mounting system, a properly engineered mechanical fastener where permitted, or a renter-friendly freestanding alternative.
What should I do before drilling into a rental wall?
Read the lease, confirm whether drilling is permitted, identify the wall type, consider hidden wiring or plumbing, and understand the move-out repair expectation. Take dated photos before drilling. If permission is unclear, ask the landlord or property manager in writing and keep the response.
Sources & Renter-Safety Note
This guide uses current manufacturer documentation for product-specific installation, surface and fastener details. Product listings and packaging can change, so the exact package you own remains the final instruction source. Rental damage and security-deposit rules vary by jurisdiction, lease and circumstances; this article is not legal advice.