How Long to Wait for Command Strips Before Hanging Anything
The one-hour wait is the step most renters skip — and it is the single biggest reason Command strips fail, fall, or peel paint. Here is exactly how long to wait, why it matters, and how to time your installation for a deposit-safe result.
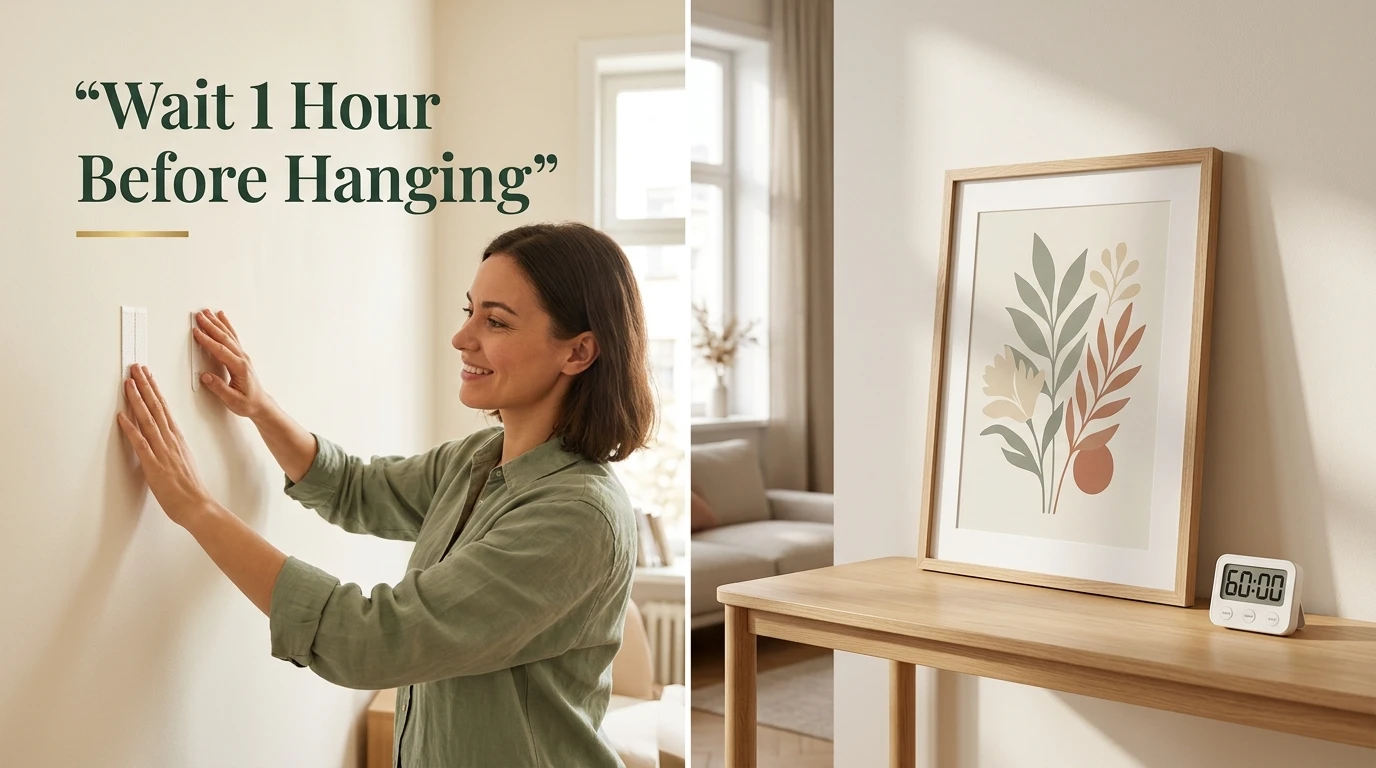
How Long to Wait for Command Strips: Why the 1-Hour Rule Matters
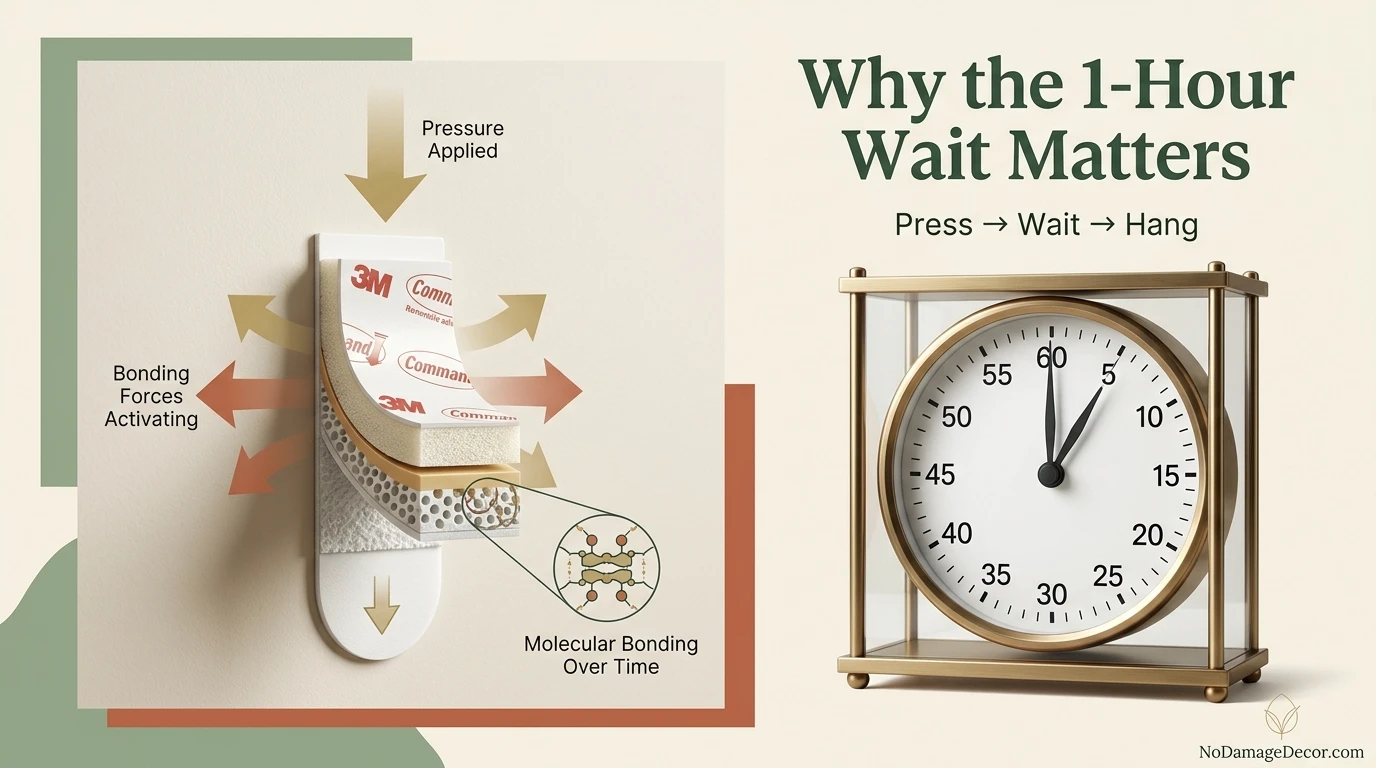
Command strips use a pressure-sensitive adhesive that needs time to flow into the microscopic texture of your wall surface. When you press the strip for 30 seconds, you are starting that process. The next hour is when the adhesive builds what 3M calls a “strong bond” — the point at which the strip can reliably carry weight without creeping or releasing.
Skip the hour, and you are asking the adhesive to hold a picture frame while it is still in the middle of forming its grip. The result is usually not an immediate failure. Instead, the strip holds for a few days, then slowly slides down the wall, takes paint with it on removal, or drops the frame at 2 a.m. when the apartment is quiet.
Renter reality check: A Command strip that fails because you skipped the wait can peel paint, leave a sticky residue, or pull away drywall paper. Those are common types of wall damage that may lead to repair charges or security-deposit deductions, depending on the lease and local rules. The hour is not optional — it is the difference between a removable strip and a repair bill.
Surface Compatibility: Where Command Strips Work and Where They Do Not
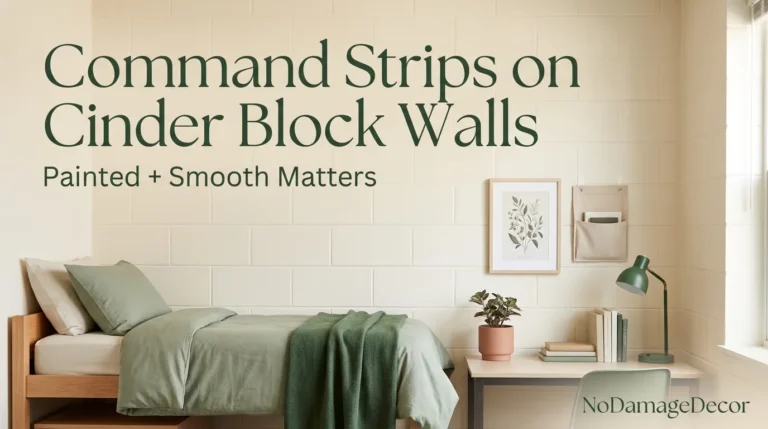
Command strips are designed for smooth, clean, dry surfaces. 3M lists painted walls, finished wood, painted concrete cinder blocks, laminate, glass, metal, and tile as approved surfaces for indoor picture hanging strips.
What they are not designed for matters just as much:
- Wallpaper: Most wallpapers are too delicate and can tear when adhesive is applied. 3M explicitly advises against using Command products on wallpaper.
- Textured walls: Orange-peel, knockdown, popcorn, and heavy stipple textures reduce adhesive contact. The strip may stick initially and then release under load.
- Fresh paint: Paint needs to cure before adhesive touches it. 3M recommends waiting at least 7 days after painting.
- Dirty or dusty surfaces: Household cleaners and wipes can leave a slippery residue. Clean with isopropyl rubbing alcohol and let it dry completely.
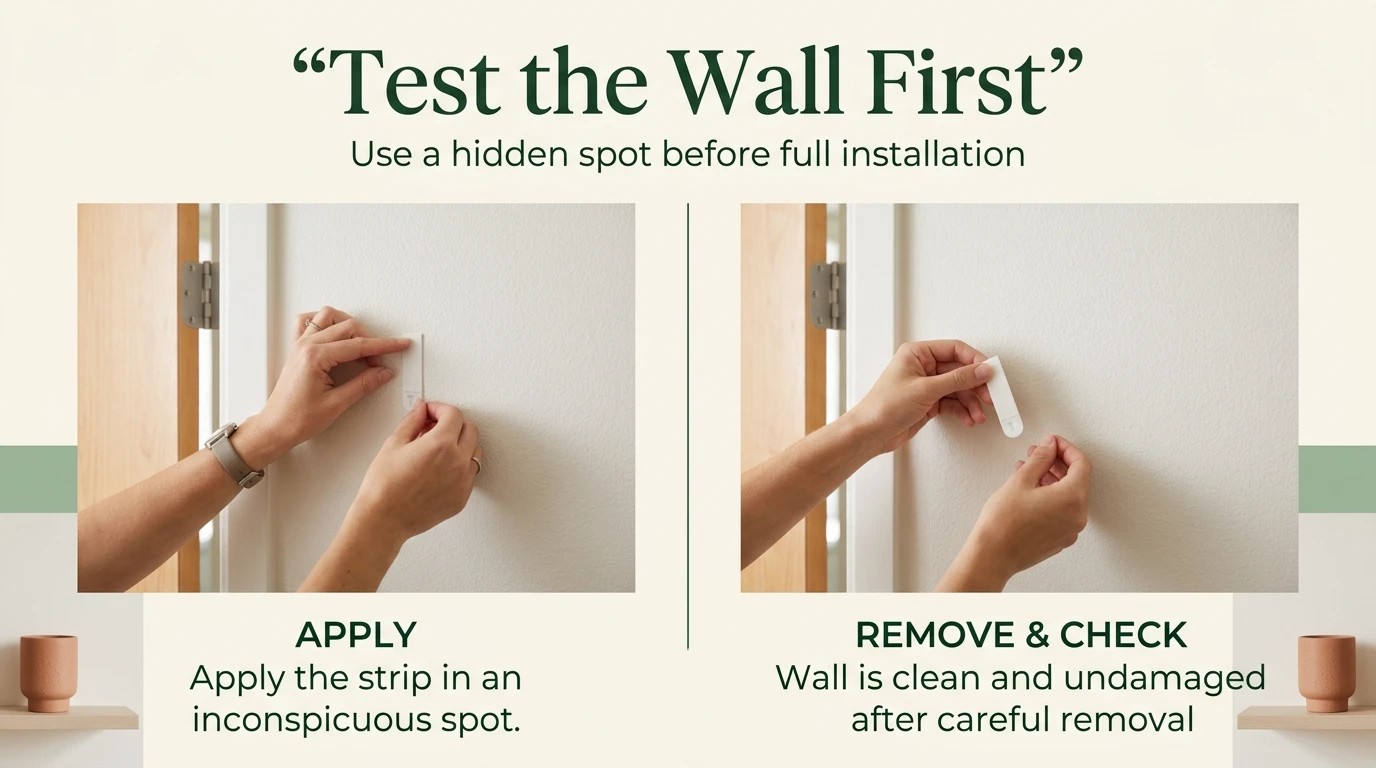
How to Test an Inconspicuous Area
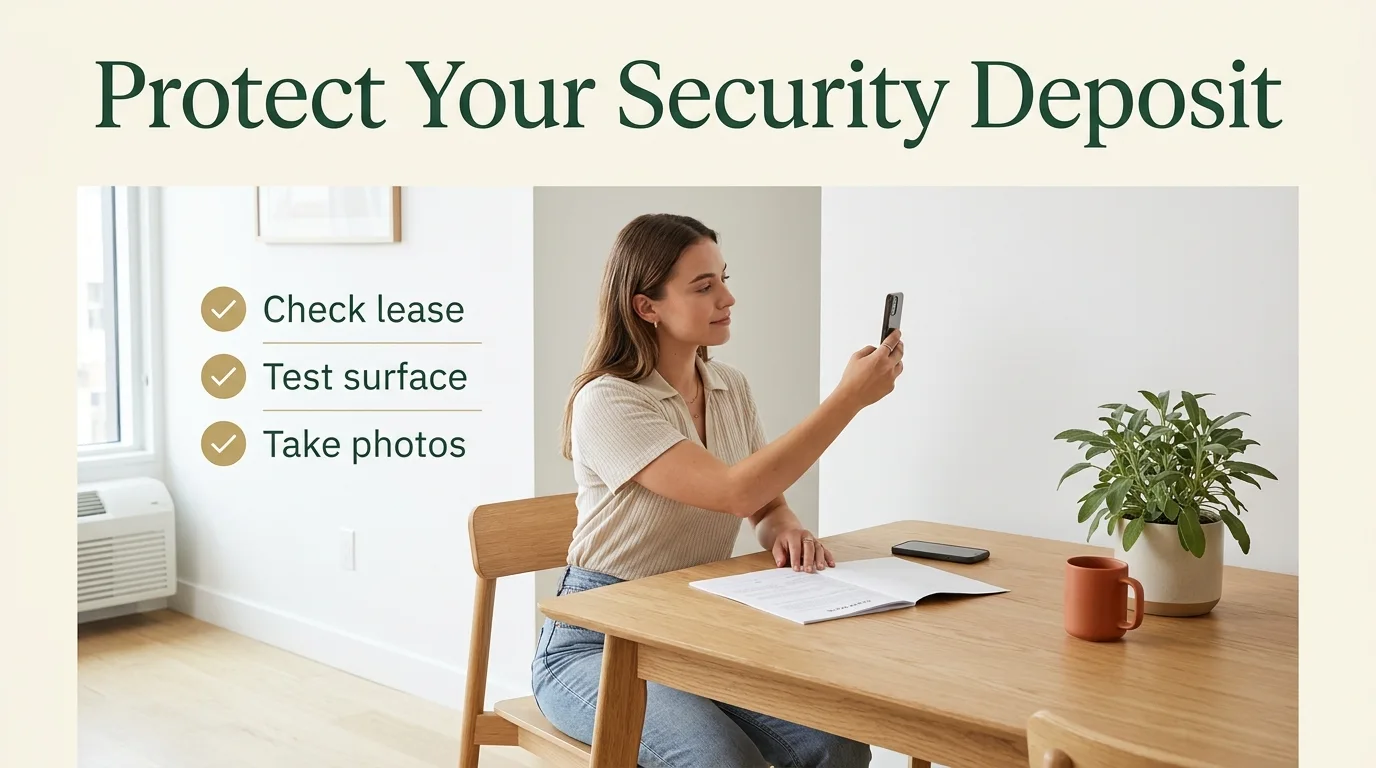
- Choose a hidden spot on the same wall — behind a door, inside a closet, or near the floor.
- Clean the spot with isopropyl alcohol and let it dry for a few minutes.
- Apply a strip, press for 30 seconds, and wait the full hour.
- Pull the strip straight down slowly to remove it.
- Inspect the surface. If paint lifted, the wall is too fragile for adhesive mounting. If the surface is intact, proceed with your project.
Temperature and Climate Rules for Command Strips
Adhesive performance is temperature-sensitive. For indoor Command products, 3M specifies an application temperature range of 50°F to 105°F (10°C to 40°C).
Below 50°F, the adhesive may not form the intended bond, while temperatures above the listed application range can also affect performance. If the wall or room is outside the product’s stated application range, wait until the surface is within the recommended range before installing the strips rather than trying to force the application.
Humidity matters too. Bathrooms and kitchens with heavy steam exposure are higher-risk locations for adhesive mounting. If you want to use Command strips in a bathroom, choose a spot away from direct shower spray and let the room ventilate fully before installation. For more bathroom-specific guidance, see our no-drill bathroom storage guide.
Weight Limits: What Each Strip Size Can Actually Hold
Command strips are sold in multiple sizes, and the weight rating depends on how many strips you use. The package label is the authority — not a general rule of thumb. 3M publishes different limits for different configurations, and the limit for two pairs is different from the limit for four pairs.
Always check the specific package you buy. If you are unsure which size fits your frame, our Command strips weight limit guide walks through the size-by-size breakdown.
| Consideration | What to Check | Why It Matters |
|---|---|---|
| Frame weight | Weigh the frame with the art, glass, and backing installed | An empty frame may be light; the finished piece can exceed the strip rating |
| Strip count | Use only the number and placement of strip pairs specified for your exact product and frame | Adding extra strips or using an improvised configuration does not reliably increase the rated capacity |
| Surface condition | Smooth, clean, dry, fully cured | Adhesive cannot bond properly to textured or damp surfaces |
| Wait time | Full 1 hour before hanging | The adhesive needs this window to reach working strength |
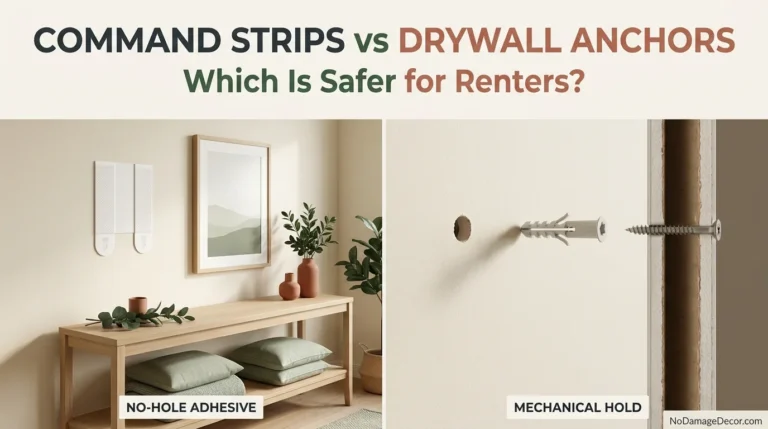
Do not use adhesive-only mounting above beds, cribs, or anywhere a falling object could cause injury. 3M explicitly advises against hanging over beds. For heavy mirrors, large framed art, or valuable pieces, use a traditional anchored method or a floor-standing alternative.
Step-by-Step: Installing Command Strips the Right Way
This process applies to picture hanging strips. For hooks, the sequence is slightly different, but the wait time and surface prep rules are the same. Full removal instructions are covered below.
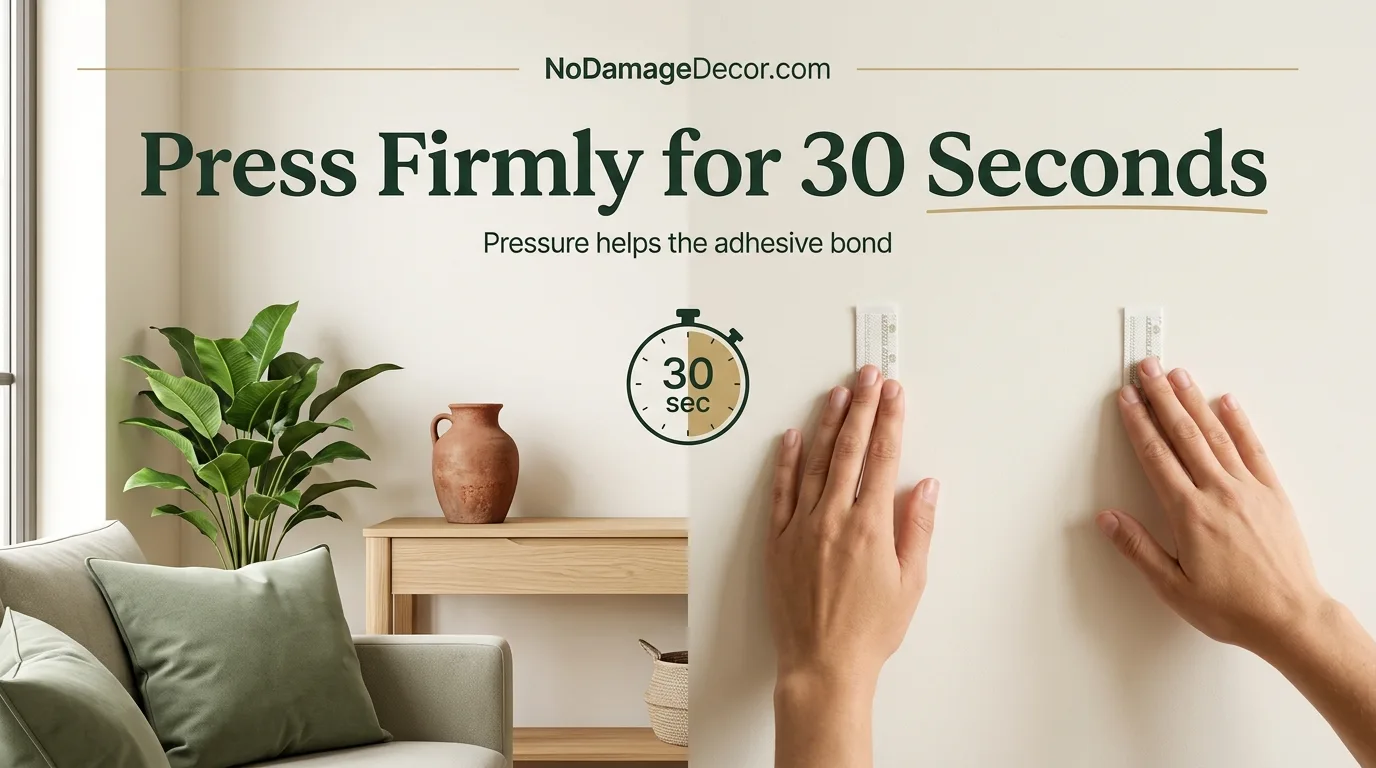
- Clean the wall. Wipe the target area with isopropyl rubbing alcohol. Let it dry completely. Do not use household sprays or wipes — they leave residue that prevents adhesion.
- Separate the strips. Each Command picture hanging strip set includes two interlocking strips. Press them together until they click.
- Apply to the frame. Remove one liner and press one strip onto the back of the frame. Place the lower pair about two-thirds down from the top of the frame for stability.
- Press onto the wall. Remove the remaining liners and press the frame against the wall. Press each side firmly for 30 seconds.
- Reinforce the wall strips. Peel the frame away from the wall by grabbing the bottom corners — do not pull straight off. Press the strips that remained on the wall for another 30 seconds.
- Wait one full hour. Do not reattach the frame during this window. This is when the adhesive builds its bond.
- Reattach the frame. Line up the strips on the frame with the strips on the wall and press until each pair clicks and locks.
- Check the weight rating. Confirm that the total weight of your frame is within the limit stated on the package for the number of strip pairs you used.
Common Mistakes That Put Your Security Deposit at Risk
Command strips have a reputation problem, and it is usually caused by user error rather than a product defect. These are the mistakes that most often lead to wall damage or deposit deductions.
Mistake 1: Hanging Too Soon
The most common error is hanging the frame or hook immediately after pressing the strip. The adhesive has not bonded. The weight pulls it away from the wall slowly, and removal later takes a layer of paint with it.
Mistake 2: Using Strips on Freshly Painted Walls
Paint that has not fully cured is soft under the surface. Adhesive bonds to the paint film, and when you remove the strip, the paint film comes with it. Wait at least 7 days — and longer in humid conditions or if the paint still feels tacky.
Mistake 3: Overloading the Strip
Weight ratings are per configuration, not per strip. Four strips hold more than two strips, but the relationship is not always linear. Read the package for your specific product and use the number of strips the package recommends for your frame size.
Mistake 4: Pulling the Strip Outward During Removal
Command strips are designed to release when stretched straight down, parallel to the wall. Pulling outward or at an angle tears the adhesive and can rip paint or drywall paper. The removal process is covered in the next section.
Mistake 5: Ignoring Lease Rules
Some leases prohibit adhesive wall mounts entirely. Others allow them but hold you responsible for any paint damage. Check your lease before you install anything. If adhesive mounting is permitted, take dated photos of the wall before installation and after removal to document the condition. Our guide to deposit-costing decor mistakes covers the documentation habits that protect renters.
Removing Command Strips Without Damage
Removal is where most deposit damage happens. The process is simple, but it requires patience and the right technique.
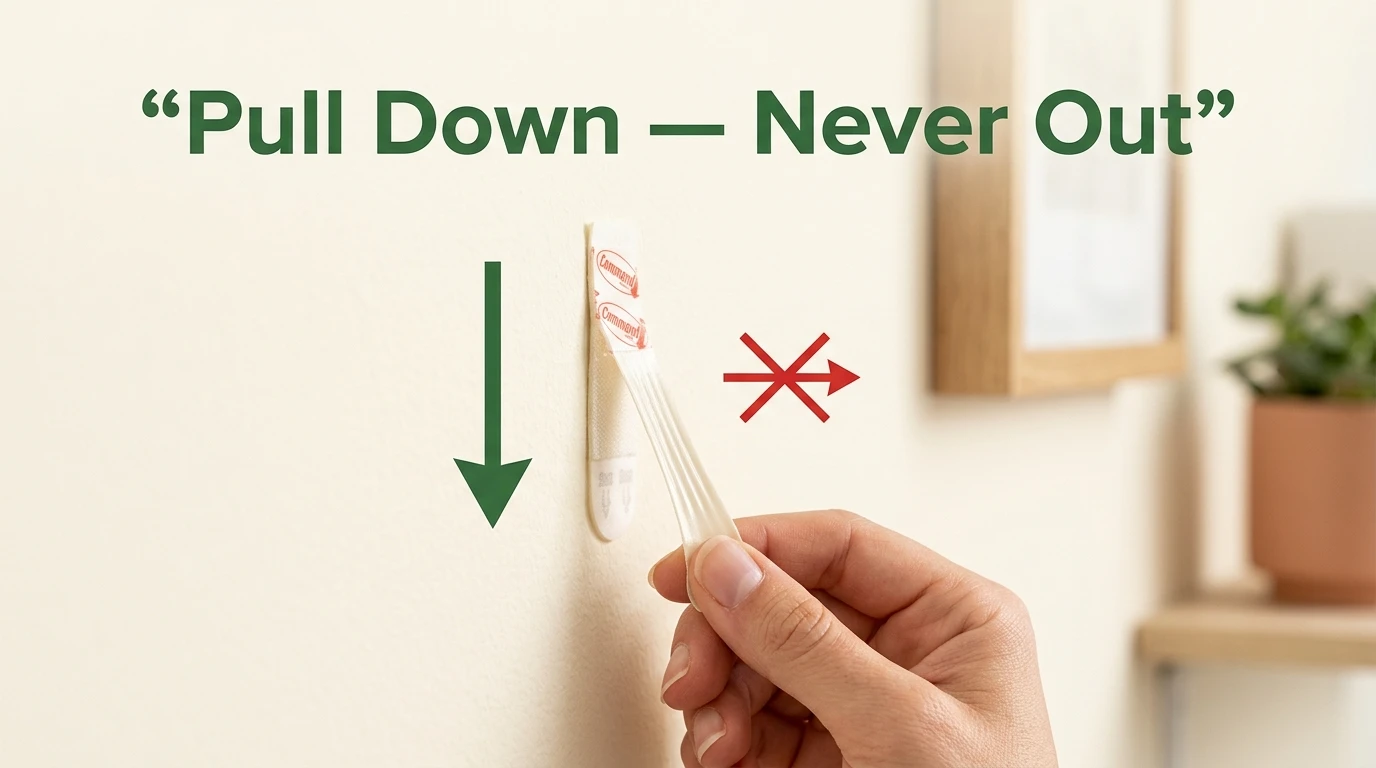
- Remove the frame first. Grab the bottom corners of the frame and peel it up and away from the wall. Do not pull straight off.
- Locate the pull tab. The tab is at the bottom of the strip that remains on the wall. If the strip was installed upside down, the tab may be at the top.
- Grip the tab firmly. Use your thumb and forefinger. If the tab is small, you can use needle-nose pliers gently, but avoid tearing it.
- Pull straight down — slowly. Keep the strip parallel to the wall. Do not pull outward. The adhesive will stretch and release. This may take 5–10 seconds of steady pressure.
- If the tab breaks, stop. Do not pry, scrape, or yank the remaining adhesive away from the wall. Follow the removal guidance for your specific Command product, and work slowly to avoid lifting paint or drywall paper.
For a full walkthrough of the removal process, including what to do when a strip is stuck or broken, see our guide on how to remove Command strips without damage.
When Command Strips Are Not the Right Answer
Adhesive strips are excellent for lightweight, flat items on smooth surfaces. They are not appropriate for every renter decorating decision. Here is when to choose another method.
| Choose Command Strips When… | Choose Another Method When… |
|---|---|
| The item is lightweight and within the package weight rating | The item is heavy, fragile, or valuable |
| The wall is smooth, clean, dry, and fully cured | The wall is textured, damp, or freshly painted |
| You need a removable solution for a temporary space | The item will be above a bed, crib, or seating area |
| The lease permits adhesive mounting | The lease prohibits adhesive mounting |
| The surface is painted drywall, tile, glass, or finished wood | The surface is wallpaper, rough brick, or unfinished concrete |
If you are looking for no-damage alternatives beyond Command strips, our guides to hanging art without nails and no-damage wall decor ideas cover leaning shelves, tension rods, washi tape, and other renter-safe methods.
Renter-Friendly Product Picks
As an Amazon Associate I earn from qualifying purchases.

Command Large Picture Hanging Strips, White, Holds up to 16 lbs, 14-Pairs
Affiliate Link
Best for: medium to large framed art, gallery walls, and statement pieces up to 24 × 36 inches
The large strips are the workhorse of renter wall decor. Four pairs hold up to 16 pounds, which covers most framed prints and lightweight mirrors. The 14-pair pack gives you enough strips for a full gallery wall with spares for repositioning.
Do not use on wallpaper, textured walls, or above beds. Verify your frame weight against the package rating before installation.
Check Price on Amazon
Command Small (5 lb) Picture Hanging Strips, 18 Pairs
Affiliate Link
Best for: small frames, lightweight prints, and dorm or apartment decor under 5 pounds
Small strips are suited to small frames and lightweight wall decor. The 18-pair pack is useful for a dorm room or first apartment. Capacity depends on the exact product and the number of strip pairs used, so follow the current package rating and frame-size guidance rather than assuming a per-pair limit.
Small strips have a lower weight ceiling. Do not use them for mirrors, heavy glass frames, or anything that could cause injury if it falls.
Check Price on Amazon
Command GP022-64NA Small Refill, 64 Strips, White
Affiliate Link
Best for: reusing existing Command hooks and strips when you move or redecorate
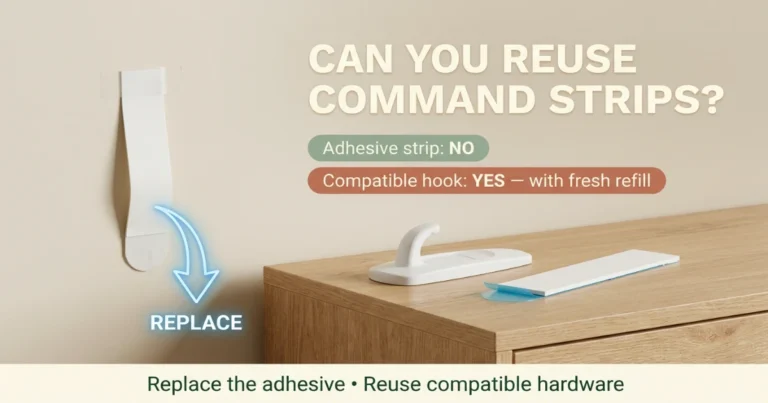
Refill strips let you reuse compatible small Command hooks and mounting bases you already own. The 64-strip pack is a practical choice for renters who rearrange decor seasonally or move frequently. Match the refill size to the exact hook or base you plan to reuse.
Refill strips are size-specific. Verify that the refill size matches your existing hook or strip model before purchasing.
Check Price on AmazonFrequently Asked Questions
How long do you wait to hang something on a Command strip?
For the picture hanging strips covered in this guide, press as directed and wait a full hour before reattaching the frame. For other Command products, follow the wait time printed on the current package instructions.
Can I hang something right after putting up a Command strip?
No. Hanging weight before the adhesive has bonded can cause the strip to creep, slide, or release. Even if it holds initially, the bond may fail later and damage the wall on removal.
How long after painting should I wait to use Command strips?
Wait at least 7 days after painting. 3M recommends this window to allow the paint to fully cure. In humid conditions or with slow-curing paints, wait longer — until the surface no longer feels soft or tacky.
Do Command strips work on textured walls?
Command strips are designed for smooth surfaces. Textured walls reduce adhesive contact and increase the risk of the strip releasing under load. If your wall has orange-peel, knockdown, or heavy texture, test on an inconspicuous area first.
What temperature is too cold for Command strips?
Indoor Command products should be applied when the surface temperature is between 50°F and 105°F. If the wall is outside that range, wait until the surface is within the recommended application temperature before installing the strip.
Will Command strips damage my paint when I remove them?
When used and removed according to manufacturer instructions — including the full wait time — Command strips are designed to release cleanly without damage. Damage most often occurs when strips are applied to uncured paint, overloaded, or pulled outward instead of straight down.
Can my landlord charge me for Command strip damage?
Rules vary by state, city, lease, and property. Some leases prohibit adhesive mounts entirely. If removal damages paint or drywall, that repair can be charged against your security deposit. Check your lease, take dated move-in and move-out photos, and keep written communication with your landlord.
Renter-Safety Verdict
Command strips are a lower-risk mounting option when used correctly — not a risk-free guarantee. The one-hour wait is the single most important step most renters skip, and it is the step that most directly affects whether the strip holds, releases cleanly, and protects your deposit.
Use Command strips when your item is within the package weight rating, your wall is smooth and fully cured, and your lease permits adhesive mounting. Test an inconspicuous area first. Wait the full hour. Pull straight down on removal. Document your walls with photos before and after.
If your lease prohibits adhesive mounts, if the wall is textured or freshly painted, or if the item is heavy, fragile, or above a bed, choose a different method. The best renter decorating decision is the one that keeps your deposit intact.
Next Step
Plan Your Rental Wall Decor Without the Deposit Risk
Start with a clear no-damage strategy before you buy a single strip. Our full guide walks through surface-safe methods, weight rules, and removal techniques for every room.
Read the No-Damage Wall Decor GuideSources & Renter-Safety Note
This guide references manufacturer guidance and renter-focused best practices. Always check the current package instructions for the exact Command product you use, because weight ratings, surface approvals, and wait times can vary by product line and size.
- 3M Command — How to Use
- 3M Command — Product FAQs
- 3M — Command Small Picture Hanging Strips Product Page
Security deposit rules vary by state, city, lease, and property. This article provides general renter guidance and is not legal advice. Review your lease and consult local tenant resources for your specific situation.