Peel-and-Stick Backsplash for Kitchen: A Renter-Conscious Guide
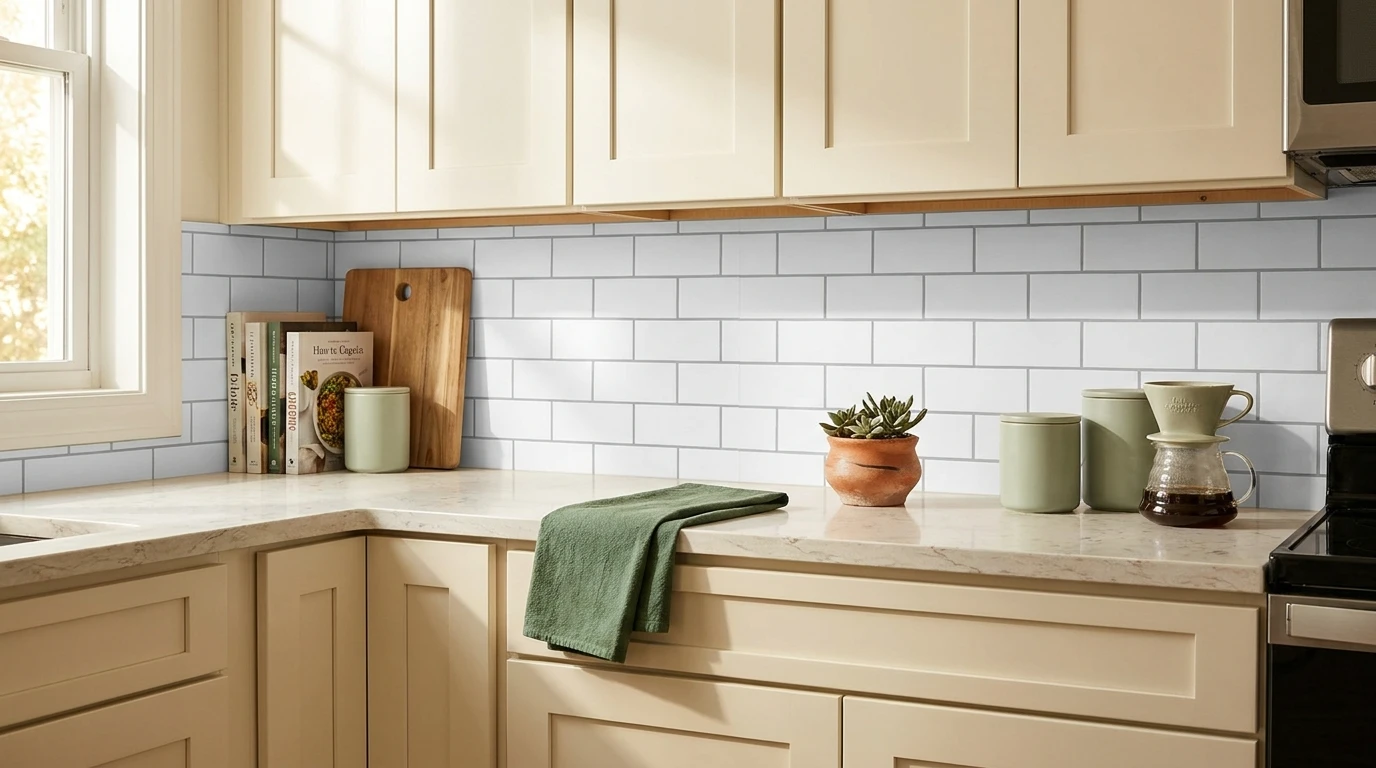
A peel-and-stick backsplash can give a rental kitchen a finished look without mortar or grout, but the wall condition, adhesive, heat exposure, installation quality and eventual removal matter more than the “removable” label.
At a Glance
Is a Peel-and-Stick Backsplash Good for a Rental Kitchen?
It can be. The appeal is obvious: adhesive backsplash sheets can visually cover a plain wall without the mortar, grout and permanent setting materials associated with conventional tile. That makes them especially attractive in an apartment where a renter wants a more finished kitchen but cannot remodel the wall.
The catch is that “peel and stick” describes how the product installs, not a guarantee about how every rental wall will look after removal. Paint quality varies. A wall may have old coats, poorly bonded patches, grease residue, texture, moisture damage or a fresh finish that is not ready for adhesive. Even two walls that look similar can behave differently.
For that reason, treat the project as a surface decision first and a style decision second. If your lease limits adhesive coverings or alterations, get written permission before installing a large backsplash. If the lease is silent, that still does not mean the wall is automatically suitable.
Start With the Wall: The Surface Check Matters Most
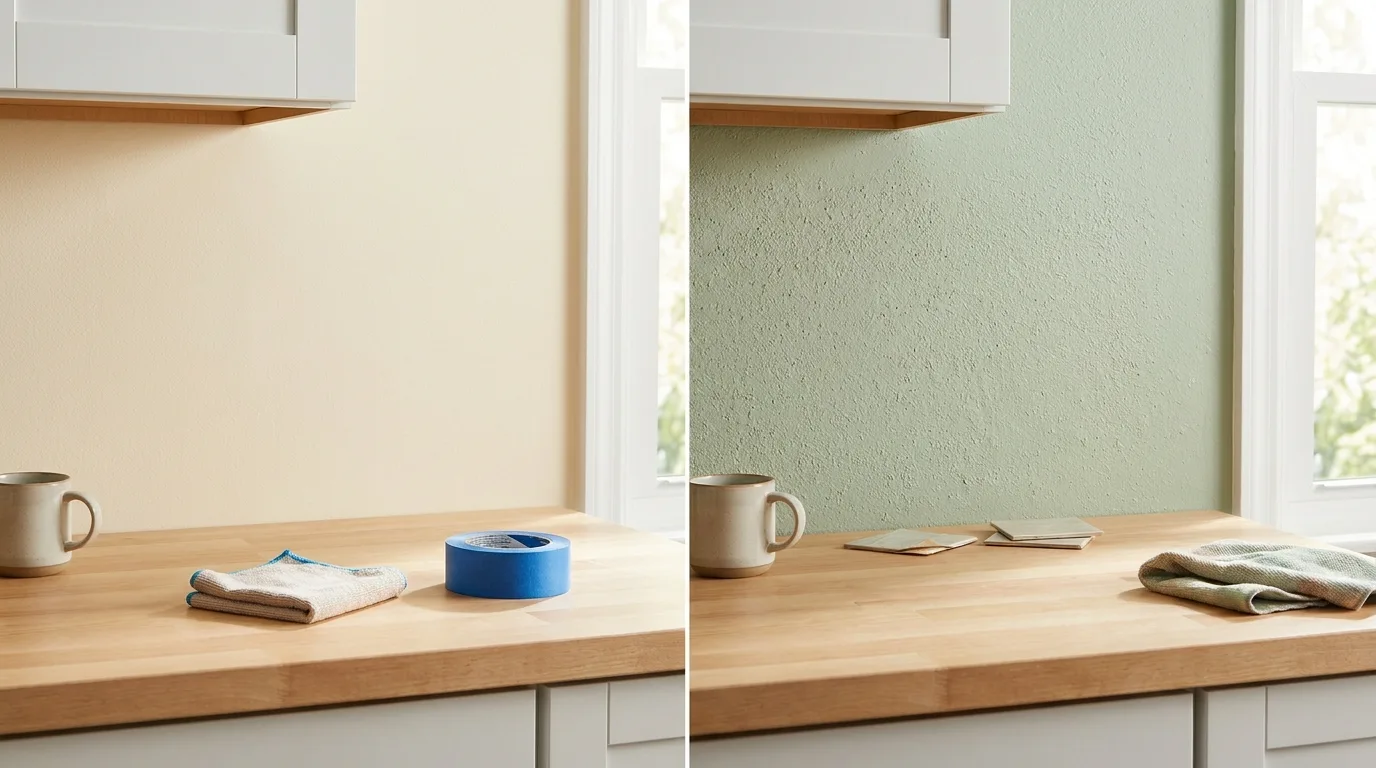
Adhesive tile needs consistent contact. A smooth wall gives the adhesive a more uniform surface than pronounced texture, loose paint or a greasy cooking zone. Art3d, for example, describes several backsplash lines as suitable for smooth, clean surfaces, while some specific Art3d products also identify additional non-raised surfaces. That difference is exactly why the instructions for the exact SKU matter.
| Surface condition | Renter-conscious decision | Why |
|---|---|---|
| Smooth, clean, dry, sound painted wall | Potentially suitable after checking the exact product | Provides more even adhesive contact, but paint strength still matters. |
| Existing smooth tile | Potentially suitable if the manufacturer permits it | Can provide a stable substrate, though grout lines and texture can telegraph through some thin products. |
| Pronounced texture | Use caution or choose another method | Reduced contact area can lead to lifting, visible bumps or inconsistent bonding. |
| Peeling, chalky or damaged paint | Avoid | The adhesive may bond to a weak coating instead of a stable wall. |
| Damp or moisture-damaged wall | Avoid until the underlying issue is resolved | Covering a moisture problem does not repair it. |
Do a small test before covering the whole wall
A discreet test area is useful because it reveals two things: whether the product holds on your actual finish and whether removal begins disturbing that finish. A short test cannot perfectly predict what months of bonding will do, but it is still more informative than assuming the wall will behave like a product photo.
How to Choose a Peel-and-Stick Backsplash for Kitchen Walls
Start with the manufacturer’s application guidance, then consider thickness, pattern repeat, edge design and how forgiving the layout will be around outlets and corners. A dramatic mosaic may look great online but require more careful alignment than a simple subway pattern.
For a simple first project
Look for a repeat that is easy to align and trim. Order enough from the same design run to complete the wall plus reasonable cutting waste.
For an uneven-looking wall
Do not use a thicker tile merely to hide a failing substrate. Fix surface problems first; decorative covering is not a repair layer.
For a busy cooking zone
Check the exact manufacturer’s heat, moisture and cleaning guidance. Do not generalize one brand’s claims to another product.
For a short-term rental
Prioritize a documented removal method and test the finish. The easiest-looking installation is not necessarily the lowest-risk move-out option.
If you are comparing other temporary finishes, our guide to the best peel and stick wallpaper explains similar surface questions. For broader kitchen changes, see these no-drill kitchen upgrades.
How to Install Peel-and-Stick Backsplash More Neatly
Always let the exact product instructions take priority. The workflow below is a general renter-conscious sequence, not a substitute for the tile maker’s directions.
Read the product instructions and your lease
Confirm the intended surfaces, preparation method, restricted locations and removal directions before opening every package.
Inspect and clean the backsplash area
Remove grease, dust and residue using a cleaning method compatible with both the wall finish and tile instructions. Let the area become fully dry before application.
Measure the full run
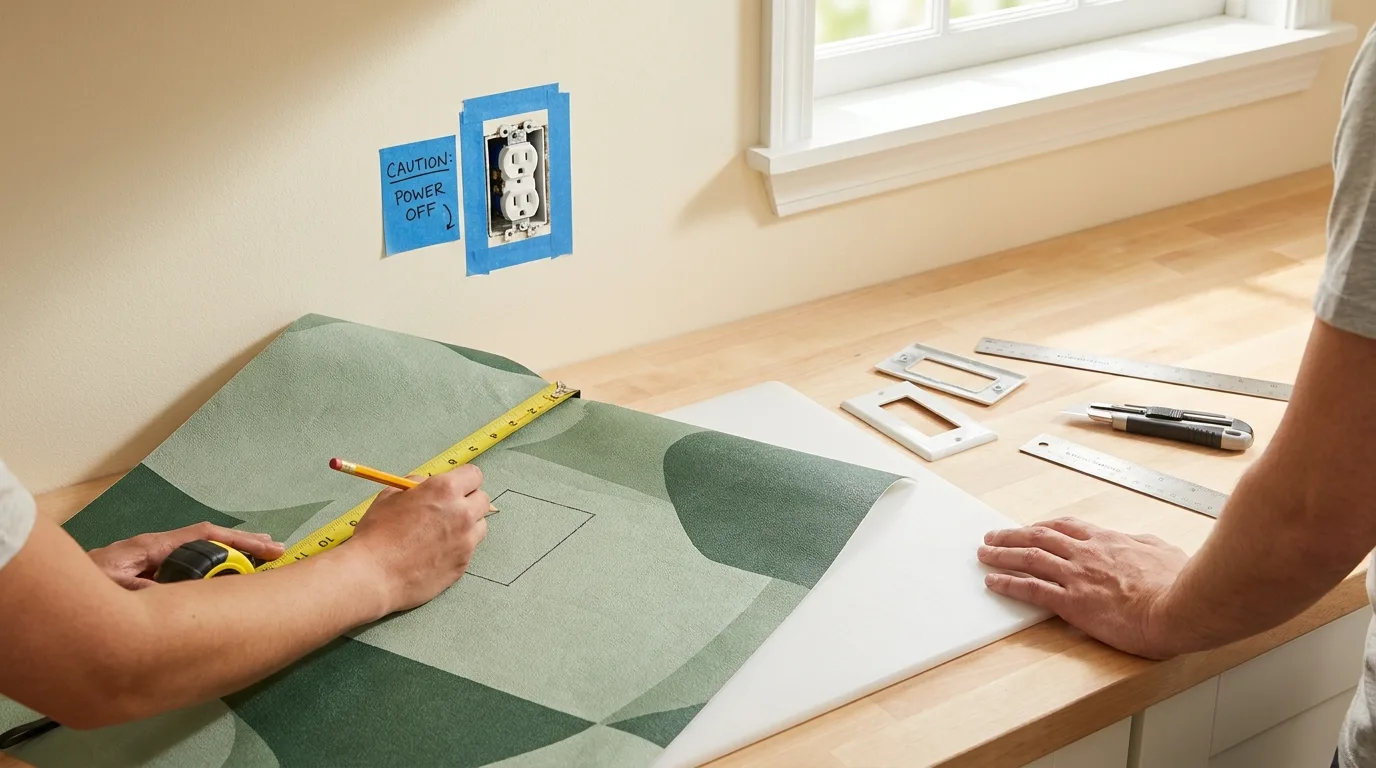
Measure width and height, note outlets, switches, corners and cabinet edges, then dry-plan the pattern so a narrow awkward sliver does not become the most visible edge.
Establish a level reference
Counters and cabinets are not always perfectly level. A reliable reference line helps keep the visible pattern straight across the wall.
Start with a controlled first sheet
Align carefully, peel only part of the backing, and press progressively. Avoid trapping bubbles or stretching flexible material out of shape.
Trim obstacles carefully
Measure outlet and switch openings precisely. If electrical covers must be removed, follow appropriate electrical safety practices and do not work around exposed energized components.
Check seams as you go
Follow the product’s required overlap or edge-matching method. Small alignment errors compound across a long backsplash.
Heat, Steam and Moisture: Do Not Treat Every Kitchen Zone the Same
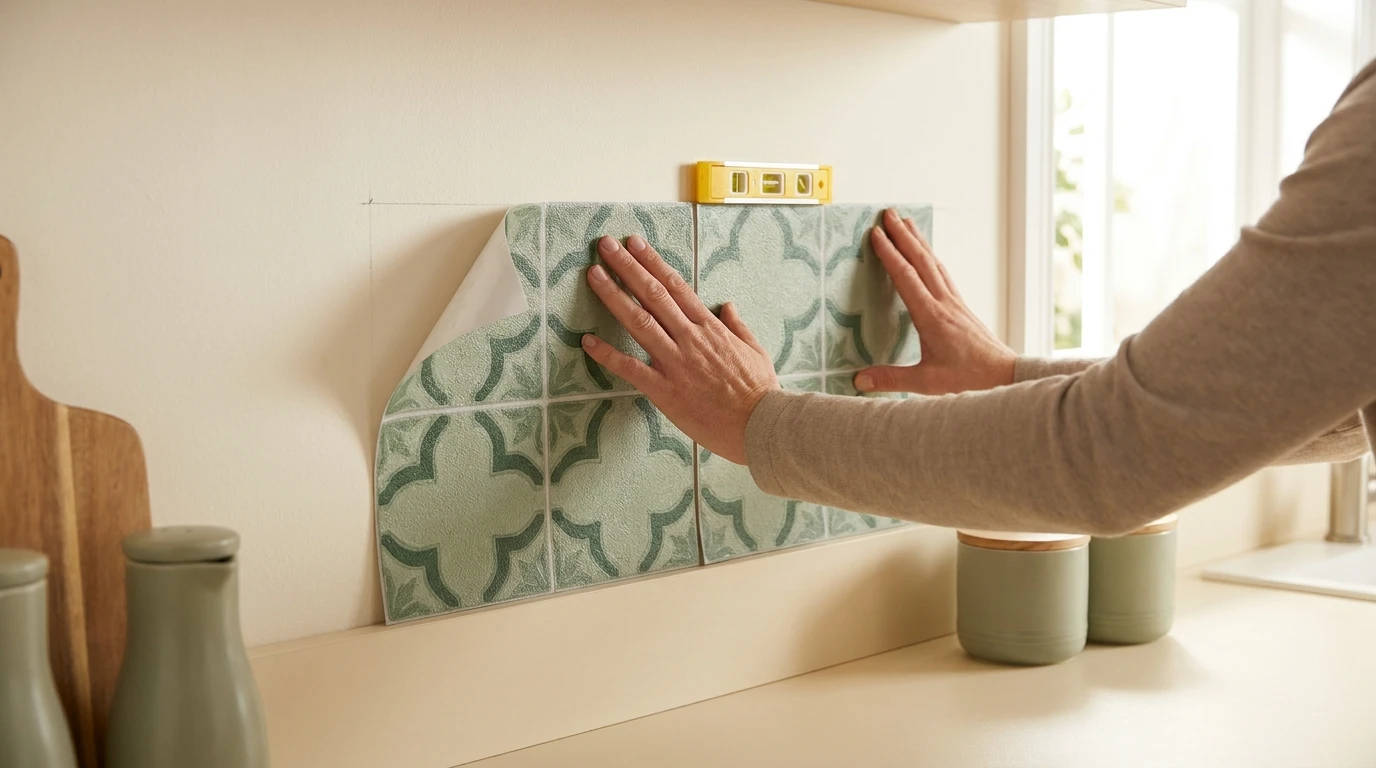
Some peel-and-stick backsplash manufacturers market specific products for kitchen heat and humidity, but those claims belong to the exact product—not to the entire category. Art3d states that certain backsplash products are intended for kitchen backsplashes and are resistant to stovetop heat and bathroom humidity, while also excluding shower use on those product pages.
For a renter, the practical rule is simple: do not improvise a clearance around a cooktop, oven or other heat source. Check the appliance requirements and the backsplash manufacturer’s current instructions. If the wall becomes unusually hot, if open flame can reach the material, or if the manufacturer does not support the location, choose a different solution.
Likewise, wipeable does not mean waterproof construction. If there is an active leak, persistent condensation or damaged drywall, fix the moisture issue rather than covering it.
Seven Mistakes That Make a Temporary Backsplash Look or Perform Worse
- Installing over cooking grease. Adhesive needs the preparation specified by the manufacturer.
- Assuming “removable” means paint-safe. Weak paint can lift even when the covering itself peels away.
- Skipping the dry layout. Pattern drift and tiny end cuts become obvious after several sheets.
- Starting from an unverified crooked edge. A counter or cabinet line may not be perfectly level.
- Forcing tile onto pronounced texture. Poor contact can create lifted edges and an uneven face.
- Using a product near heat without checking its exact limits. Category-level assumptions are not enough.
- Waiting until move-out day to think about removal. Keep the packaging or instructions and plan time for careful removal.
These are the same kinds of small decisions that can turn a cosmetic upgrade into a repair job. Our guide to apartment decor mistakes that cost your deposit covers the broader pattern.
Amazon Peel-and-Stick Backsplash Options to Compare
As an Amazon Associate I earn from qualifying purchases.
These are real current product listings with verified ASINs. They are examples to compare—not a claim that any one product is automatically appropriate for your lease or wall. Re-check the current Amazon listing and manufacturer instructions before ordering because product details can change.
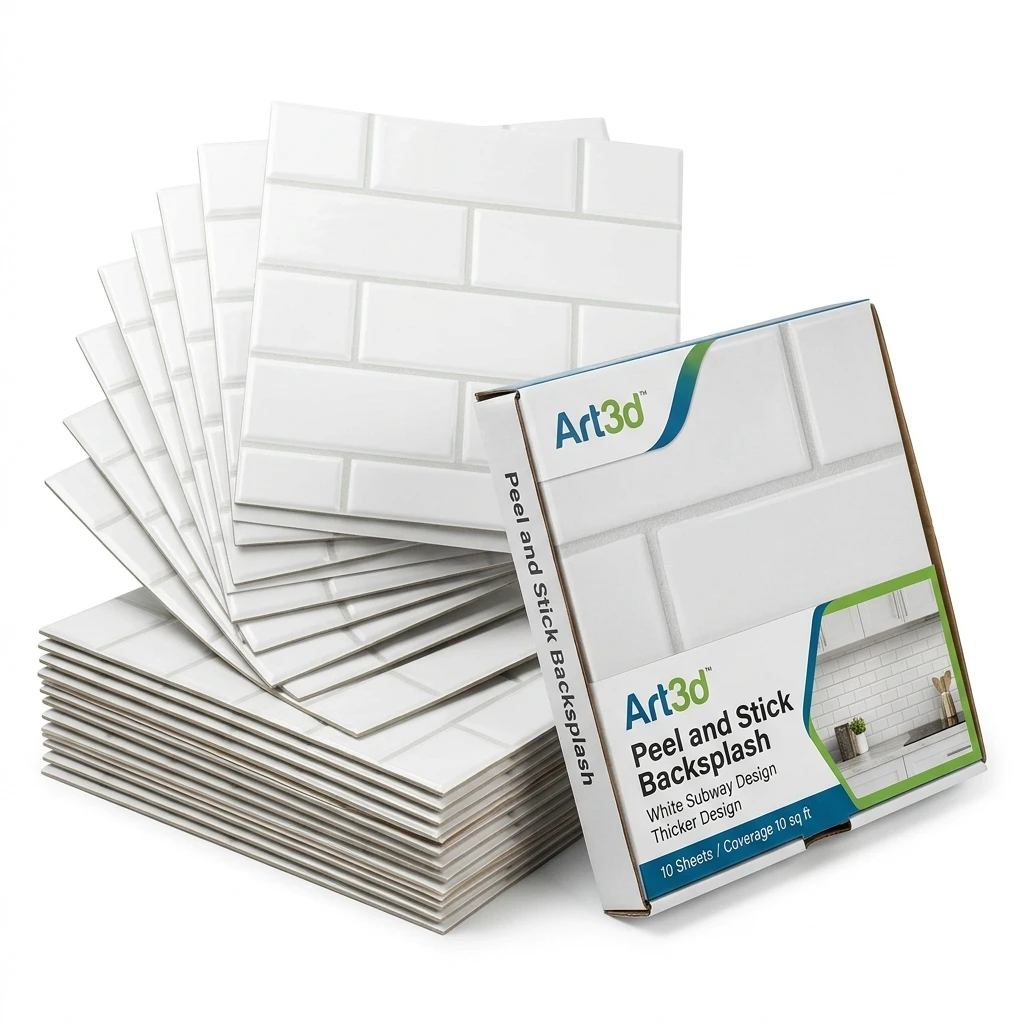
Art3d White Subway Peel-and-Stick Backsplash — 10 Tiles
Best for: renters who want a simple white subway look and prefer a thicker peel-and-stick design.
Amazon currently identifies this listing as Art3d Peel and Stick Backsplash for Kitchen White Subway, 10 Tiles, Thicker Design. Art3d’s own backsplash documentation emphasizes checking the exact surface and installation guidance.
Caution: do not assume a thicker tile makes weak paint or a heavily textured wall suitable.
Check Price on Amazon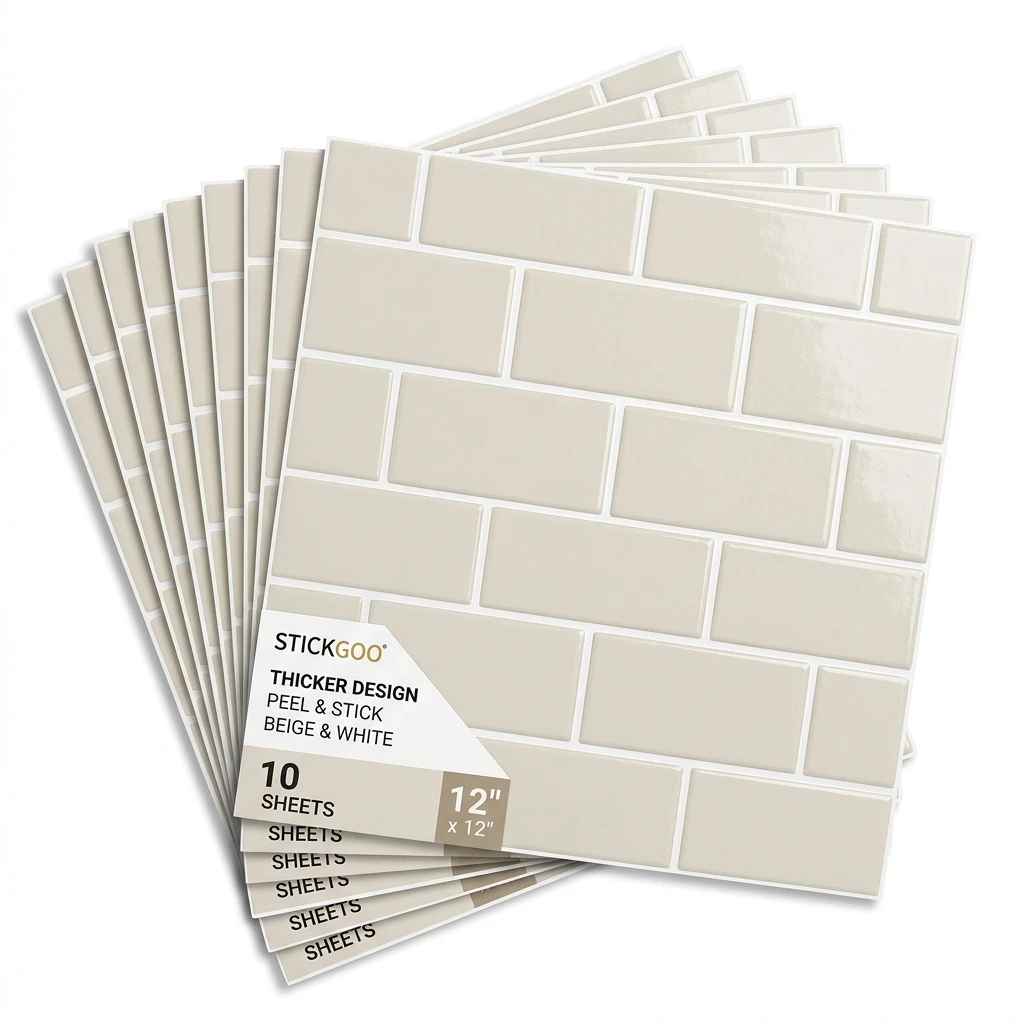
STICKGOO Beige & White Peel-and-Stick Backsplash — 10 Sheets
Best for: a warmer neutral kitchen where plain bright-white tile feels too stark.
The verified Amazon listing describes a thicker-design self-adhesive backsplash in beige and white, 12 × 12-inch sheets, 10 sheets per pack.
Caution: verify the current surface, heat and removal instructions for this exact listing before installing in a rental.
Check Price on Amazon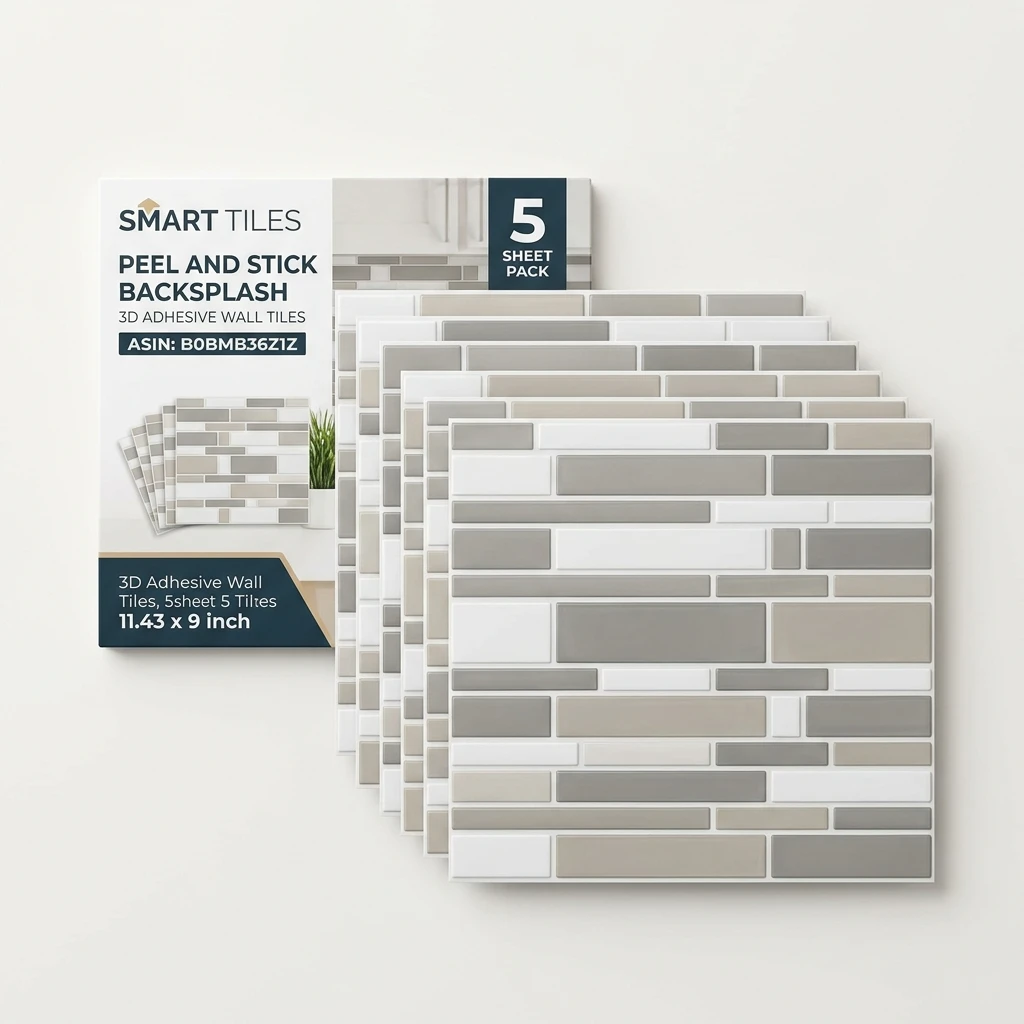
SMART TILES 3D Adhesive Peel-and-Stick Backsplash — 5 Sheets
Best for: renters comparing a dedicated adhesive wall-tile format from an established peel-and-stick backsplash brand.
The verified Amazon listing identifies five 11.43 × 9-inch 3D adhesive backsplash sheets for kitchen, bathroom and wall-tile use.
Caution: pack coverage and layout needs depend on the exact wall and pattern; measure your usable backsplash area before buying.
Check Price on AmazonRemoval and Move-Out: Plan Before You Stick
Removal risk is where renter decisions differ from ordinary DIY decisions. A homeowner may be willing to patch and repaint. A renter may be trying to return the wall in the condition required by the lease. That makes documentation and a controlled test more valuable.
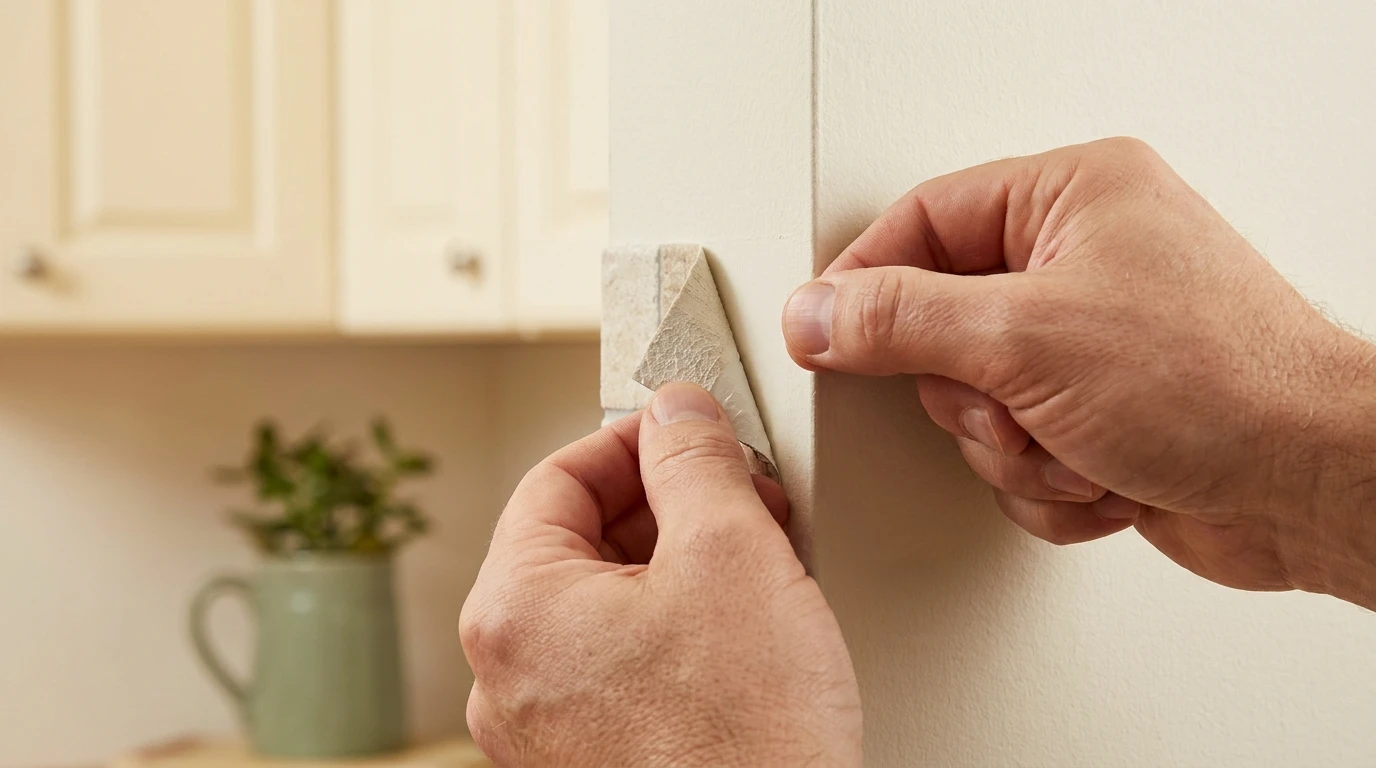
Keep move-in photos, a photo of the wall before installation, the product name, and the instructions. Before removing a full backsplash, re-read the manufacturer’s current guidance. Work slowly. If paint or drywall paper begins lifting, stop rather than turning a small issue into a large repair area.
Security-deposit rules and responsibility for alterations can vary by state, city, lease, property and circumstances. Review your lease and written landlord communication rather than relying on a general internet rule.
Renter-Safety Verdict
A peel-and-stick backsplash can be a sensible renter-conscious kitchen upgrade when the wall is smooth, clean, dry and sound; the lease allows it; and the exact product supports the intended surface and location. The biggest mistake is treating “peel and stick” as a promise of damage-free removal. Test first, preserve the instructions, avoid weak or moisture-damaged finishes, and plan removal before installation.
Plan the Rest of the Kitchen Without Drilling
Pair the backsplash with lower-commitment storage, lighting and organization changes that do not require turning the rental into a remodel.
See No-Drill Kitchen UpgradesFrequently Asked Questions
Can renters use peel-and-stick backsplash in a kitchen?
Often, yes, but check the lease and the wall first. Adhesive coverings can behave differently on different paint and surface conditions, so a small inconspicuous test is a sensible precaution.
Will peel-and-stick backsplash damage paint?
It can. Removal depends on the adhesive, paint bond, wall preparation, age and condition of the finish, and how the product is removed. Do not treat “removable” as a universal guarantee that paint will remain untouched.
Can peel-and-stick backsplash go over textured walls?
Some specific products allow certain non-raised or lightly textured surfaces, while others call for smooth surfaces. Check the exact manufacturer’s instructions. Pronounced texture generally reduces uniform adhesive contact.
Can peel-and-stick tile go behind a stove?
Only if the exact product and appliance setup support that location. Check the tile manufacturer’s current heat guidance and the appliance’s required clearances rather than assuming all peel-and-stick products are suitable behind every stove.
Can peel-and-stick backsplash go over existing tile?
Some products can be applied over suitable smooth existing surfaces, but grout depth, texture, cleanliness and manufacturer guidance matter. Thin material may also reveal underlying grout lines.
How do I make peel-and-stick backsplash look less temporary?
Measure carefully, establish a straight reference line, plan the pattern before sticking, keep seams consistent, and make precise cuts around outlets and edges. Installation quality usually matters more than adding decorative trim everywhere.
What should I do before removing a backsplash at move-out?
Find the exact product instructions, photograph the wall, start in a small area, and use the recommended removal method. Stop if the finish begins lifting and review your lease or property guidance before making repairs.
Sources & Renter-Safety Note
Technical guidance was checked against current Art3d manufacturer backsplash pages and current Amazon product listings/ASIN references. Manufacturer instructions for the exact product should always take priority because surface compatibility, heat guidance and installation details can differ by model. Rental alteration and deposit responsibilities vary by lease and jurisdiction.