How to Remove Peel-and-Stick Floor Tile Without Residue
To remove peel and stick floor tile with the least avoidable mess, work slowly: warm a small section, lift one edge with a thin non-damaging scraper, peel at a low angle, then treat leftover adhesive only after you identify the surface underneath. The removal method matters, but the underlying floor matters even more.
Quick Answer
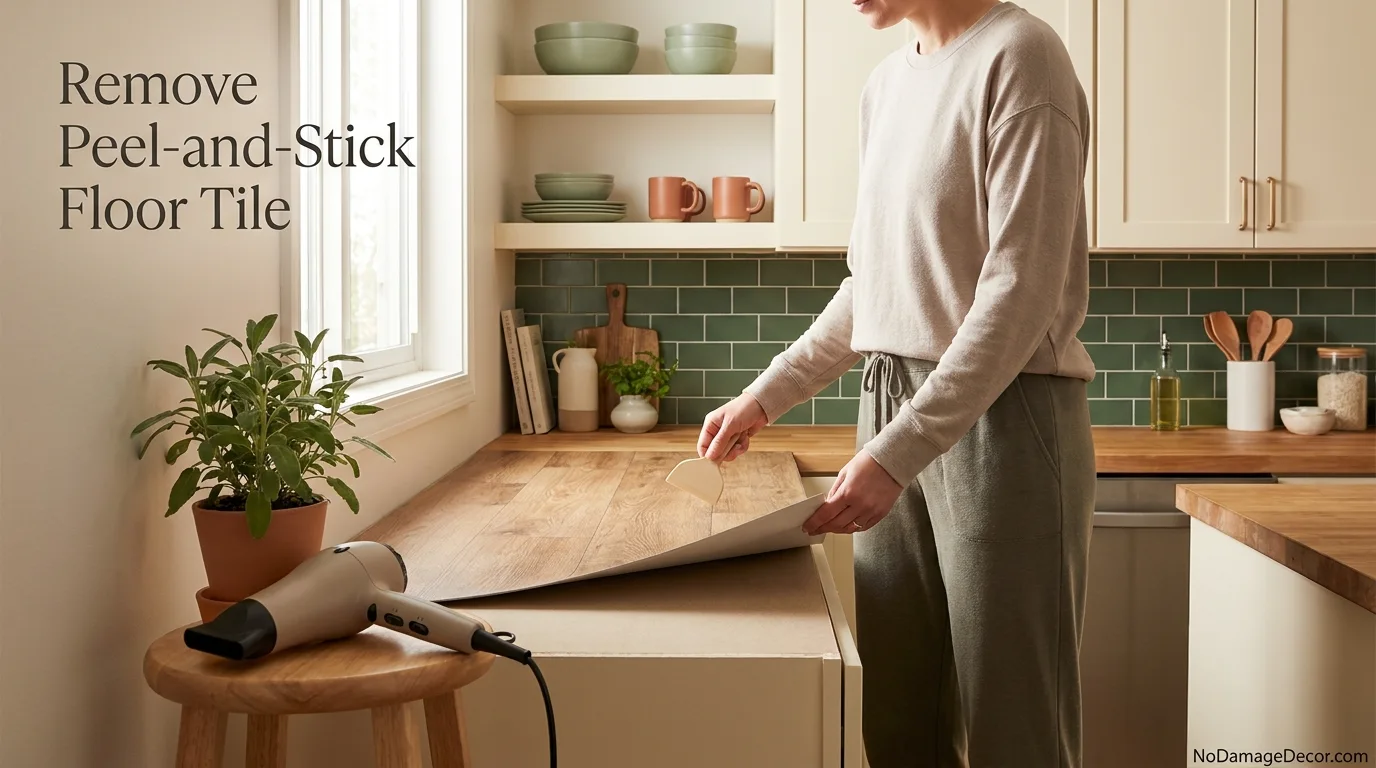
Use a household hairdryer to gently warm the adhesive, work a thin flat or plastic scraper under a seam, and peel the tile back slowly instead of yanking it upward. FloorPops gives similar guidance for its peel-and-stick floor tiles: warm the adhesive, lift a corner with a flat scraper, then peel by hand. If sticky residue remains, do not jump straight to a strong solvent. First identify the substrate and spot-test a cleaner that specifically allows that surface.
At a Glance
Before You Remove Peel and Stick Floor Tile
Start with ownership and surface condition, not the scraper. If you installed the tile yourself, review the product instructions and your lease before removal. If the flooring was already in the apartment when you moved in, do not assume it is a temporary renter layer. It may belong to the property, conceal a damaged floor, or have been installed by management.
Photograph the room before you begin. Capture the tile layout, thresholds, transitions, baseboards and any places where edges are already lifting. If one corner is loose, that can be a useful test area because you can learn how the adhesive behaves without attacking the most visible part of the floor.
You know the tile and substrate
You installed the tile, the underlying floor is known, the area is dry, and you can test one small section first.
The floor underneath is unknown
If the tiles predate your tenancy or the substrate may be unfinished wood, damaged finish, loose flooring or a landlord repair, ask management before removal.
Gather a hairdryer, plastic or thin flat scraper that will not gouge the substrate, clean white cloths, a waste bag, and the exact cleaner you plan to test if residue remains. Keep a vacuum or soft brush nearby for dry debris. Avoid starting with a metal putty knife unless the floor manufacturer specifically permits it; one slipped corner can turn a residue job into a scratch repair.
Identify the Surface Under the Peel-and-Stick Tile
Removing the vinyl layer is only half the job. The adhesive is bonded to whatever came before it, and that underlying surface controls what you can safely do next.
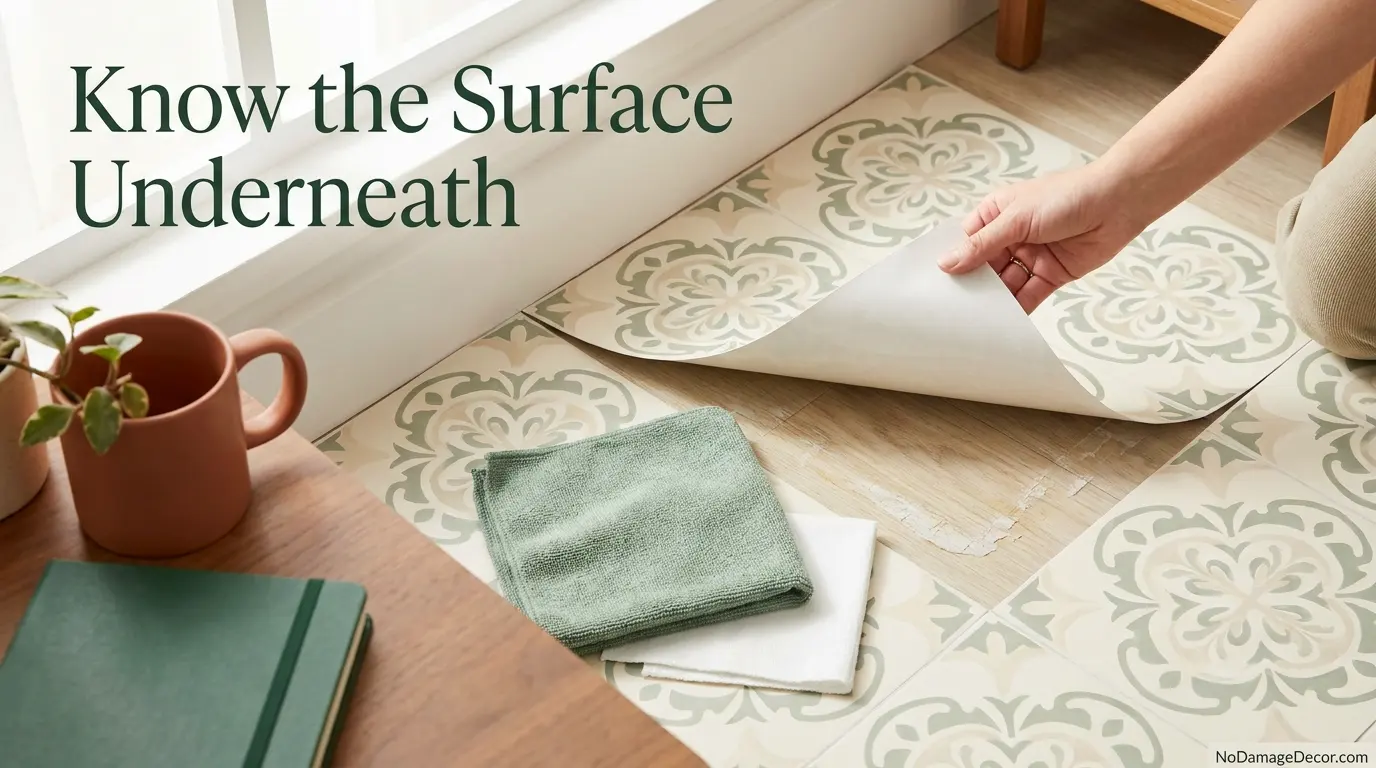
A finished wood floor may tolerate a cleaner that is explicitly approved for finished wood but not for unfinished wood. Ceramic and porcelain are usually more chemically tolerant than a weak painted floor. Hard vinyl can be listed as compatible with some adhesive removers, while rubber flooring may be excluded by the same product.
Goo Gone Original, for example, currently lists finished wood, ceramic/porcelain, plastics and hard vinyl among its safe surfaces when used according to label directions, but it excludes unfinished wood, unsealed stone and rubber. Its instructions also say to pre-test an inconspicuous area. That is exactly the kind of product-specific surface check renters should make before applying anything broadly.
How to Remove Peel and Stick Floor Tile Without Residue
The goal is not to make each tile come off as fast as possible. The goal is to keep the adhesive warm enough to release while putting as little stress as practical on the floor below.
Choose a test tile
Start at a loose edge, doorway, inconspicuous corner or tile that can be replaced if the test reveals an unexpected problem. Photograph the substrate as soon as the first corner comes up.
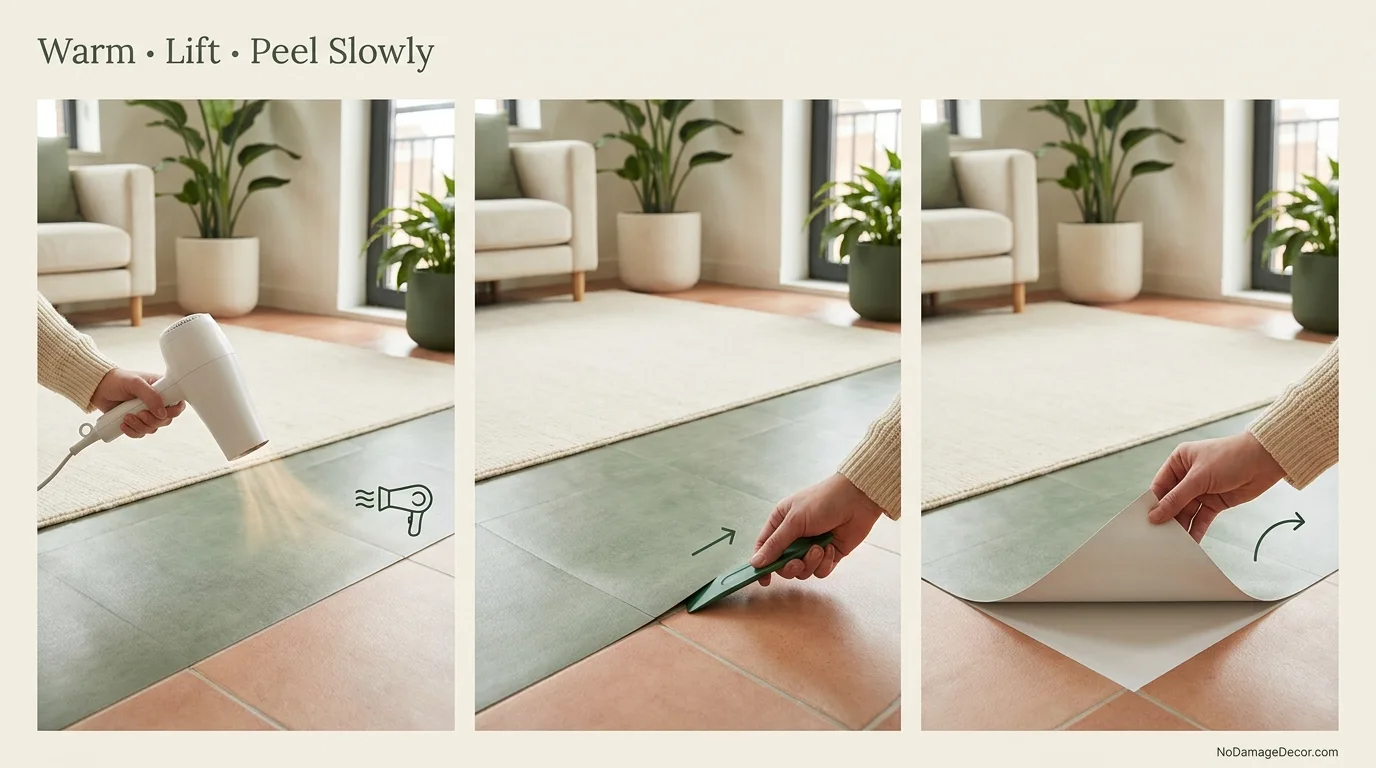
Warm a small section with a hairdryer
Use gentle, moving heat rather than concentrating high heat in one spot. FloorPops specifically recommends warming adhesive with a hairdryer during removal. The aim is to soften the bond, not heat the vinyl or underlying finish aggressively.
Lift one edge carefully
Work a thin plastic scraper or other flat non-gouging edge under a seam. Wiggle rather than stab. Once you can grip the tile, stop prying and switch to controlled peeling.
Peel back at a low angle
Pull the tile toward itself, keeping your hands low to the floor. If the tile becomes hard to move, stop and warm the next section instead of jerking it upward.
Work in manageable strips
Large tiles may release more predictably if you progress a few inches at a time. Keep heat ahead of the peel line so the adhesive does not cool and grab again.
Separate removed tiles from the clean floor
Stack sticky-side-to-sticky-side where practical or place pieces directly into a waste bag. This keeps exposed adhesive from transferring to clean floor areas, socks or tools.
Inspect before using cleaner
Once a section is exposed, decide whether the remaining residue is light enough for gentle wiping or whether a surface-compatible adhesive remover is necessary.
Clean and dry the finished area
Follow the cleaner’s label exactly, including any required soap-and-water cleanup. Do not leave an oily or slippery film on a walking surface.
How to Remove Sticky Adhesive After the Tile Is Gone
Residue can range from a faint tacky film to thick adhesive ridges. Start with the least aggressive approach that actually works. Fresh, soft residue may roll or wipe away after gentle warming. Thicker adhesive may need a cleaner, but only after you verify that the substrate is on the product’s approved surface list.
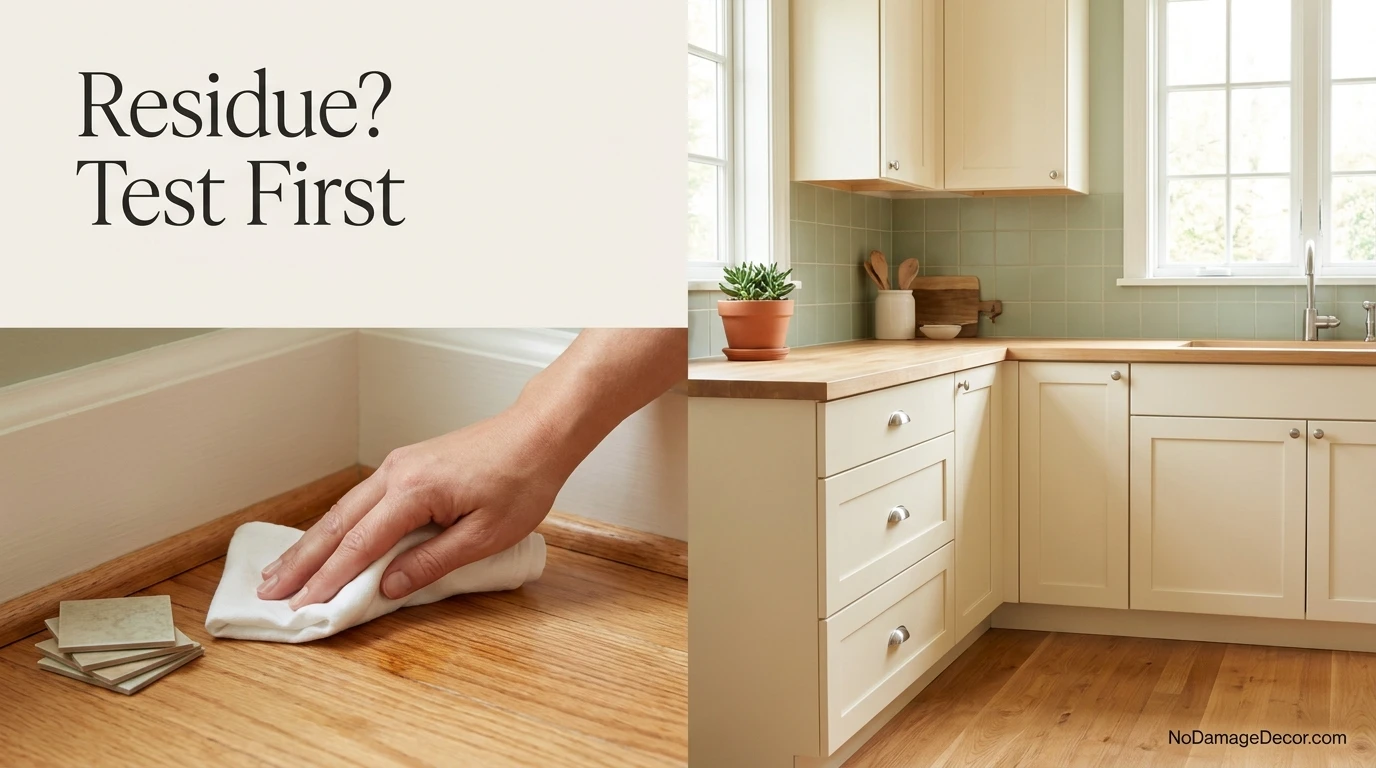
Goo Gone Original’s current label directions for hard surfaces are to apply the product, wipe, then wash with hot soapy water; for extra-sticky residue the manufacturer allows a short dwell period. The brand still requires an inconspicuous pre-test and says not to use the product on unfinished wood, unsealed stone or rubber. Use only the current label for the bottle you actually have.
Goo Gone Spray Gel is useful when you want more targeted application because the gel is designed to cling. The manufacturer lists finished wood, ceramic/porcelain, plastics and hard vinyl among compatible surfaces. Again, that does not mean every finished floor is automatically safe. Specialty coatings, old finishes and landlord-applied treatments can react differently.
Residue Removal by Underlying Floor Type
| Underlying surface | Lowest-risk starting point | Cleaner decision | Main renter caution |
|---|---|---|---|
| Finished hardwood | Gentle heat, plastic edge, clean cloth | Only a cleaner that explicitly lists finished wood; pre-test first | Unknown or recently refinished coatings need extra caution |
| Ceramic / porcelain tile | Plastic scraper and residue wipe | Use a cleaner approved for ceramic/porcelain | Do not gouge grout or force a scraper into cracked tile |
| Hard vinyl flooring | Low heat, slow peel, plastic scraper | Use only products that list hard vinyl | Too much heat can distort some vinyl surfaces |
| Laminate | Minimal moisture, low heat and gentle mechanical removal | Check the laminate manufacturer before using solvent | Edges and seams can swell if liquid is allowed to sit |
| Painted floor | Very small test area first | Use only a cleaner specifically approved for that painted finish | Strong tile adhesive can pull weak paint during removal |
| Unfinished wood | Stop and identify the floor system | Avoid cleaners that exclude unfinished wood | Solvent can soak into raw wood and create staining |
| Natural or unsealed stone | Mechanical removal only until product compatibility is confirmed | Use only stone-approved cleaner for that finish/sealer | Some adhesive removers specifically exclude unsealed stone |
This table is decision guidance, not a universal chemical-compatibility guarantee. Follow the floor manufacturer and the exact cleaner label when they are more specific.
Amazon Products for Adhesive Residue Cleanup
These are residue-cleanup products, not permission to use solvent on every rental floor. Both product identities and ASINs were cross-checked against current Amazon-indexed records, while surface guidance comes from Goo Gone’s official current product information.
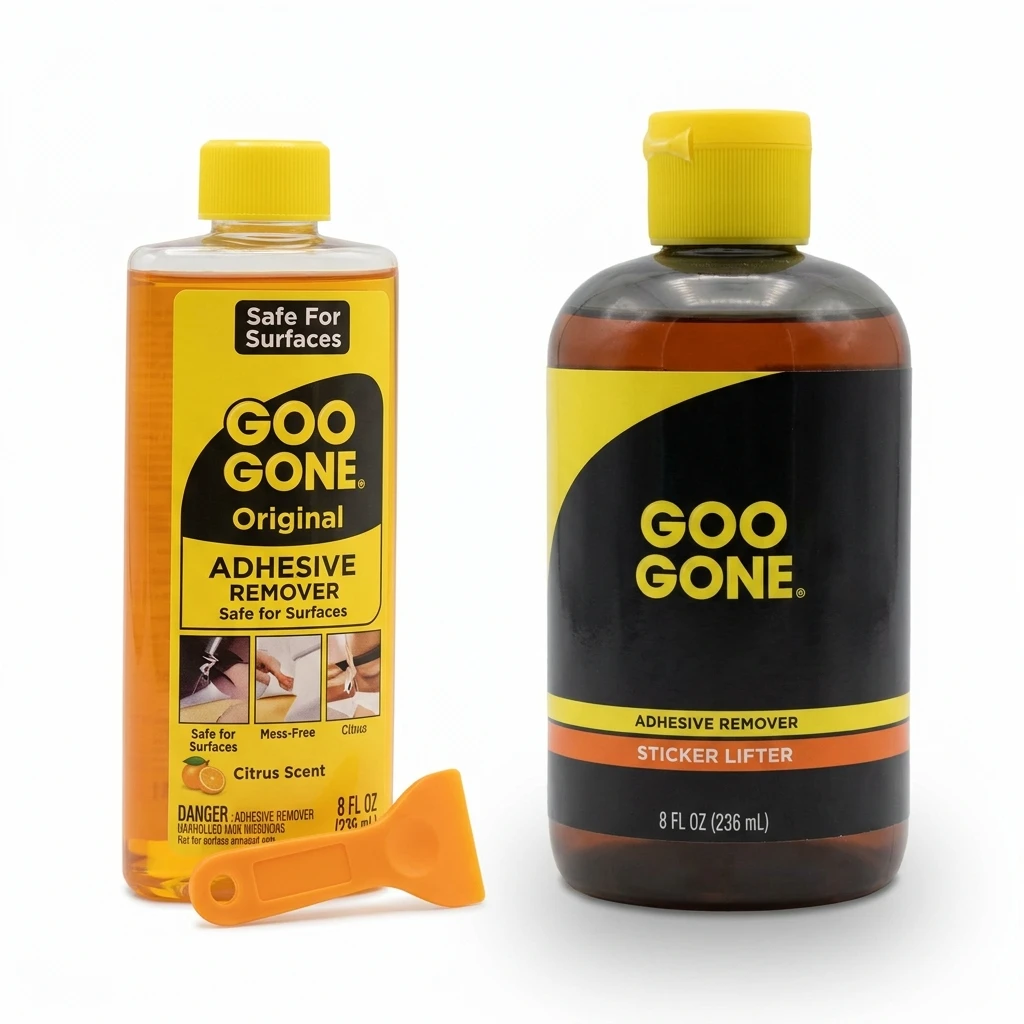
Goo Gone Original Liquid Adhesive Remover 8 Oz with Sticker Lifter
Goo Gone Original is designed for adhesive, glue and sticky residue. Current manufacturer guidance lists finished wood, ceramic/porcelain, plastics and hard vinyl among compatible surfaces and tells users to pre-test an inconspicuous area.
Limitation: the manufacturer excludes unfinished wood, unsealed stone and rubber. After use on hard surfaces, follow the label cleanup directions so the floor is not left slippery or oily.
Check Price on Amazon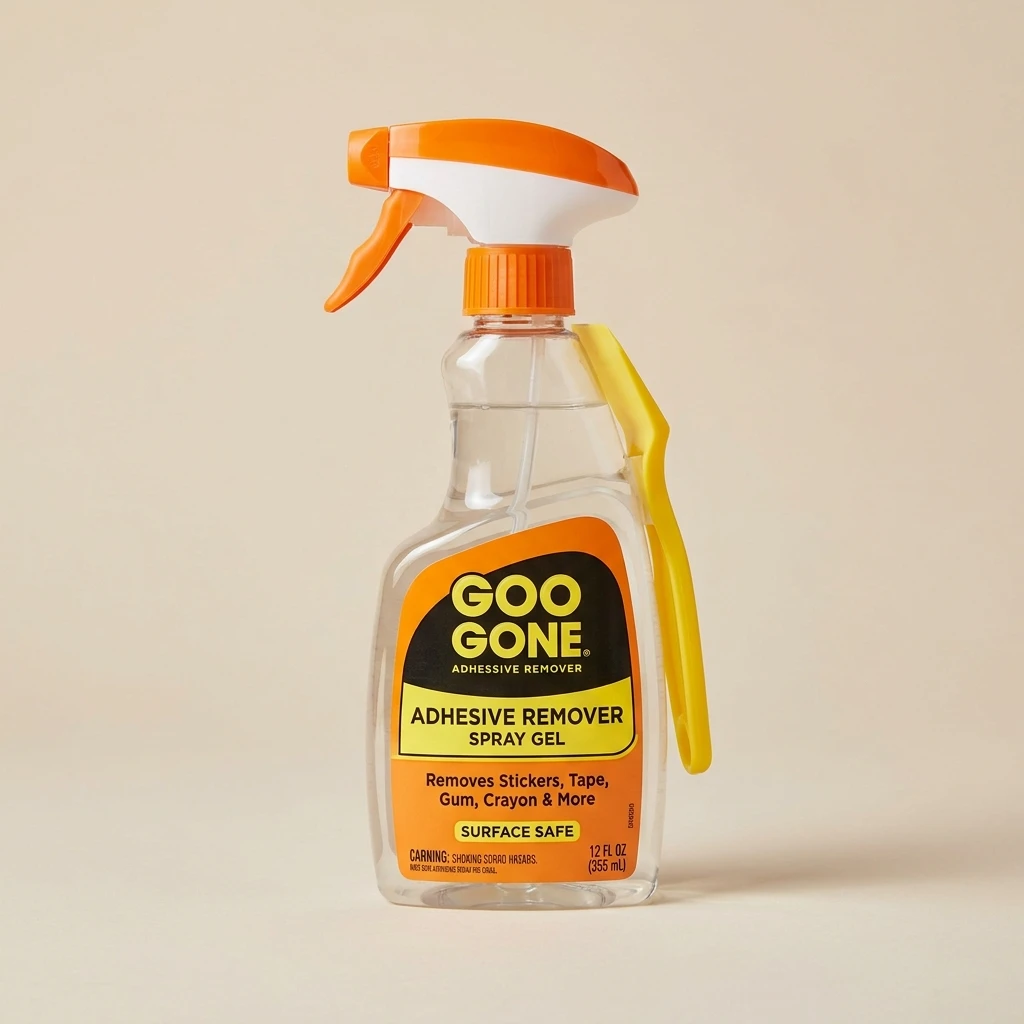
Goo Gone Adhesive Remover Spray Gel 12 Oz with Scraper
The Spray Gel is formulated to cling to sticky residue instead of immediately running. Goo Gone currently lists finished wood, ceramic/porcelain, plastics and hard vinyl among its safe surfaces when used as directed.
Limitation: do not treat the included scraper as permission to dig into a soft finish. Use light pressure and stop if the substrate scratches, dulls or softens during the spot test.
Check Price on AmazonCommon Peel-and-Stick Floor Tile Removal Mistakes
Pulling a cold tile straight up
Cold adhesive can resist suddenly. Warm the next section and peel low instead of using a hard upward yank.
Using a heat gun by default
A hairdryer gives more forgiving heat for this type of renter task. Excess heat can soften vinyl, finishes or nearby trim.
Starting with a metal blade
Sharp metal tools can scratch wood, vinyl and laminate quickly. Start with a plastic or otherwise non-gouging edge.
Flooding adhesive with solvent
More liquid does not automatically mean faster removal. Excess cleaner can spread under seams or into porous materials.
Skipping the spot test
Even a cleaner sold for hard surfaces can react differently with an old, refinished or specialty coating.
Ignoring the original floor condition
A peel-and-stick layer may be hiding stains, loose tiles or finish wear that existed before your removal project.
If you are undoing several temporary upgrades before moving, review deposit-costing decor mistakes and the first apartment decorating checklist for documentation and reversible-decor planning.
Lease, Deposit and Move-Out Considerations
If you installed peel-and-stick tile, the cleanest move-out record is a documented before-and-after sequence: move-in photo if available, photo of your temporary floor, photo during removal, and photo of the exposed floor after cleanup. Keep written landlord communication if you had permission to install or remove the material.
If the tile was already there when you moved in, do not remove it simply because it looks temporary. It may be part of the unit. Ask management in writing before altering landlord-owned flooring.
Security-deposit treatment varies by state, city, lease, property and circumstances. Avoid making assumptions about what a landlord can charge. Your practical protection is to follow the lease, avoid unnecessary surface damage, document pre-existing conditions, and keep receipts or product instructions when they help explain what you used.
For future temporary projects, see our peel and stick backsplash guide and best removable wallpaper for renters to compare surfaces and removal considerations before installation.
Sources & Renter-Safety Note
Removal guidance here is based on current manufacturer information rather than a blanket promise that every peel-and-stick tile will behave the same way.
- WallPops / FloorPops FAQ — hairdryer, flat scraper and peel-away removal guidance
- Goo Gone Original — approved surfaces, exclusions and hard-surface directions
- Goo Gone Spray Gel — approved surfaces and adhesive-removal directions
Always follow the exact flooring and cleaner instructions available for the products in your home. If the underlying floor is unknown or looks damaged, stop and ask the property manager before applying solvent or continuing removal.
FAQs About Removing Peel-and-Stick Floor Tile
What is the easiest way to remove peel and stick floor tile?
Warm a small area with a hairdryer, lift one edge with a thin plastic or flat scraper, then peel the tile back slowly at a low angle. Rewarm the adhesive whenever resistance increases.
Will peel-and-stick floor tile leave residue?
It can. Residue depends on the adhesive, age, installation conditions and substrate. Mechanical removal may handle light residue; heavier residue may require a cleaner approved for the exact floor underneath.
Can I use Goo Gone on adhesive left by floor tile?
Only if the underlying surface is listed as compatible with the exact Goo Gone product. Goo Gone Original currently lists finished wood, ceramic/porcelain, plastics and hard vinyl among compatible surfaces, but excludes unfinished wood, unsealed stone and rubber. Pre-test first.
Can I use a heat gun to remove peel-and-stick tile?
A household hairdryer is the more conservative starting point for renters because it provides gentler heat. FloorPops specifically recommends a hairdryer. High heat can damage some vinyl, floor finishes and nearby trim.
What if the tile pulls up paint or finish underneath?
Stop and reassess. Strong adhesive can pull weak coatings. Photograph the area, identify the substrate and finish, and avoid continuing with the same technique across the entire room until you know how the surface is reacting.
Can I scrape adhesive off hardwood?
Use a non-gouging tool and very light pressure. A metal edge can scratch hardwood quickly. If residue remains, use only a cleaner that explicitly allows the floor’s finish and spot-test it first.
Should renters remove peel-and-stick flooring before moving out?
Follow the lease and any written agreement with management. If you installed it as a temporary upgrade, removal and restoration may be expected. If the tile was present before your tenancy, ask management before removing landlord-owned flooring.
Slow Removal Is Safer Than Stronger Removal
The renter-conscious way to remove peel and stick floor tile is controlled heat, a gentle edge-lift, a low-angle peel and surface-specific cleanup. Do not treat residue as permission to reach immediately for the strongest solvent or scraper.
The biggest unknown is often the floor underneath. If that surface is finished wood, old vinyl, laminate, painted flooring or specialty-coated material, cleaner compatibility becomes more important than speed. When you cannot identify the substrate, stop, document it and ask management before continuing.
Use Peel-and-Stick Materials More Strategically Next Time
Before installing another adhesive decor product, compare the surface, lease terms and removal plan while the project is still easy to reverse.
See the Renter Peel-and-Stick Backsplash Guide